


Useful links
Web Push notifications are short browser-based messages that you can send straight to the subscriber’s device. It’s a new, fast way to communicate with your audience. The notification consists of a small icon, a title and a short message (in the case of Rich Web Push notifications also a larger graphic), and the entire notification is linked to a page of your choice.
SALESmanago allows you to send Web Push notifications from the system itself. At the same time, it also allows you to send notifications from a domain where consent is confirmed.
A script that gives consent to receive Web Push notifications can be added anywhere on the website. As a result, a person who wants to subscribe to a particular type of notifications only needs to press the element on the page to which this script has been added. As a result, they will subscribe to receive Web Push notifications.
Contents
1. Basic information
2. Enabling the display of the consent form
3. Invoking the right JavaScript function
1. Basic information
The vast majority of features on the SALESmanago platform is based on the performance of monitoring code. Web Push notifications are no different. To use them and add a consent script to elements on your website, start by uploading the monitoring code to your website source.
Read more about SALESmanago monitoring code integration >>
2. Enabling the display of the consent form
To send Web Push notifications, subscribers must first confirm their desire to receive notifications using a consent form.
Read more about Web Push Notification consent form >>
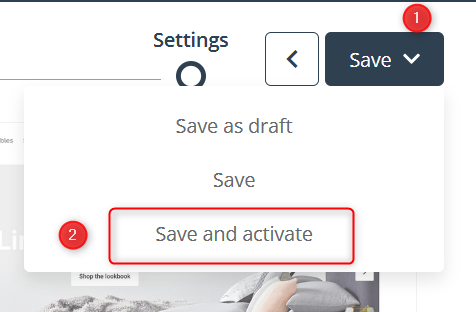
Create such a form and then enable its display. To do this, save the created form [1] by selecting Save and sctivate [2].
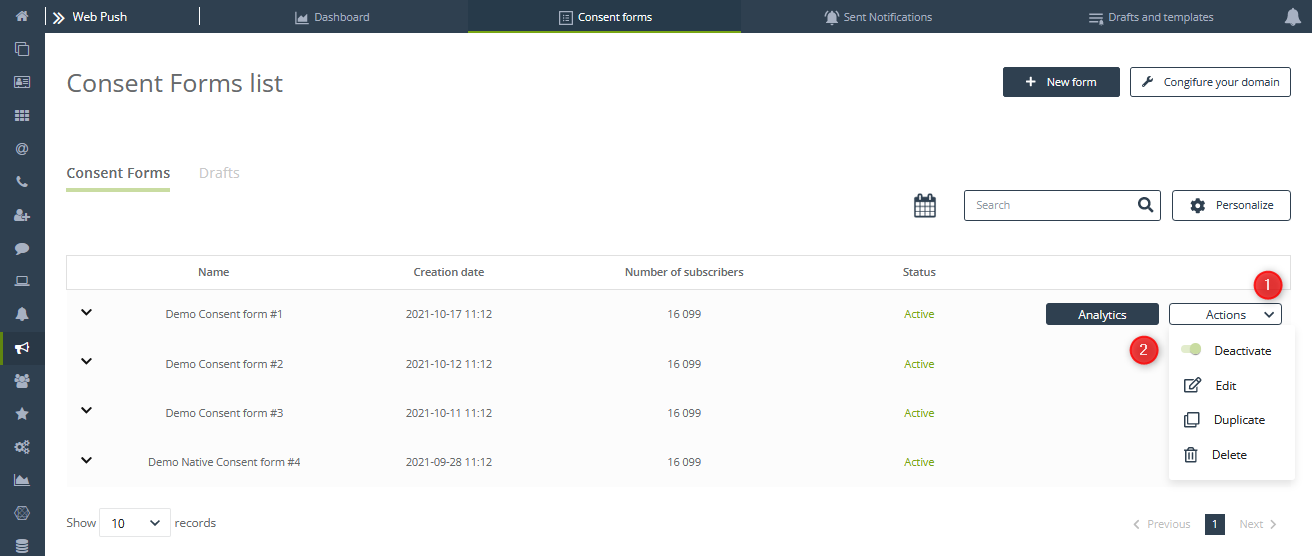
You can also activate the form from within the List. Go to: Web Push → Consent Forms and select the Actions menu [1] next to the form you are interested in, then set the activation slider [2] to the appropriate position.
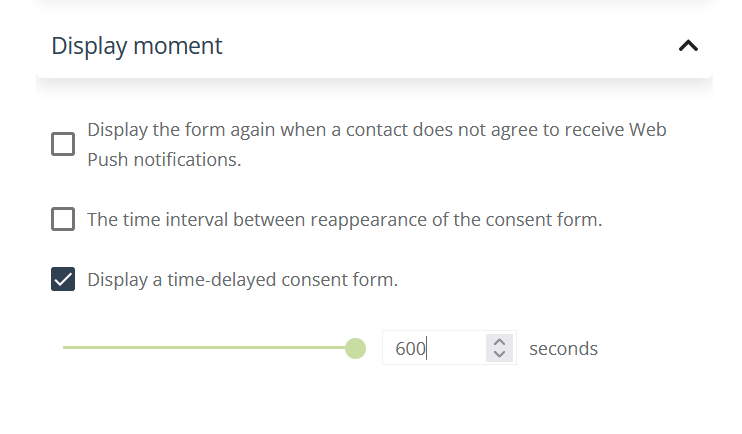
IMPORTANT: An additional condition for proper display of the form is to set a maximum time delay of 600 seconds.
3. Invoking the right JavaScript function
The next step is to invoke function in Java Script:
smWebPushConfirm()
An exemplary application of the function:
You can add invoked function to the button on the website, e.g.:
<button onclick=”smWebPushConfirm()”>
Show Web Push consent
</button>
When the button is styled, it will look like this:

Submit your review | |