


Useful links
In SALESmanago, you will send Web Push and Rich Web Push notifications both in the Website Marketing tab and also through Automation Rules. In RFM Marketing Automation you can also send notifications to a group of contacts generated in the RFM analytics module.
To use the Send Web Push Notification action in RFM Marketing Automation, go to
Segmentation → RFM Marketing Automation
and then click the action icon on the tile of the segment you are interested in.
Contents
1. Basic information
2. Web Push Notification Settings
3. Rich Web Push Notification Settings
1. Basic information
When you navigate from Segmentation to the RFM Marketing Automation tab you will reach the analytics dashboard.

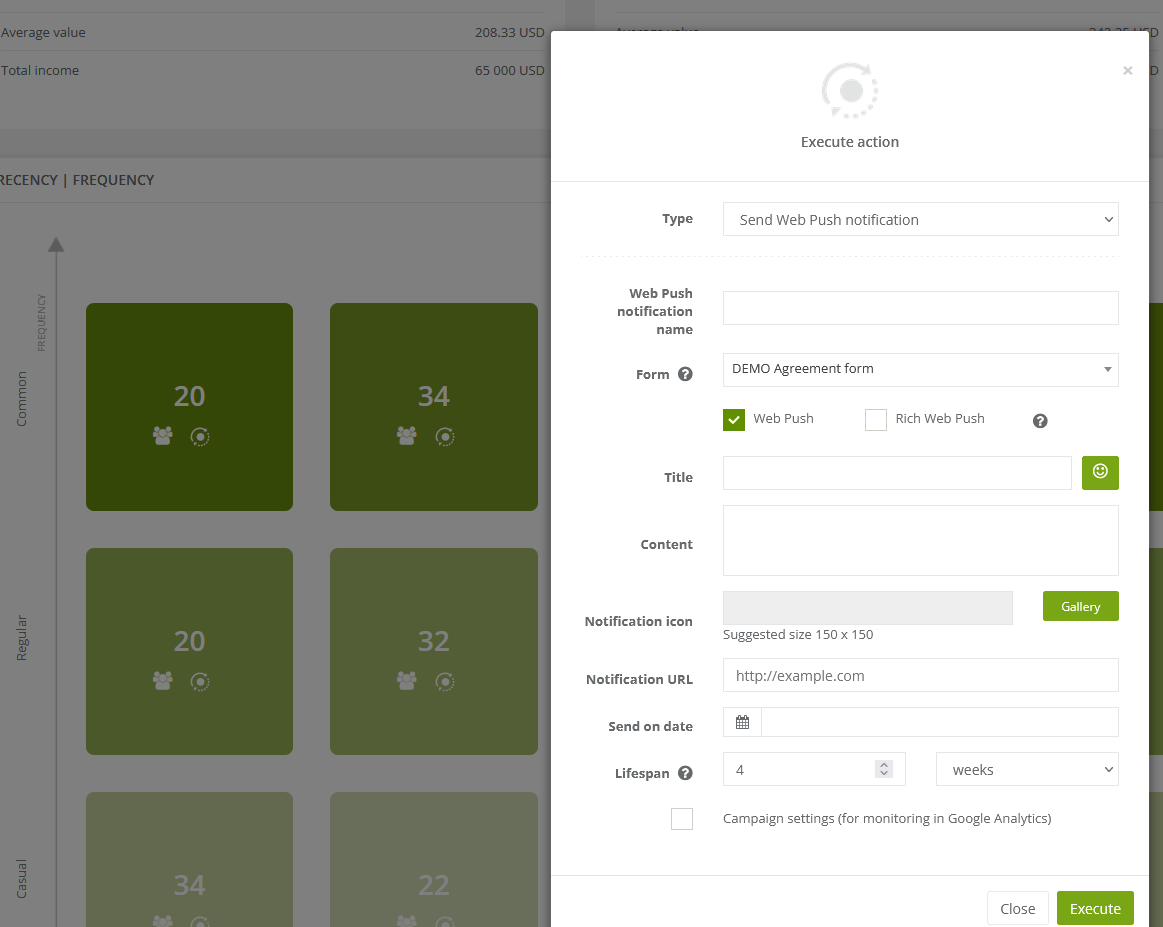
For the groups of contacts highlighted with red in the above illustration, you can apply the Send Web Push Notification action. Just tap on one of the tiles with the number of contacts on it. In the newly opened window you will set the notification you want to send to the selected contacts.
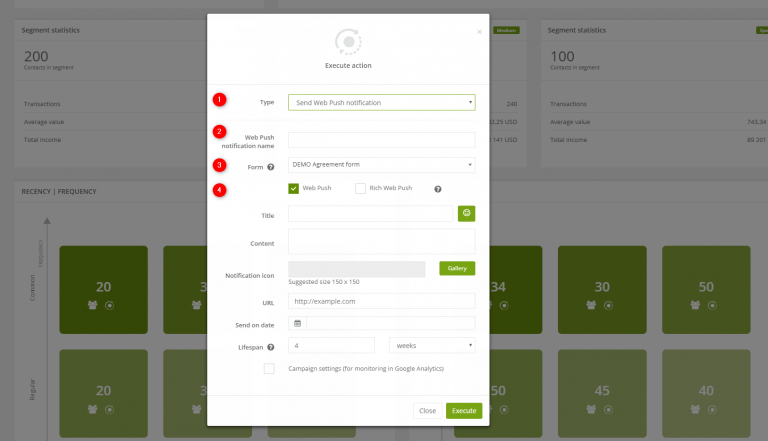
[1] Type – choose the action type [Send Web Push notification] which you want to direct towards the contact group.
[2] Web Push notification name – enter the notification name.
[3] Form – select a proper agreement form in which contacts can agree to receive notifications. You can also preview the selected agreement form by clicking the icon with an eye.
[4] – you can send Web Push or Rich Web Push notifications. You can also send both of them at once. Some browsers are not able to display Rich Web Push notifications and in such cases, a Web Push notification will be displayed instead.
2. Web Push Notification Settings

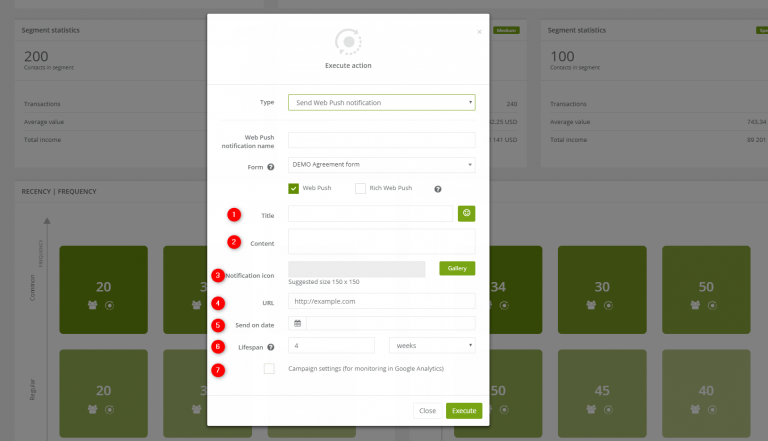
[1] Title – the first line of your notification. You have a 48 character limit to use.
[2] Content – the main text of your notification. Keep it short.
[3] Notification icon – select a small picture from the Image gallery to be used in the notification. The following file formats can be used as icons: JPG, PNG, WebP, ICO/CUR, and BMP. The GIF format is not supported by browsers. The suggested icon size is 150 x 150 px or less. Larger images will be scaled down to fit.
[4] Target URL – the web address to which the notification is linked. If a user clicks the notification, they will be redirected to the specified URL
[6] Send on date – choose the date and exact time when the notification will be sent.
[6] Lifespan – the time after which the notification expires. When a notification is sent but not delivered, a timer tracks how old it is, letting you decide when the notification should no longer be displayed. Consider setting a short lifespan for notifications that are relevant only within a specific timeframe. For example, a special offer might run 11th – 13th July and if you’re sending a notification to spread the word, the notification’s lifespan should not extend beyond the 13th.
[7] – enter the UTM parameters if you keep track of the campaign in Google Analytics.
3. Rich Web Push Notification Settings
[1] Title – enter the notification title. Up to 45 characters.
[2] Content – the main text of your notification. Keep it short.
[3] Notification icon – upload a graphic to be displayed next to the title. The following file formats can be used as icons: JPG, PNG, WebP, ICO/CUR, and BMP. The GIF format is not supported by browsers. The suggested size is 150×150 px.
[4] Notification image – upload a main graphic of the notification. The following file formats can be used as icons: JPG, PNG, WebP, ICO/CUR, and BMP. The GIF format is not supported by browsers. The suggested size is 360×240 px.
[5] Target URL – add a URL address, so it can redirect users to a dedicated landing page or a product page.
[6] Send on date – choose the date and exact time when the notification will be sent.
[7] Lifespan – the time after which a notification expires. When a notification is sent but not delivered, a timer tracks how old it is, letting you decide when the notification should no longer be displayed. The time is calculated from the moment the condition is fulfilled.
[8] – enter the UTM parameters if you keep track of the campaign in Google Analytics.
After you adjust all the settings, click Execute and the notification will be planned and sent on the specified date.