DKIM is a method that allows for connecting a domain with an email server and it aims at confirming the authenticity of the email address from which the email is sent. It enables the receiver of the message to verify whether it has been authorized by the domain owner. This is to prevent spoofing of the sender’s email address, a phishing and spam tactic.
Basic rules for adding a DKIM entry to your domain:
- Each domain record consists of three parameters: name, type and value.
- To add a DKIM entry that authorizes the email address created in your SALESmanago account with your domain, you need to add two records as indicated below.
NOTE: DNS entries should end with a period to be correctly interpreted when verifying mail security. In the case of entries without a period, the application will add them automatically.
Enter the following DNS records in the fields below:
- First entry structure
- Domain: salesmanago._domainkey.yourdomain.com (where as yourdomain.pl you enter a name of the domain for which you want to add the entry).
- Type: CNAME.
- Value: salesmanago._domainkey.smgrid.com.
- Second entry structure
- Domain: salesmanago2._domainkey.yourdomain.com (where as yourdomain.com you enter a name of the domain for which you want to add the entry).
- Type: CNAME.
- Value: salesmanago2._domainkey.smgrid.com.
Instruction for adding a DKIM entry to domains in ovh.com hosting
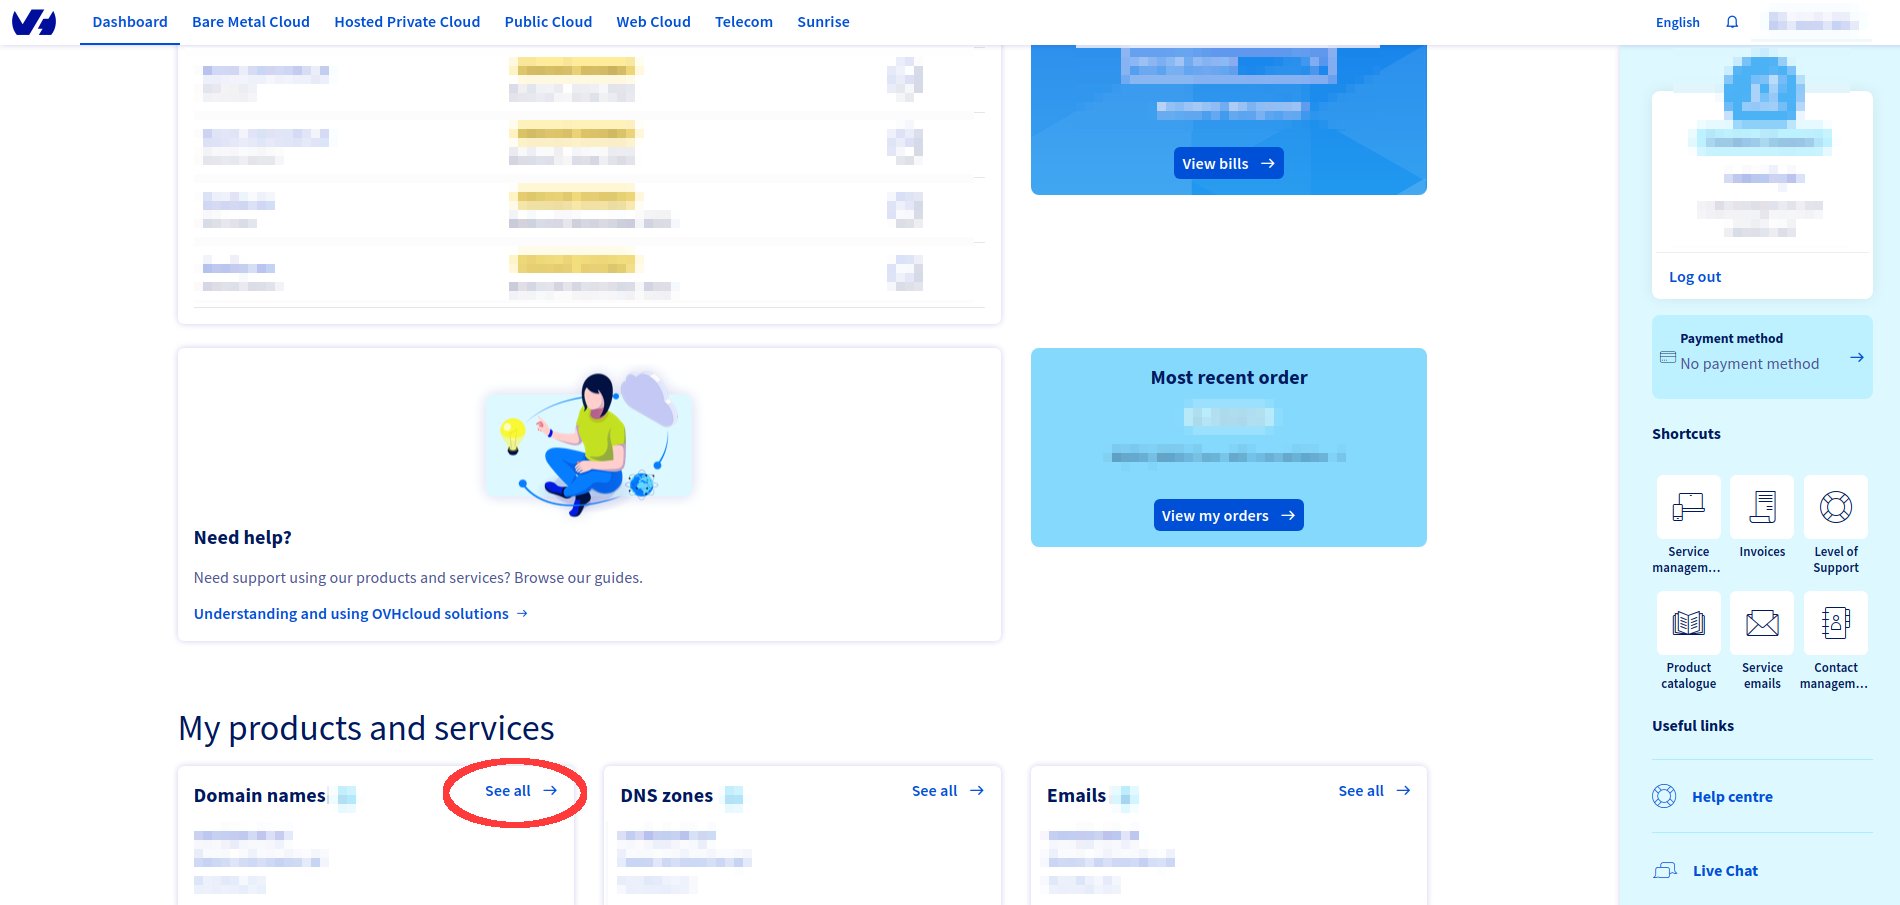
To add a DKIM entry to a domain hosted on OVH, log in to your admin panel. From there, go to My Products and services, select the See all option next to the domains list, and on the next screen, click the domain you are interested in.
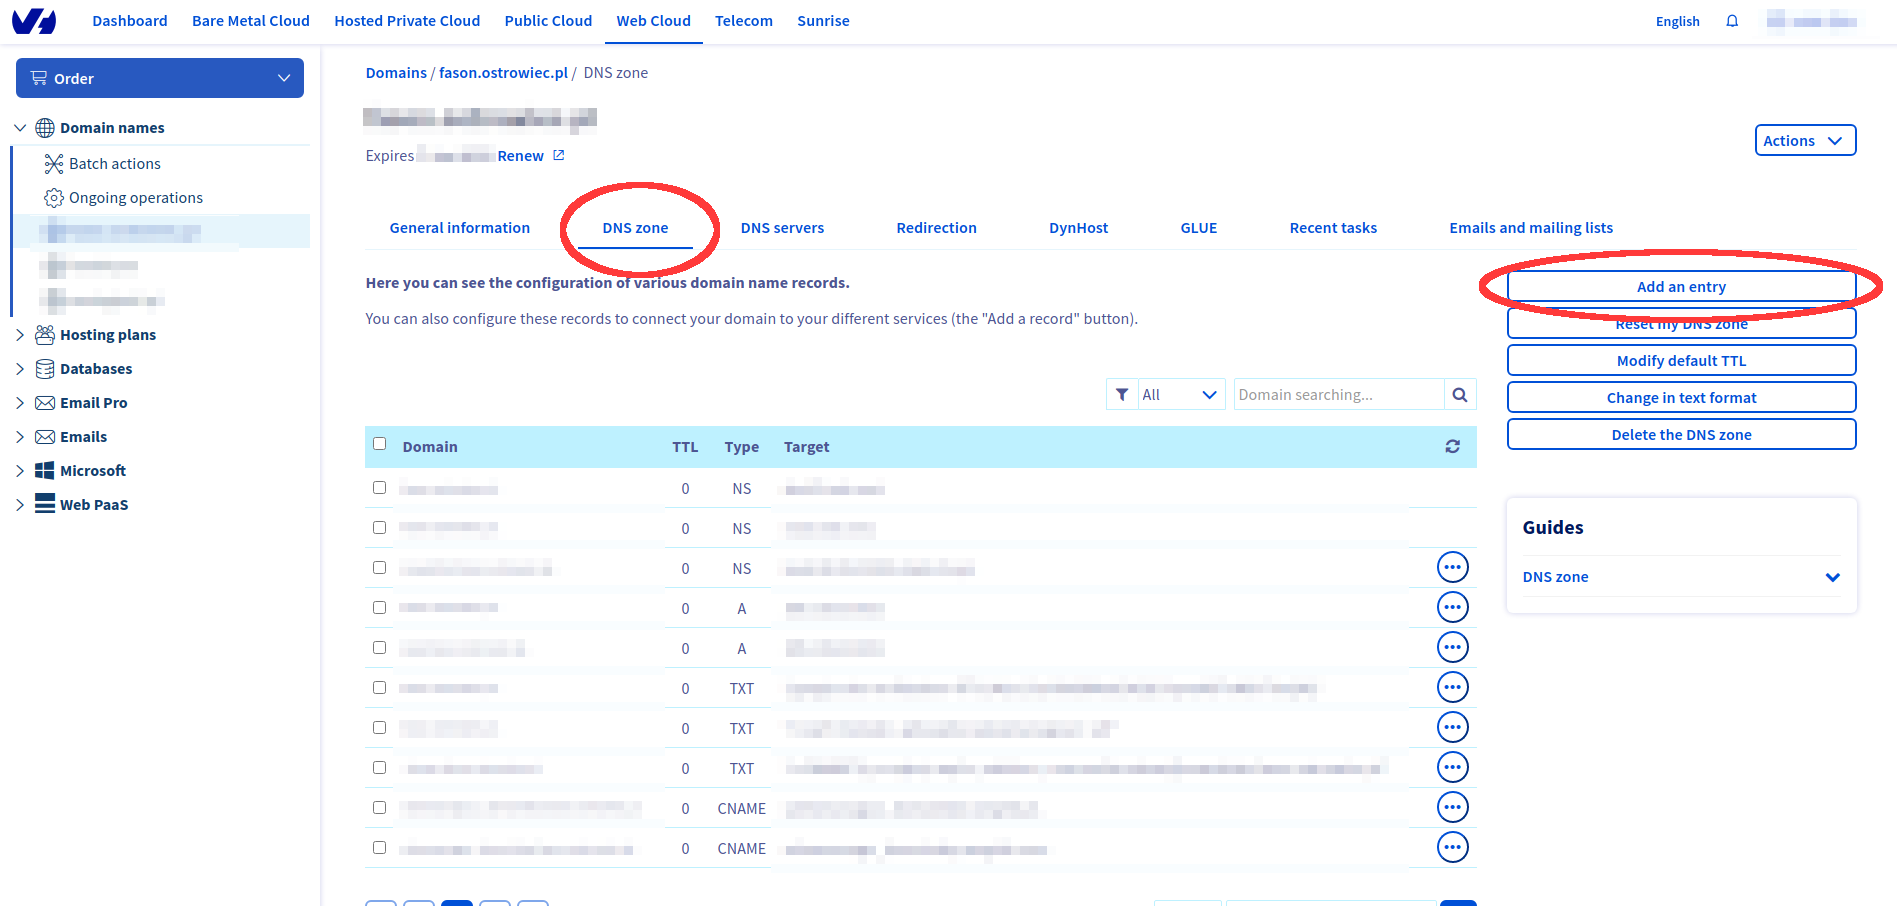
Go to the DNS zone tab and click Add an entry on the right menu. When the window for selecting the type of DNS field appears, choose CNAME.

Then enter the following data:
- Sub-domain: salesmanago._domainkey (no period at the end, otherwise an error will occur).
- TTL: leave the default value.
- Target: salesmanago._domainkey.smgrid.com.
Click Next and confirm the changes.
Similarly, add another record to the domain configuration. Select CNAME as the record type, and then enter the following data:
- Sub-domain: salesmanago2._domainkey (no period at the end, otherwise an error will occur).
- TTL: leave the default value.
- Target: salesmanago2._domainkey.smgrid.com.
Click Next and confirm the changes.
The changes will be available within an hour.
How to check the authenticity of the DKIM records?
- Report it to your Project Manager from SALESmanago.
- Try out free online tools (e.g., https://mxtoolbox.com/dkim.aspx).
- Go to the E-mail Marketing dashboard.
Read more about Email Marketing Dashboard >>