With the image gallery, you can keep all your graphic files in one place. This way, you can keep them organized and ready to use when you want to create an email template, contact form, and the like.
Using the image gallery
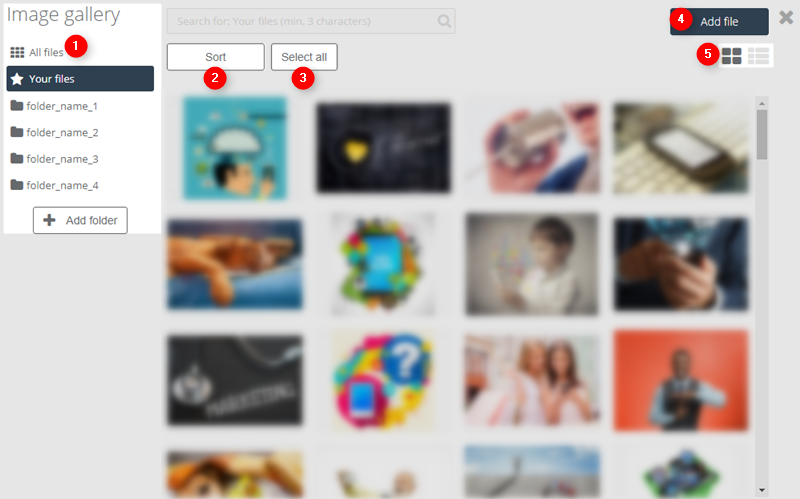
[1] Navigation menu – to open a folder, just click it. You can also create, delete, and rename folders here.
[2] Sort – click this button to arrange your files in custom order, according to a selected property.
[3] Select all – click this button to select all your files at once. This is useful if you want to perform a mass action on your files, such as moving them all into one folder.
[4] Add file – click this button to add new files from your PC to the image gallery.
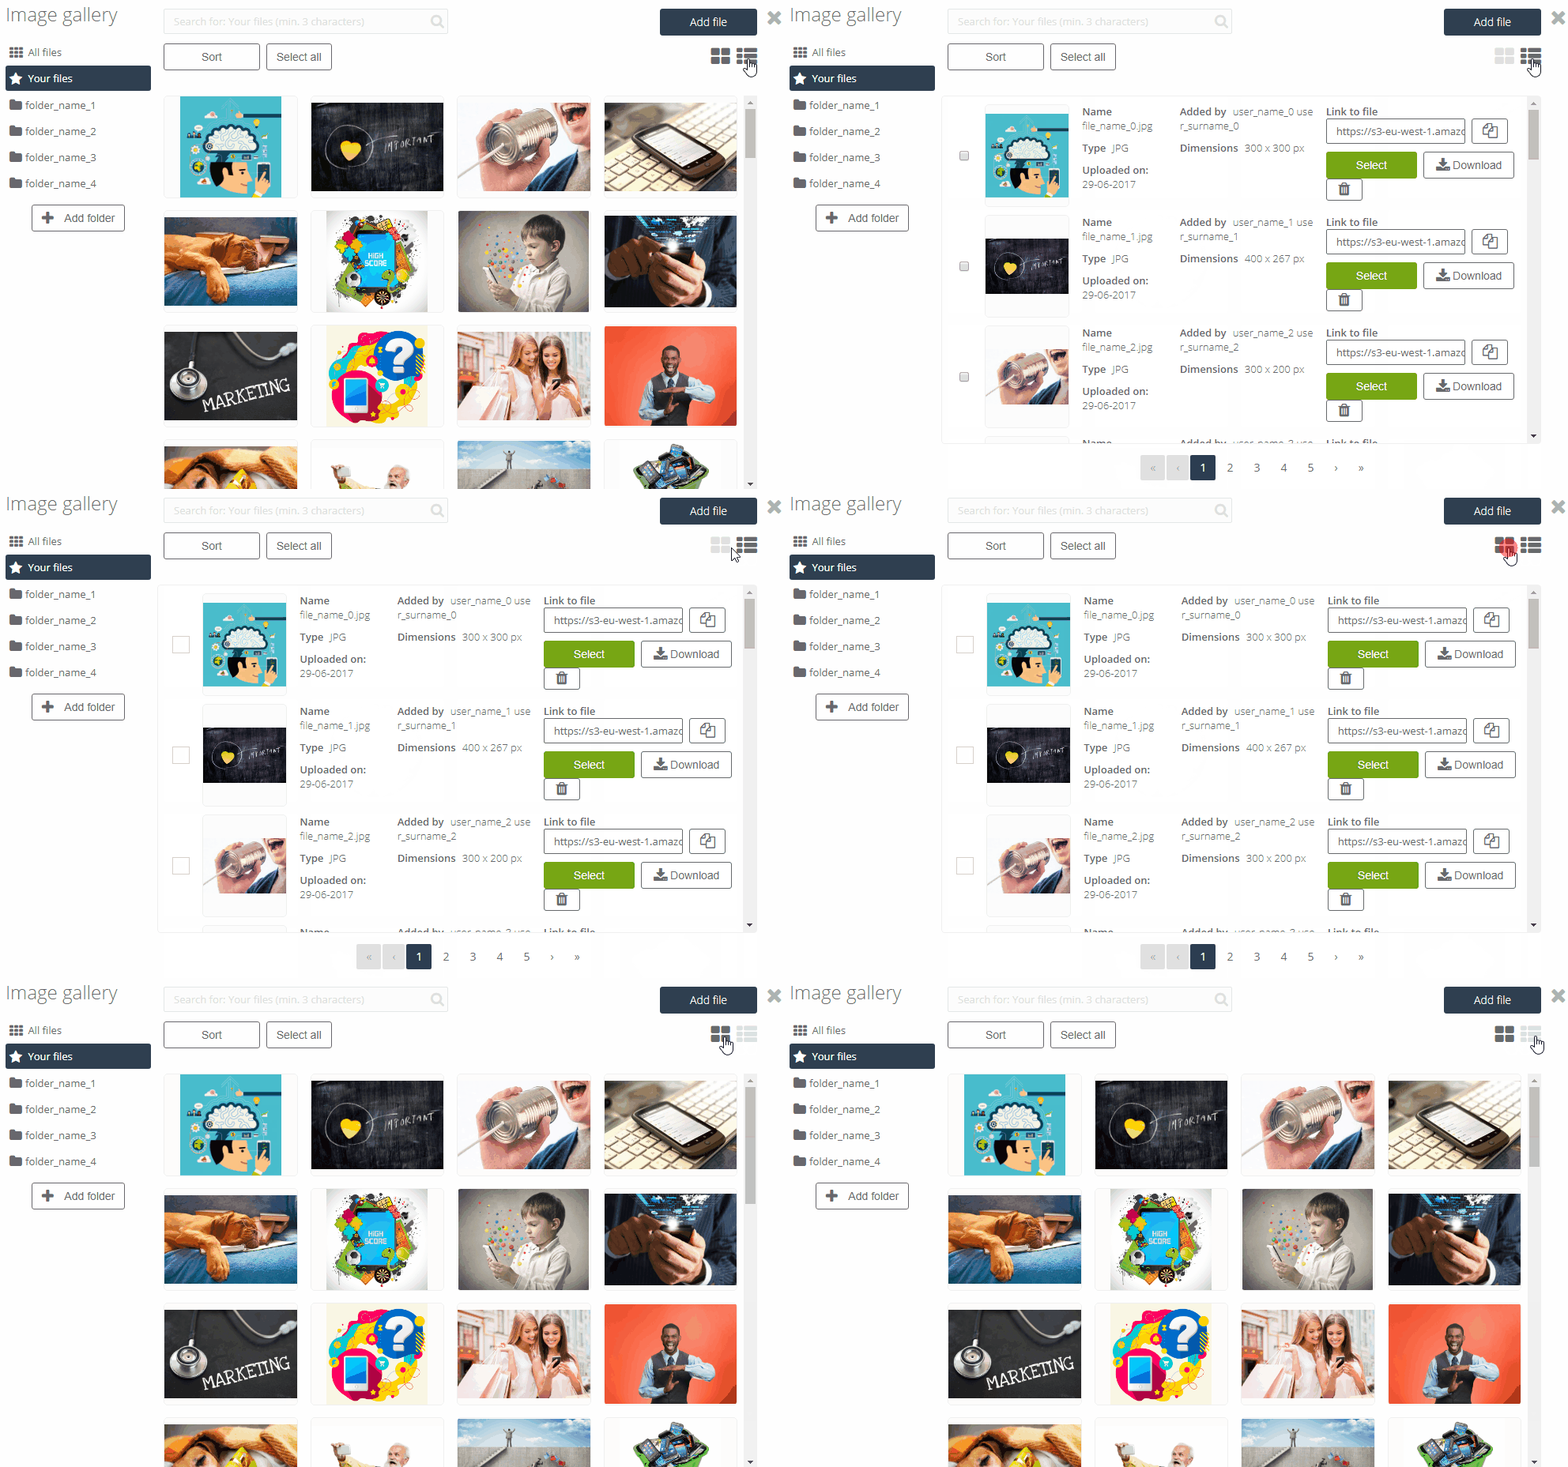
[5] View mode – click one of the icons to change the way files are displayed in the gallery. Click the first icon to view images as tiles on a grid. Click the second icon to view images in a detailed list.
Image properties
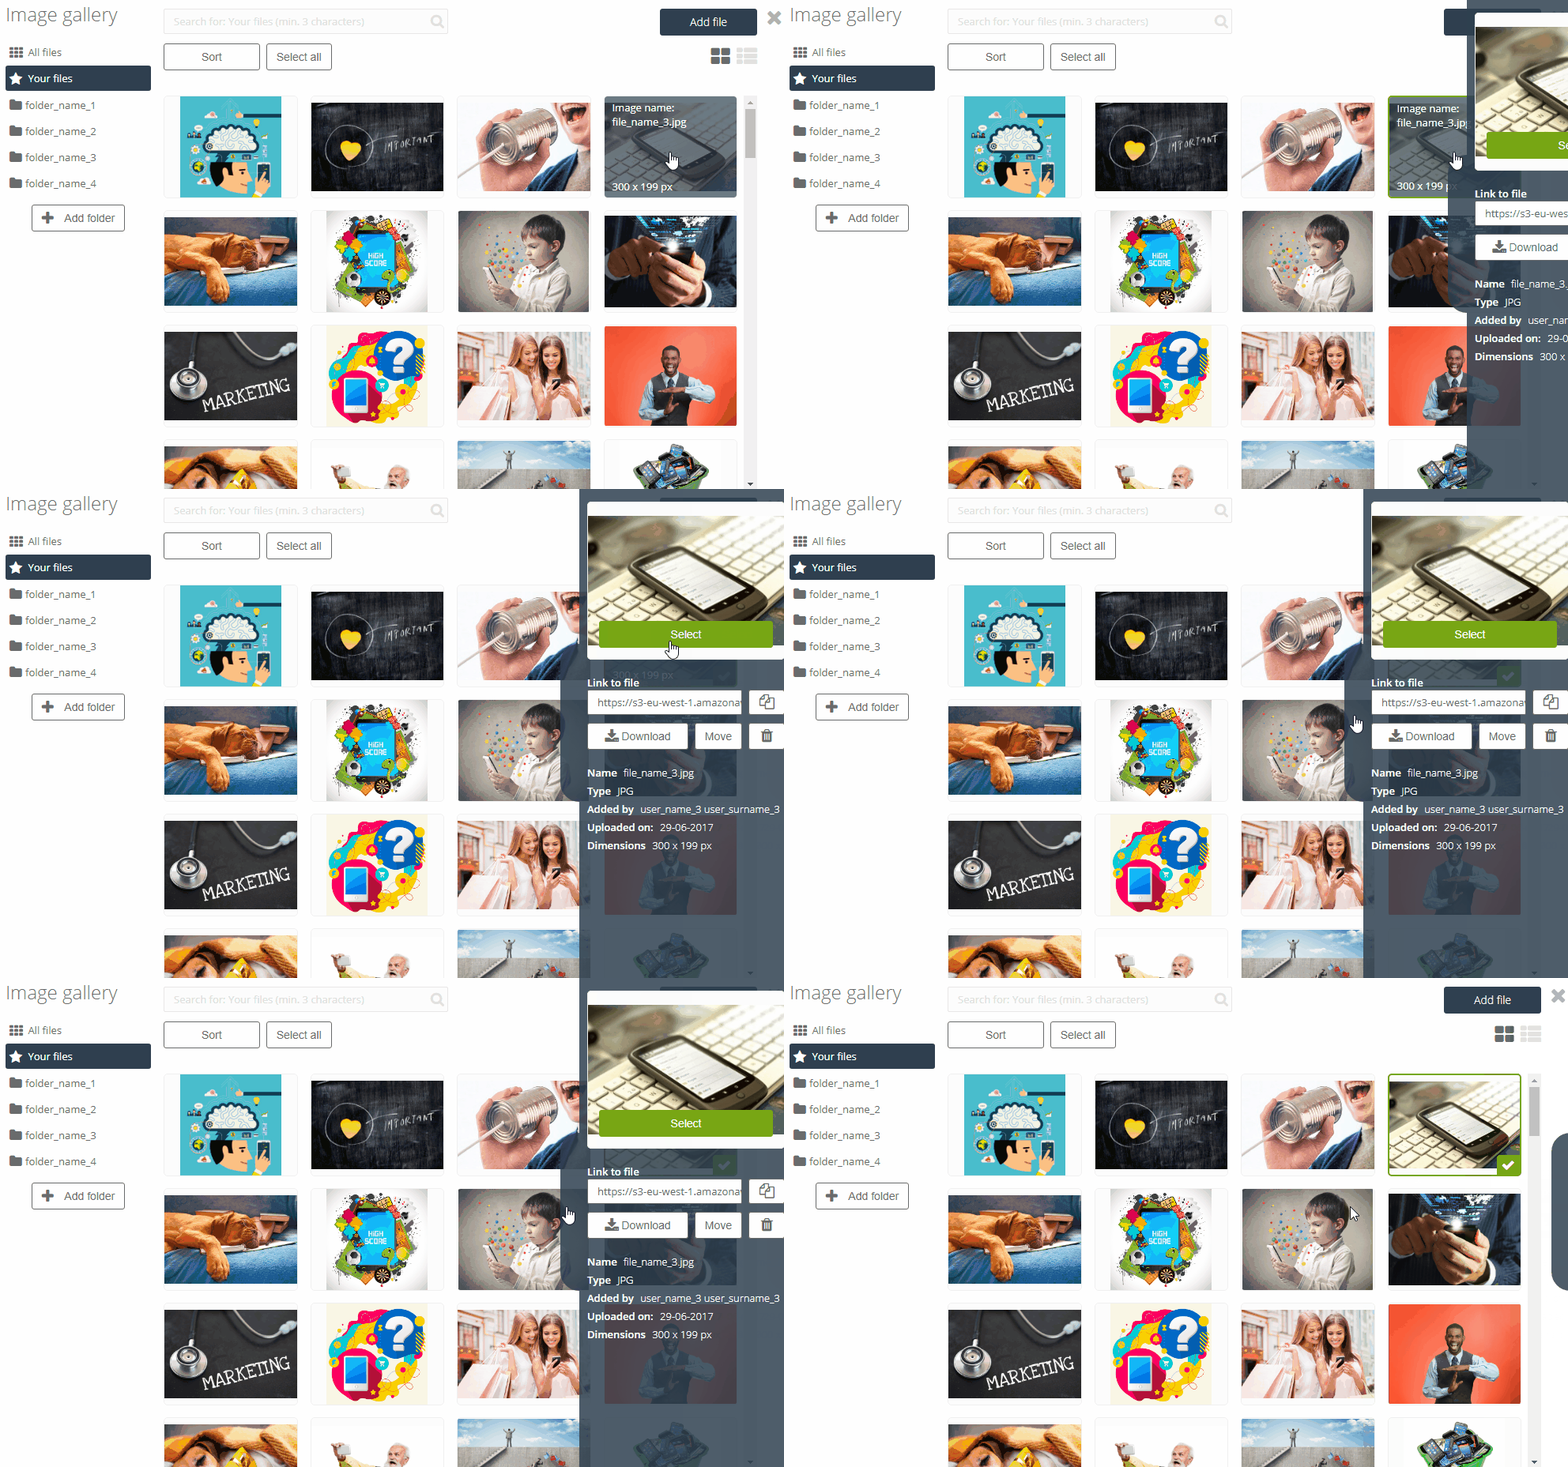
To open an image’s properties just select it.
To move an image, click and drag it to a new location.
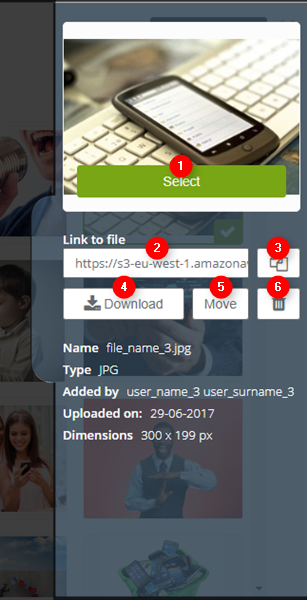
When you select an image, a sidebar appears from the right side. There you can access some additional options and information.
[1] Select – put this image onto whatever you’re working on.
[2] Link to file – the link to the image’s location in cloud storage.
[3] Copy the image’s link to your clipboard.
[4] Download the image to your computer.
[5] Move the image to a new location.
[6] Delete the image from your gallery.
Submit your review | |


