WordPress is an open platform on which you can create an attractive website, blog or application.
THE SCOPE OF INTEGRATION
Basic scope of integration
- Automatic addition of a monitoring code to a website
- Export of contacts and historical transactions from ecommerce platform
- Integration of external events like ‘cart’ or ‘purchase’ both for contacts who are logged in and those who are not – as long as they have a tracking cookie smclient
- Possibility of assigning tags when a contact registers, signs up for a newsletter or makes a purchase, later these contacts with tags will be sent to the system
- Automatic addition of such features as Live Chat, Pop-up Basic and Web Push
Contact form integration
-
- Adding a monitoring parameter to contacts that filled in a contact form
- Transfer of information given when contacts register and log in
- Transfer of contact data (e.g. name and surname, email address, telephone number, address, company name, date of birth, date of creating a contact, tags assigned in the shop)
- Transfer of contacts along with their opt-in/opt-out
status
- Back synchronization (This feature enables checking if contacts who register on ecommerce platform can already be found in the SALESmanago database. When a contact exists in the database with opt-in status but while registration does not give a consent, in both SALESmanago system and e-commerce platform the contact has opt-in status.)
- Transfer of contacts together with tags indicating the name of the shop
PLUGIN INSTALLATION FOR WORDPRESS PLATFORM
There are three ways of plugin installation:
INSTALLATION IN WORDPRESS PANEL
1. First, log in to your WordPress Admin account.
2. Next, on your left-hand menu bar go to Plugins → Add new.
3. Now you will be redirected to the window where you can see the plugin.
4. In the browser (top right corner) type in salesmanago.
Here you will see an up-to-date plugin from WordPress Content Repository.

[1] Install now – click
5. Next, on your left-hand menu bar, click Plugins → Installed plugins
Now you can see SALESmanago on the list of plugins.

[1] Activate – click to activate the plugin
6. When you activate the plugin in WordPress main menu, you will see SALESmanago icon.

Now, when the installation is done, go to another manual which will help you with configuration.
WORDPRESS.ORG PACKAGE INSTALLATION
1. Click the link https://wordpress.org/plugins/
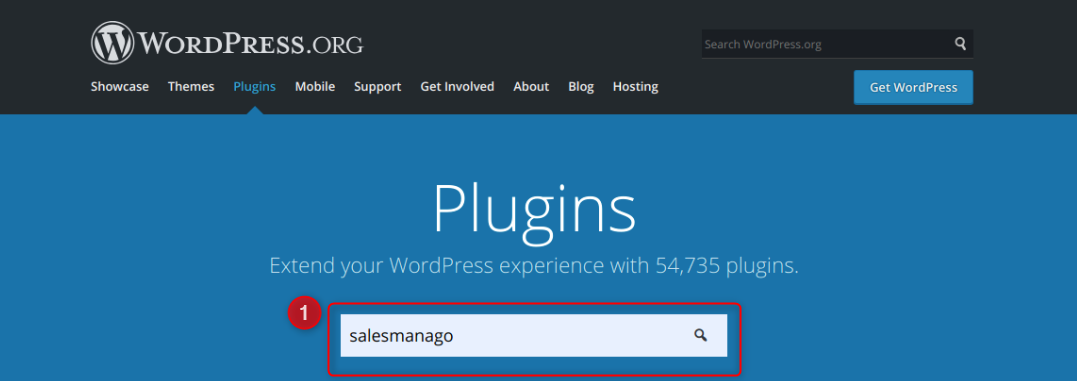
[1] Type in salesmanago in the browser
2. Click the element that you have just found.

[1] Download – click
3. Log in to your WordPress admin account.
4. Next, in your left-hand menu bar go to Plugins → Add new.
5. In the next window, find and install the package. Click Upload Plugin, select the package and then click Install now
6. Next, in your left-hand menu bar go to Plugins → Installed plugins
Now, you can see SALESmanago on the list of plugins.
[1] Activate – click to activate downloaded plugin
7. When the activation is successful, you will see SALESmanago icon on the main menu.
Now, when the installation is done, go to another manual which will help you with configuration.
PACKAGE INSTALLATION WHEN YOU CLICK THE LINK
1. Click the link https://files.salesmanago.pl/up/integrations/wp/salesmanago.zip to download the plugin.
2. Log in to your WordPress admin account.
3. Next, go to Plugins → Add new in the menu on the left.
4. In the next window, find and install the package you downloaded. Click Upload Plugin, select the package and then click Install now
5. Next, in your left-hand menu bar click Plugins → Installed plugins
6. Now, you can see SALESmanago icon on the list of plugins
[1] Activate – click it
7. When the activation is successful, you can see SALESmanago icon in the main menu.
Now, when the installation is done, go to another manual which will help you with configuration.