The feature Scheduled action lets you plan and send push notifications to the specified group of recipients. The feature facilitates comfortable management of the push notifications which are planned either on a particular day or send repeatedly.
To use the feature go to
AUTOMATION => SCHEDULED ACTIONS
Contents
- How to create a scheduled action?
- Scheduled actions wizard
- Adding an action
1. How to create a scheduled action?
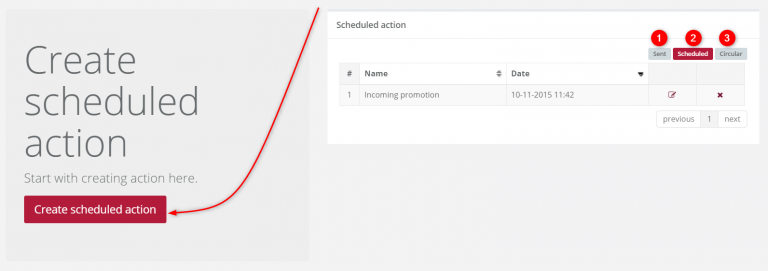
Follow the path: Automation → Scheduled actions and click the button Create scheduled action. The screen displays the list of the actions you have created already. You can have a preview of the executed actions [1], scheduled [2], and those which are triggered repeatedly [3]. By means of the buttons  and
and  you can edit and delete actions.
2. Scheduled actions wizard
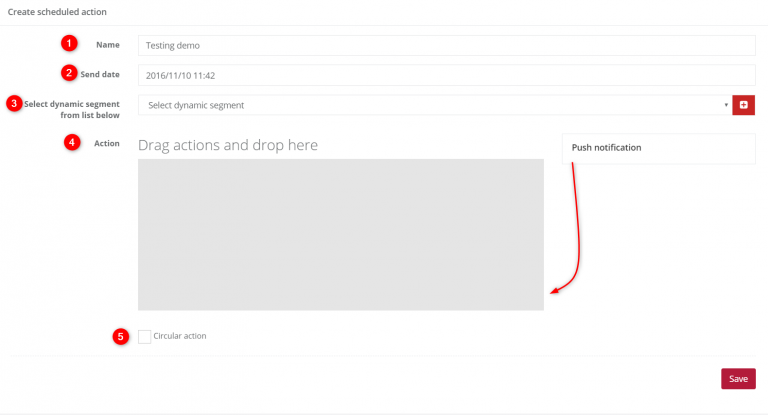
[1] Name – choose the system name of the planned action. Later, you will find this action on the list under this name.
[2] Send date – choose the exact time when the action will be performed. In practice, it means choosing the day when the notification will be sent.
[3] Select dynamic segment from list below – the dynamic segments let you define the group of the recipients on the basis of their behavior in the monitored application and information about other applications the user has on the mobile phone. Dynamic segments serve as a method of choosing contacts as addresses of specific actions. Choose a dynamic segment from the list or create a new one. You can find more information about creating dynamic segments here.
[4] Actions – drag the notification and drop it on the field.
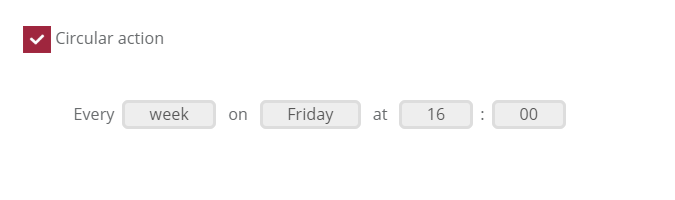
[5] Circular action – choose the option, if you want the notification to be sent repeatedly on a specific day. Circular action means sending the notification to the users who are currently in the indicated dynamic segment in the moment of sending the notification.
3. Adding an action
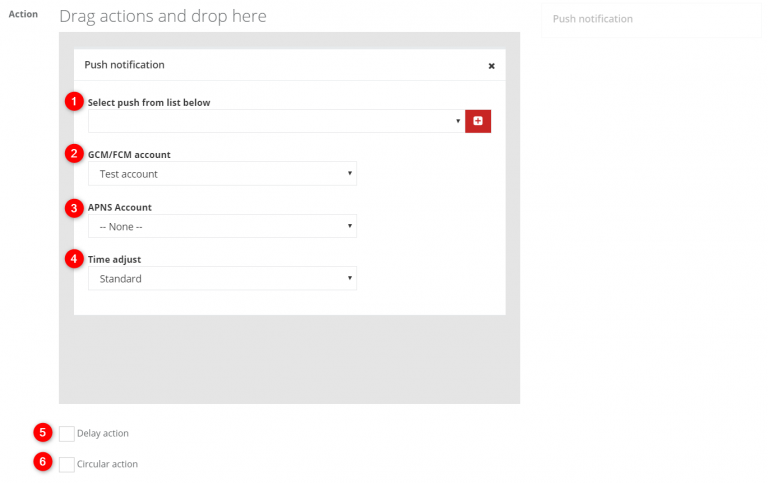
[1] Select push from list below – if you have created and saved, you will find it on the dropdown list. You can also create a new one, by clicking the plus icon on the right side of the field.
[2] GCM/FCM account – select the account from which the notification will be sent.
[3] APNS Account – select the account from which the notification will be sent.
[4] Time adjust – you can delay sending of the notification [5] or adjust the time of sending to the user’s activity or the time zone.
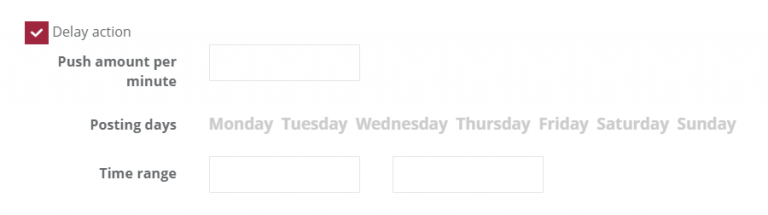
[5] Delay action – this option lets you choose the amount of notification sent per minute and select the exact time.
[6] Circular action – choose the option, if you want the notification to be sent repeatedly on a specific day. Circular action means sending the notification to the users who are currently in the indicated dynamic segment in the moment of sending the notification.