Gravity Forms form can be easily integrated with SALESmanago system on all websites which base on CMS WordPress platform. Thanks to that, every person who fills in the form is added automatically to SALESmanago account as a monitored contact with a specified tag.
THE SCOPE OF INTEGRATION
- Sending data from the forms to SALESmanago
- Creating a cookie smclient after the form is sent
How to create a form?
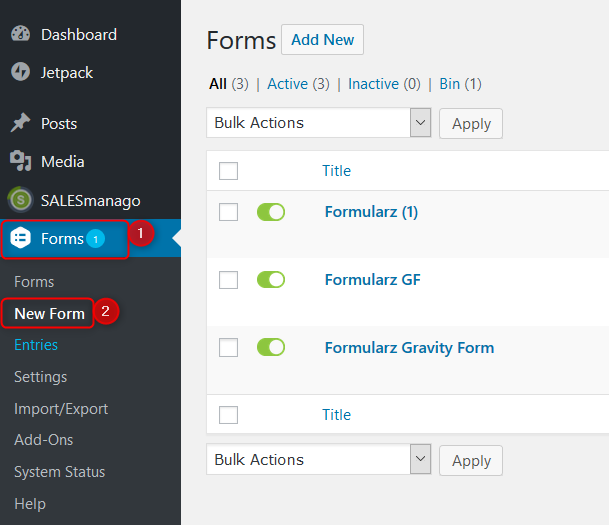
In the main menu (on your left-hand side) go to Forms → New Form.
Here you have the window where you can create your form. It will appear automatically.
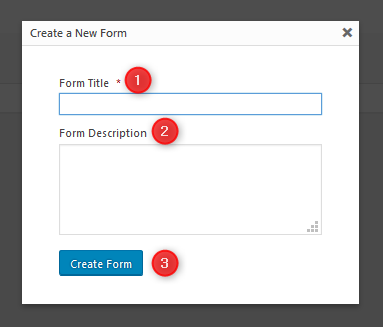
[1] Form Title – provide a name for the form (mandatory fields are marked with *)
[2] Form Description – add (if you want) a description (optional field)
[3] Create Form – click it to save the form
When your form is already created, you can find it when you click Forms on the main menu (left-hand side).
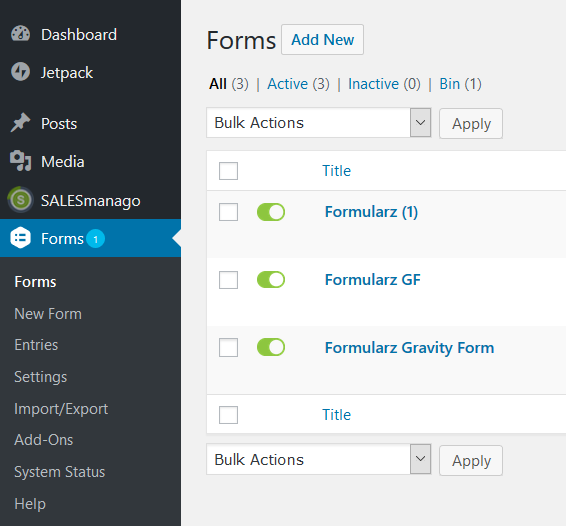
In the next step click the selected form on the list.
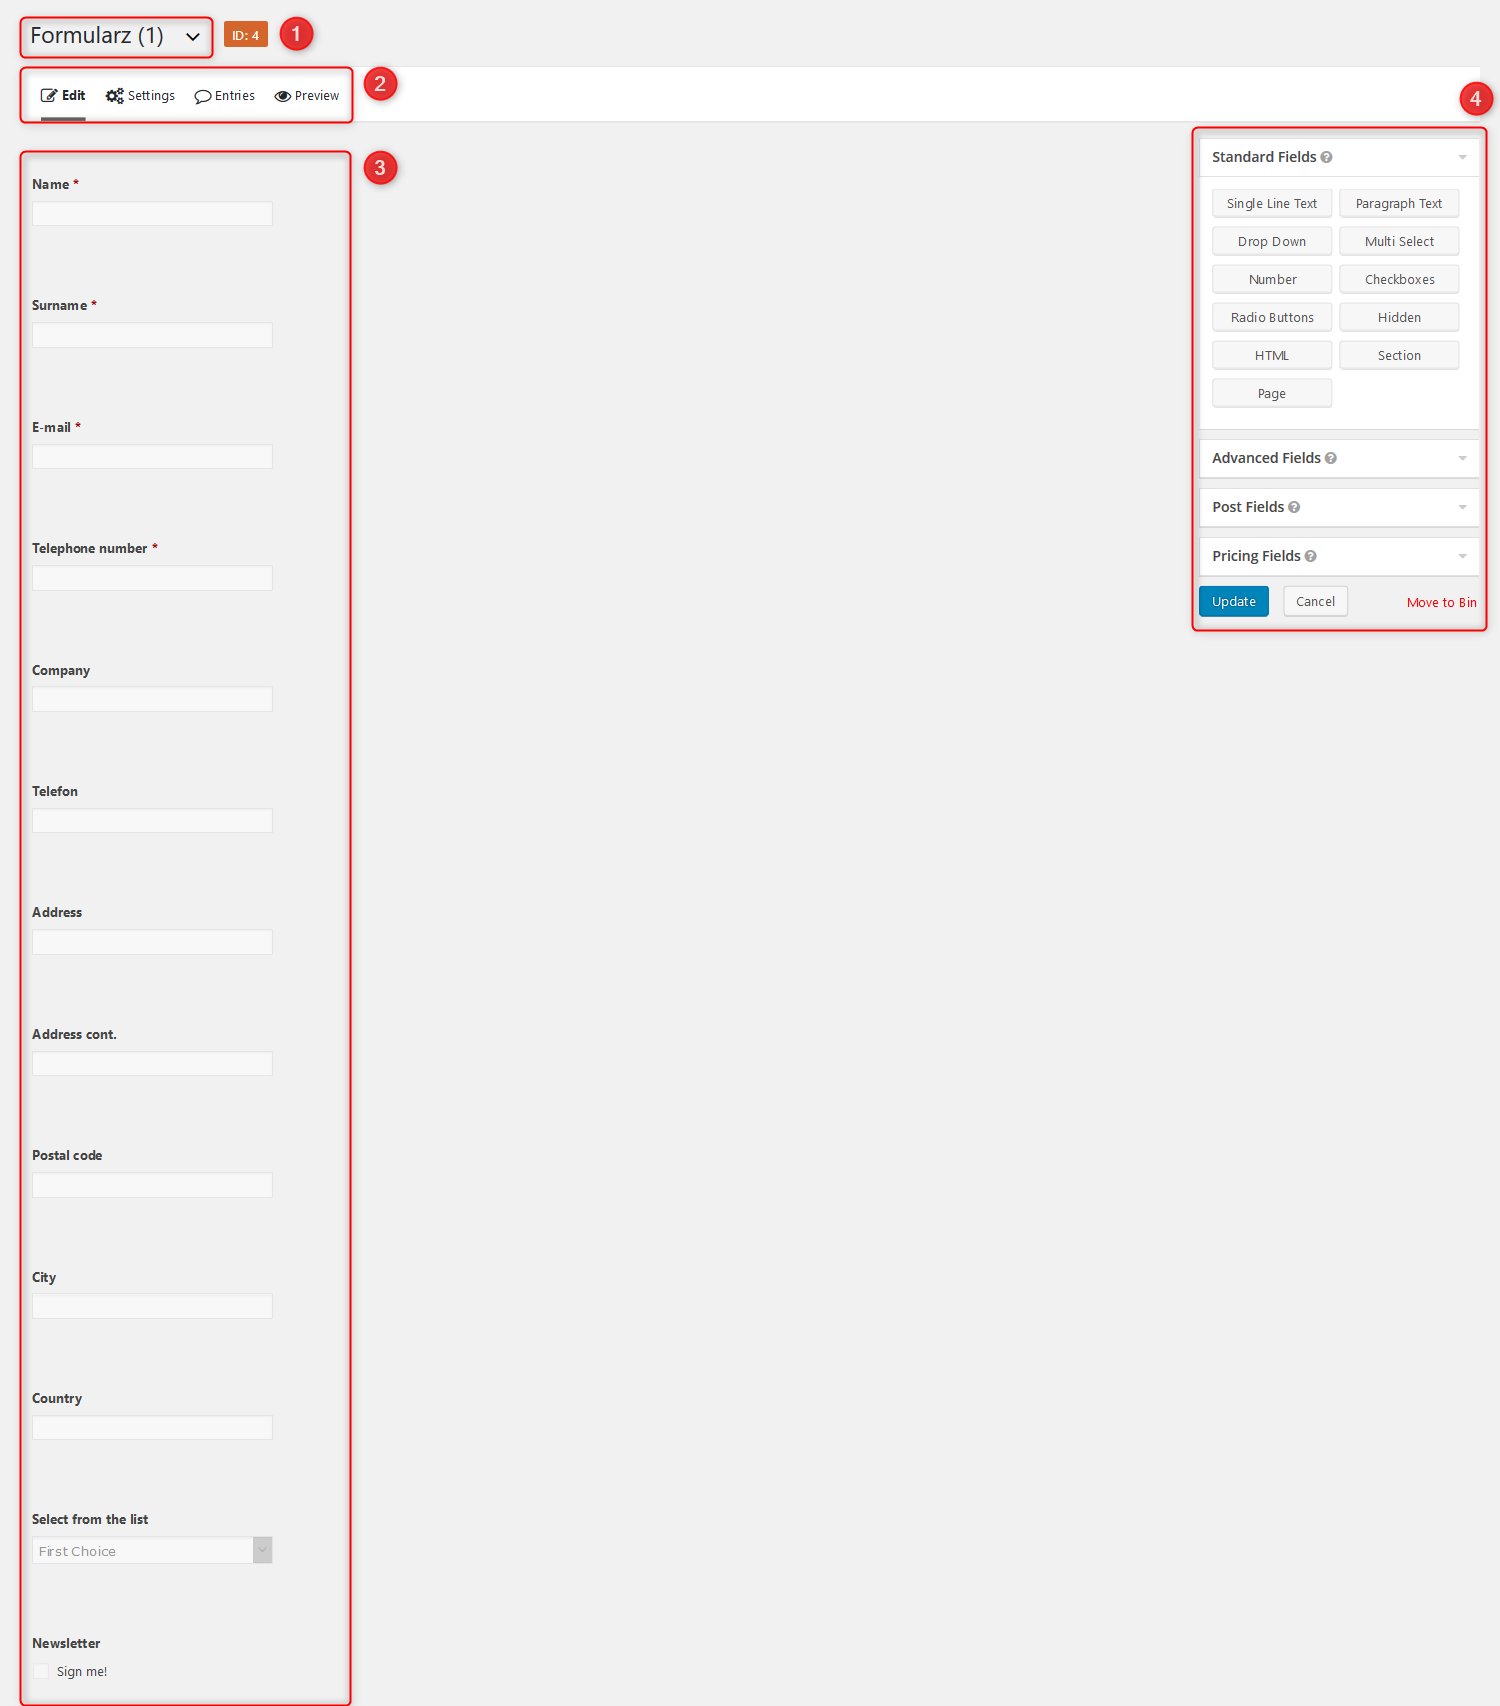
[1] Name of the form – here you can see the name of the form. You can unfold the list of forms and select a different one to be displayed.
[2] – here you can Edit your form, go to its Settings, check Entries or see the Preview.
[3] – these are fields that you have selected.
[4] – these are the most standard fields which you can use in your form. Use Drag&Drop method to move selected elements.
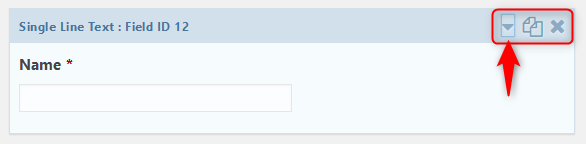
Each element of your form can be duplicated or deleted. When you click an arrow, you unfold the list.
When you unfold the list, in General tab you will have the view as presented below:
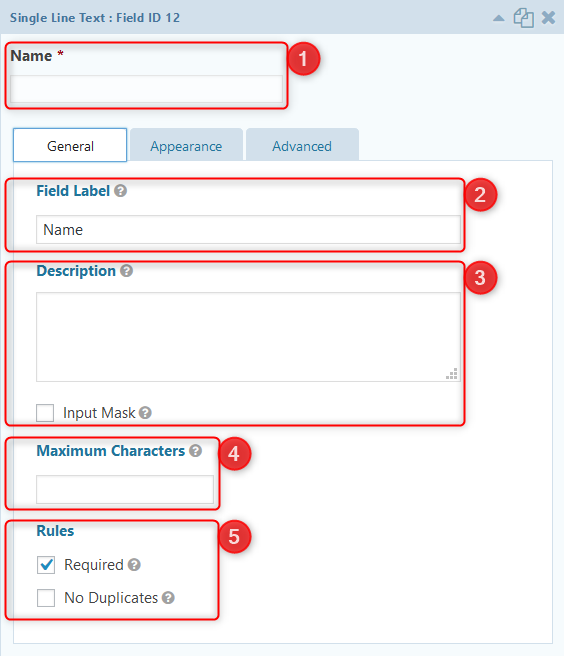
[1] Name
[2] Field Label – that is the title of the field which is visible for everybody who fills in the form
[3] Description – here you can invent tips for everybody who fills in the form
[4] Maximum Characters
[5] Rules – when you check Required, the field will be mandatory for everybody who fills in the form. When you check No duplicates, the choice will be limited to some options only.
In the same window, go to Advanced tab.
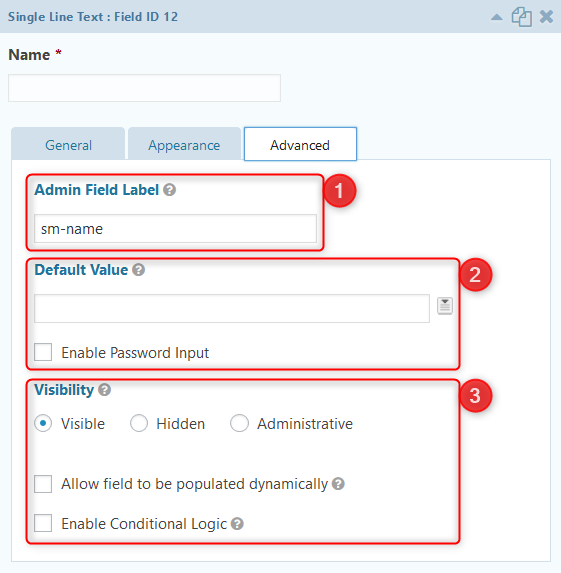
[1] Admin Field Label – fill in with names defined for a contact card.
- Name: sm-name
- Surname: sm-lastname
- Email: sm-email
- Telephone number: sm-phone
- Company: sm-company
- Address: sm-streetaddress
- Address cont.: sm-address2
- Postal code: sm-zipcode
- City: sm-city
- Country: sm-country
- Newsletter → sm-optin
IMPORTANT: You can also have ‘my_field’ in your form. On the contact card the value from this field will a detail named ‘my_field’.
[2] Default Value – here you can set a default value for the field
[3] Visibility – here you can select visibility for the field.
When you check Allow field to be populated dynamically, the field will be filled in with the default value dynamically.
When you check Enable Conditional Logic, you can create rules thanks to which some fields will be displayed or hidden depending on values in other fields.
2. Next, in the main menu go to SALESmanago → Gravity Forms.
You will be redirected automatically to the window with settings.
In the window there are settings of email in which subscription is confirmed after filling in the form. Here you can also configure forms that are to be integrated with SALESmanago.
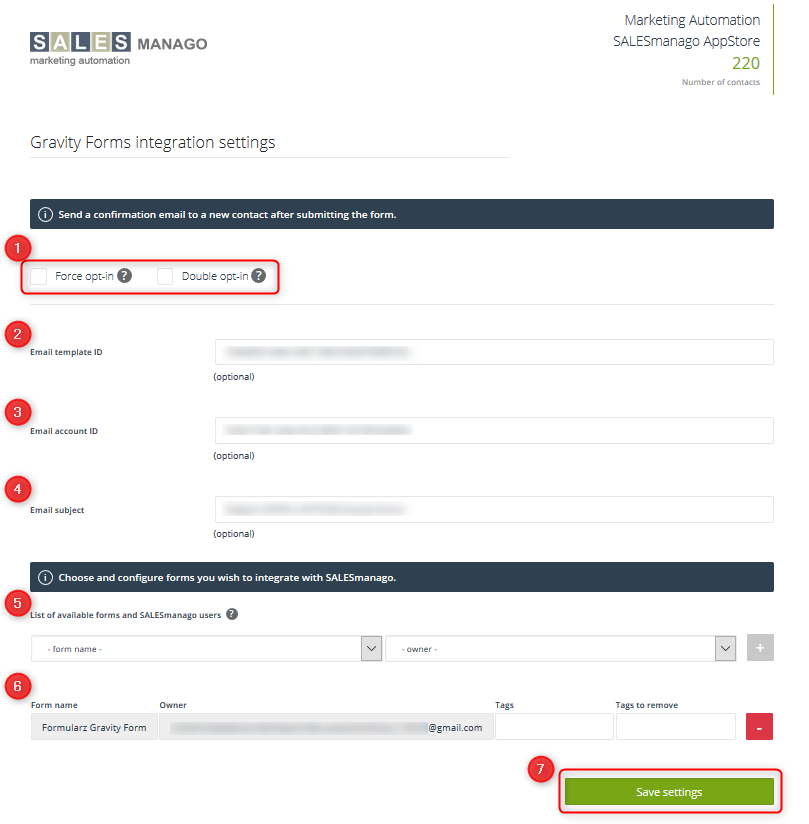
[1] Force opt-in, Double opt-in – first option means that despite the lack of subscription checkbox in the form, new contacts in SALESmanago are saved with opt-in status. The second option means that contacts are saved in SALESmanago with opt-in status only when they click the link confirming the subscription in the email.
IMPORTANT: These settings for all selected forms.
[2] Email template ID
To find Email template ID, log in to your SALESmanago account first. Then go to Settings → Email accounts. In the URL address you will find Email template ID.
https://www.salesmanago.pl/app/settings/emailAccounts.htm#/accounts/upsert/em/0d751b6f-7e7b-45fc-a440-24f9a471cee3local
[3] Email account ID
To find Email account ID, log in to your SALESmanago account. Then go to Email Marketing → Templates list. Click Edit.
https://www.salesmanago.pl/app/html/template/creator.htm?timeZoneId=Europe%2FWarsaw#/c/6458e086-e7ec-4ac6-8dad-af27645bc340/main/format
[4] Email subject
[5] List of created forms and SALESmanago users – this list contains all forms created in Gravity Forms and all users in your SALESmanago account. Select from the drop-down list.
[6] Here there are: form name, owner, tags which will be assigned and tags to remove.
IMPORTANT: Add and delete forms clicking + or -.
[7] Save settings – click it when your settings are ready.
Learn here how to create a form
Learn here how to create a link double opt-in
Now, when the installation is done, go to the manual which will help you with configuration.