The contact form is an effective way of generating leads within your own website. In Express PopUp Designer you can easily create functional and effective pop-up forms. The dynamic wizard allows you to create forms tailored to your website asking for customer data that will attract their attention.
Therefore, it is worth paying attention to such elements as:
- appropriate selection of images and its size – large ads irritate users, the maximum recommended size should not exceed ⅓ of the screen;
- the time after which the pop-up will be displayed – too fast and rapid display of the pop-up may discourage the user from getting acquainted with its content and may result in leaving our website;
- message – it should be clear, concise, catchy and without hidden intentions, that successfully fulfils desired purpose;
- easy switch off – the icon enabling exit from the pop-up should be in a visible and intuitive place for the user.
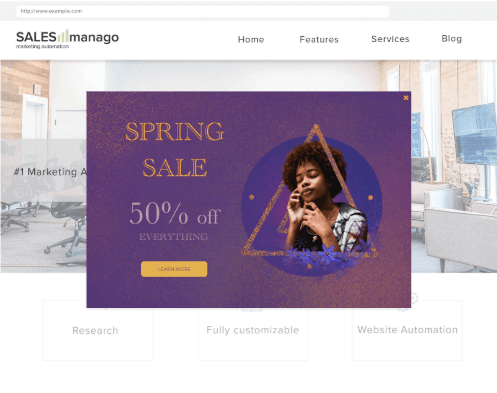
Exemplary pop-up appearance:
CONTENTS
- Device
- Pop-up
- Closing image
- Settings
To create a pop-up with an image go to:
LEAD GENERATION → POP-UP / EXIT POP-UP → CREATE NEW → POP-UP WIZARD WITH IMAGE
DEVICE

[1] Select the devices on which the pop-up should be displayed – here you can choose whether you want your pop-up to be displayed on your computer, phone or both devices; depending on the choice, the next steps of editing may be slightly different.
[2] Preview of the pop-up on the devices of your choice
[3] Next – go to the next step of creating
DESIGN

[1] Device selection – available, when selecting the “computer and smartphone” option in the first step (device selection) – depending on the selected icon (computer/smartphone), it will be possible to edit the pop-up details of the selected device. You can create separate creations for the computer and mobile phone.
IMPORTANT: By default, all settings are transferred from the computer to the smartphone. After making changes to the mobile version, settings become individual for both devices.
[2] Image and redirection – allows you to add the selected graphic and enter the destination redirecting link
[A] Drop the file here or select from the gallery – here you can upload the photo in the chosen way
[B] Add redirection – by selecting this option you can add the selected URL to which a user will be directed after clicking a pop-up
[C] URL of pop-up redirect – enter here the URL where you want to direct users after clicking on the pop-up
[3] Size and background – allows you to adjust the size and background of the pop-up
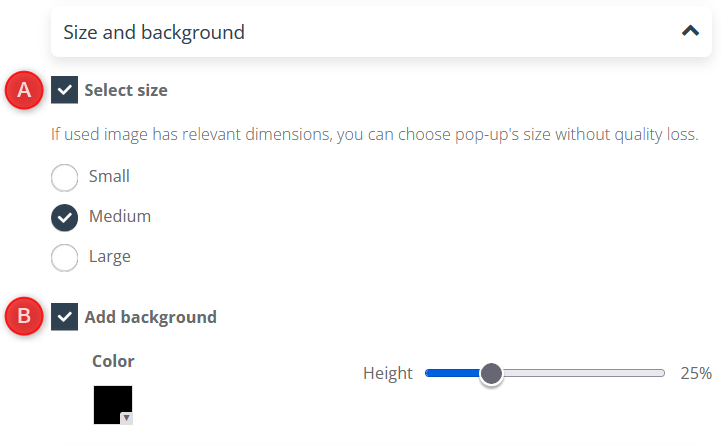
[A] Select size – checking this box allows you to choose the size of the pop-up from 3 options (small, medium, large); not marking this option will cause automatically setting the original size of the image
[B] Add background – marking this option allows you to add the pop-up background and choose its color; the background will be visible only when the selected size is bigger than the actual size of an image, e.g. you have selected the large size and original image’s size is smaller than that, therefore the missing space will be filled with a chosen color.
With the slider, you can set the background height on a scale from 1 to 100%.
[4] Position – allows you to set the location of the pop-up on the page
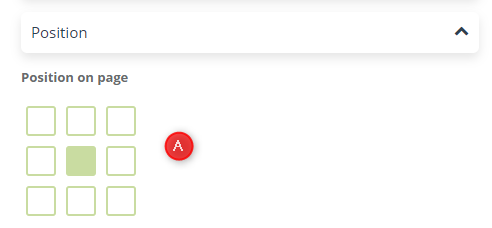
[A] Position on the page – the choice of a given box determines the position of the pop-up (in this case – a central point of the page)
[5] Button – allows you to add a button and refine its details
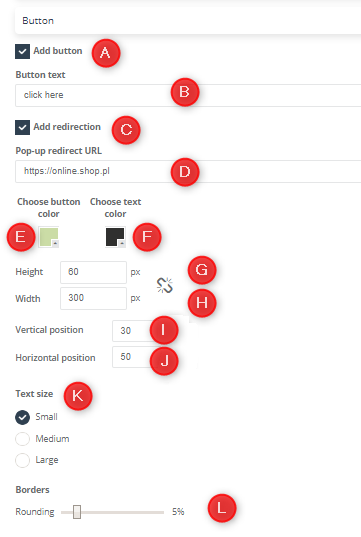
[A] Add button – selecting this option allows you to add a button
[B] Button text – enter the text you want to be placed on the button e.g. Click here.
[C] Add redirection – allows you to add a redirection link to the button
[D] Pop-up redirect URL – here enter the URL address you want to direct the users to
[E] Choose button colour – allows you to adjust the colour of the button
[F] Select text colour – allows you to adjust the text colour
[G] Height – allows you to adjust the height of the button
[H] Width – allows you to adjust the width of the button; an icon visible next to it sets the automatic proportion
[I] Vertical position – allows you to adjust the vertical position
[J] Horizontal position – allows you to adjust the horizontal position
[K] Button size – allows you to adjust the size of the button (to choose: small, medium, large)
[L] Borders – allows you to adjust the edge roundness
[6] Google Analytics – optionally you can add parameters to monitor marketing effects in Google Analytics.
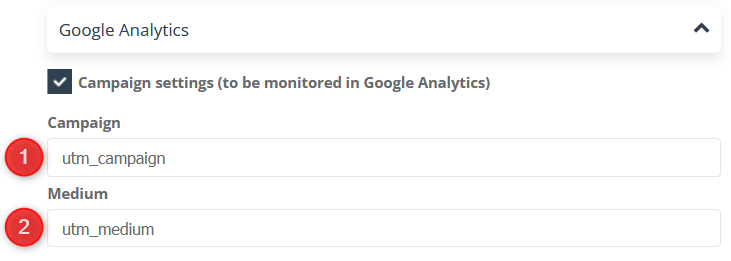
[A] Campaign – enter the value of the utm_campaign parameter.
[B] Medium – enter the value of the utm_medium parameter.
[7] Preview of the pop-up appearance, where all the applied changes are automatically displayed.
[8] Next – go to the next step of editing the pop-up.
CLOSING PICTURE
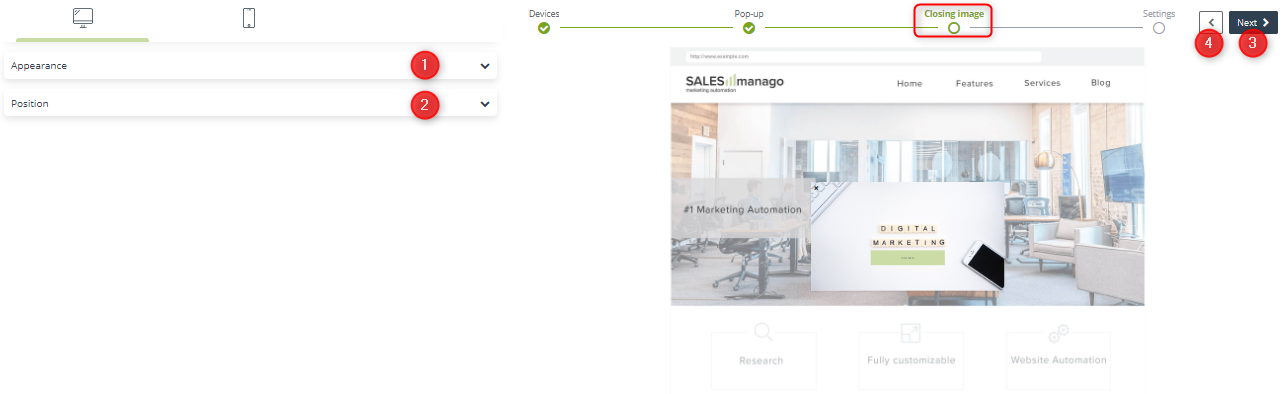
[1] Appearance – allows you to customize the closing image’s appearance

[1] Icon – selecting this option will cause the icon to be set as a pop-up image
[A] Shape – allows you to choose the shape; clicking on the icon marked below will display a window with available icons to choose between

[B] Colour – allows you to select the colour of the icon
[C] Size – allows you to adjust the size of the icon (to choose: small, medium, large)
[2] Picture – checking this feature allows you to set the image as a closing pop-up image
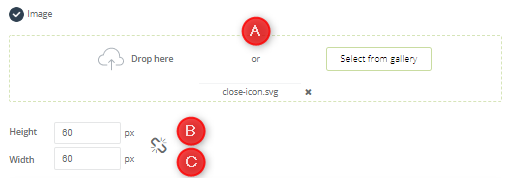
[A] Drop the file here or select from the gallery – here you can upload the picture in the chosen way
[B] Height – allows you to adjust the height of the image
[C] Width – allows you to adjust the width of the image
[2] Location – allows you to adjust the position of the closing image
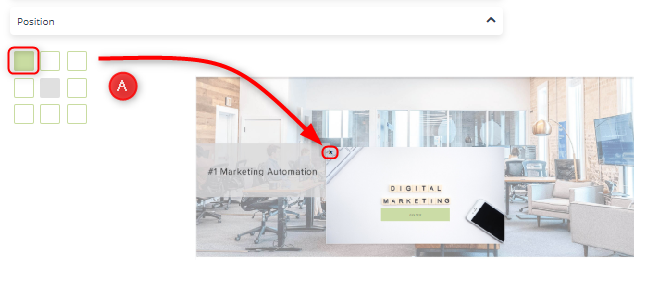
[A] Selecting a given field corresponds to the location of the closing image on the pop-up
[3] Next – after selecting next you will go to the last step of the pop-up
Editing
[4] Return – allows you to go back to the previous step of the pop-up editing
SETTINGS
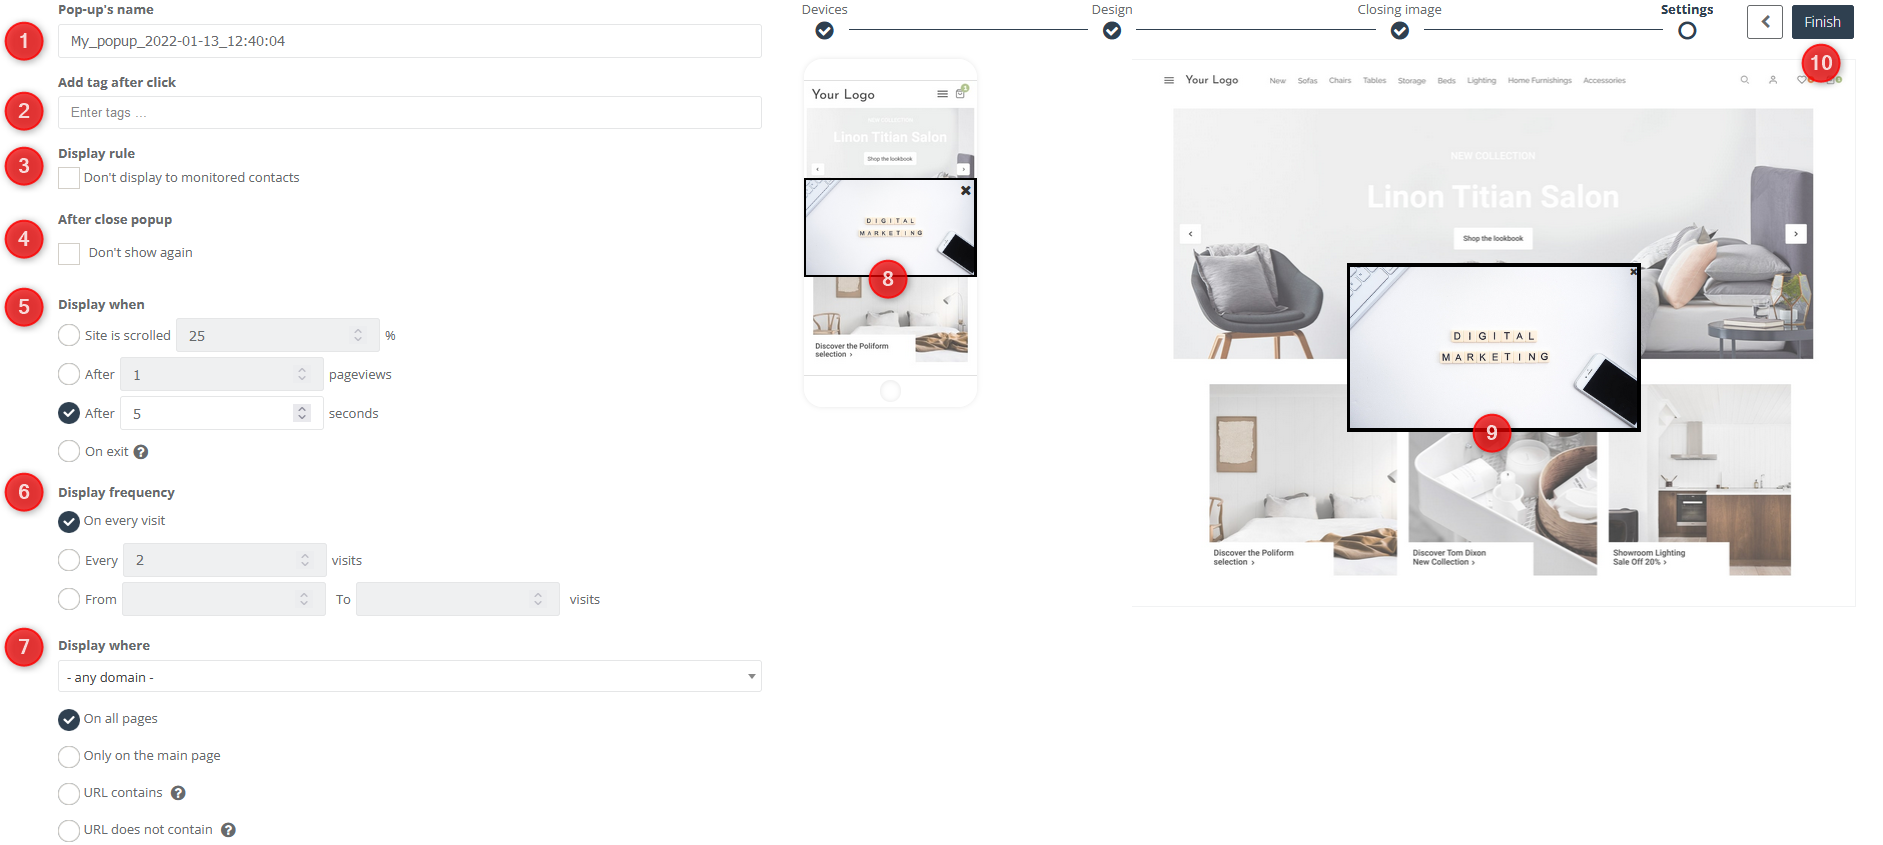
[1] Pop-up’s name – enter the name of the pop-up, which will later facilitate its identification
[2] Add tag after clicking – allows you to add the tag that will be automatically assigned to contact after clicking on the pop-up.
[3] Display rule – marking the option Don’t display to monitored contacts causes the pop-up will be displayed only to the contacts that have not been previously monitored by SALESmanago.
[4] After close pop-up – marking the option Don’t show again causes the pop-up will not be displayed when a user closes it while browsing the website.
[5] Display when – allows you to adjust the time from entering the page after which the pop-up will be displayed to a user.
- After scrolling x% of the page – the pop-up will be displayed after the user scrolls the page by the selected percentage,
- After x pageviews – the pop-up will be displayed after the selected number of pages viewed (every displayed page during a visit count as a new pageview),
IMPORTANT: When starting a new visit (counted after 3 hours from the previous visit) the pageviews are counted from the beginning.
- After x seconds – a pop-up will be displayed after a selected number of seconds have elapsed since the user entered the site,
- On exit – the pop-up will be displayed when the user wants to leave the page.
IMPORTANT: Exit pop-up is not available for mobile devices.
[6] Display frequency:
- On every visit – display a pop-up every time the user visits the site. Remember that one visit is counted once every 3 hours,
- Every “x” visits – display a pop-up every given number of visits, e.g. for setting every two visits, the pop-up will be displayed on the first, third, fifth etc.,
- From “x” to “y” visits – display a pop-up in the selected visit interval.
[7] Display where – allows you to determine the location of the pop-up. Choose the domain where you want to display the pop-up; one pop-up can be displayed on one domain.
- On all pages,
- Only on the main page,
- URL contains – a pop-up will be displayed on all pages whose URL contains the selected phrase,
- URL does not contain – the pop-up will be displayed only on pages whose URL does not contain the selected phrase.
IMPORTANT: Visits and views are counted only when the location’s condition of pop-up is fulfilled e.g. counted are visits and pageviews from the chosen domain:
EXAMPLE: The pop-up is displayed only on the home page (location’s condition), every 2 visits (visits’ condition), and after 2 pageviews (pageviews’ condition):
|
Action on the page |
Number of visits | Number of pageviews | Pop-up | Reason |
|
STEP 1 opening the main page |
1 |
1 |
doesn’t display |
unfulfilled pageviews’ condition |
|
STEP 2 reloading the main page |
1 | 2 |
doesn’t display |
unfulfilled pageviews’ condition |
|
STEP 3 any number of visits on subpages |
1 | 2 | doesn’t display |
unfulfilled location’s condition |
|
STEP 4 back to the main page |
1 | 3 | is displayed |
all conditions fulfilled |
|
STEP 5 back to the main page after at least 3 hours |
2 | 1 | doesn’t display |
unfulfilled visits’ and pageviews’ conditions |
|
STEP 6 reloading the main page |
2 | 2 | doesn’t display |
unfulfilled visits’ and pageviews’ conditions |
|
STEP 7 reloading the main page |
2 | 3 | doesn’t display |
unfulfilled visits’ condition |
|
STEP 8 back to the main page after at least 3 hours |
3 | 1 | doesn’t display |
unfulfilled pageviews’ condition |
|
STEP 9 reloading the main page |
3 | 2 | doesn’t display |
unfulfilled pageviews’ condition |
|
STEP 10 any number of visits on subpages |
3 | 2 | doesn’t display |
unfulfilled location’s condition |
| STEP 11
back to the main page |
3 | 3 | is displayed |
all conditions fulfilled |
Pop-up won’t display only for the monitored contacts that fulfill consent previously.
[8] Preview of the pop-up appearance on a mobile device.
[9] Preview of pop-up on a computer.
[10] Finish – choosing this option will finish the process of creating a pop-up; after clicking the button, the following window will appear on the screen:

[1] Continue editing – after selecting this option you will be able to continue editing the pop-up.
[2] Activate – by clicking the button, you can decide whether to activate or deactivate the pop-up.
[3] Save – save created pop-up.