Useful links
When your Customer Preference Center is ready, you can implement it on your website using the API method. Learn how and start collecting data.
Contents
1. Basic information
You can implement your Customer Preference Center on your website. It will be displayed as a separate landing page – a special space containing your perfectly designed data collection tool. You can freely customize its appearance.
A Preference Center can include one or more of the following tabs:
- Product preferences,
- Personal data (Basic information and Personal preferences),
- Consents,
- Channels & Frequency.
2. Implementing the Preference Center on your website
To implement the Preference Center on your website using the API method, you need the Center’s ID. To obtain it, you first need to save and activate your Preference Center.
When the Center is ready, click Save [1] and then Save and activate [2].
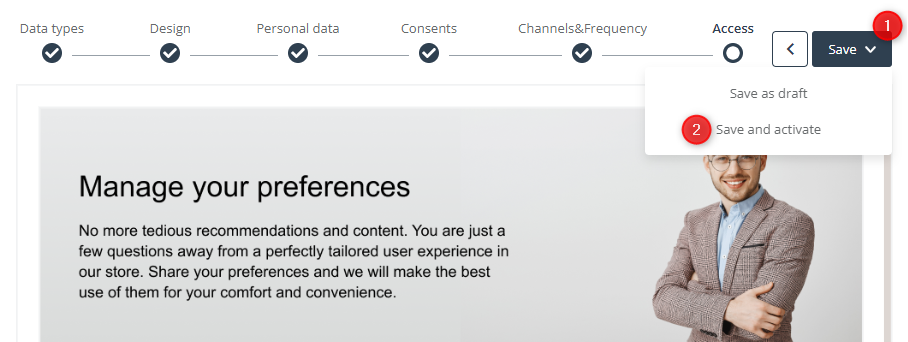
A pop-up with instructions for the next steps will be displayed.
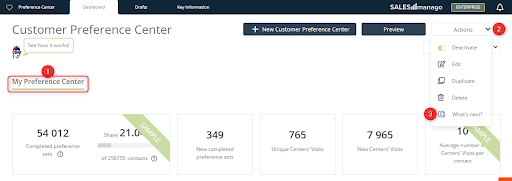
If your Preference Center is already active, you can access the same pop-up if you go to the Preference Center’s Dashboard [1], open the Actions menu [2] and select What’s next? [3].
The pop-up with the instructions has three tabs.
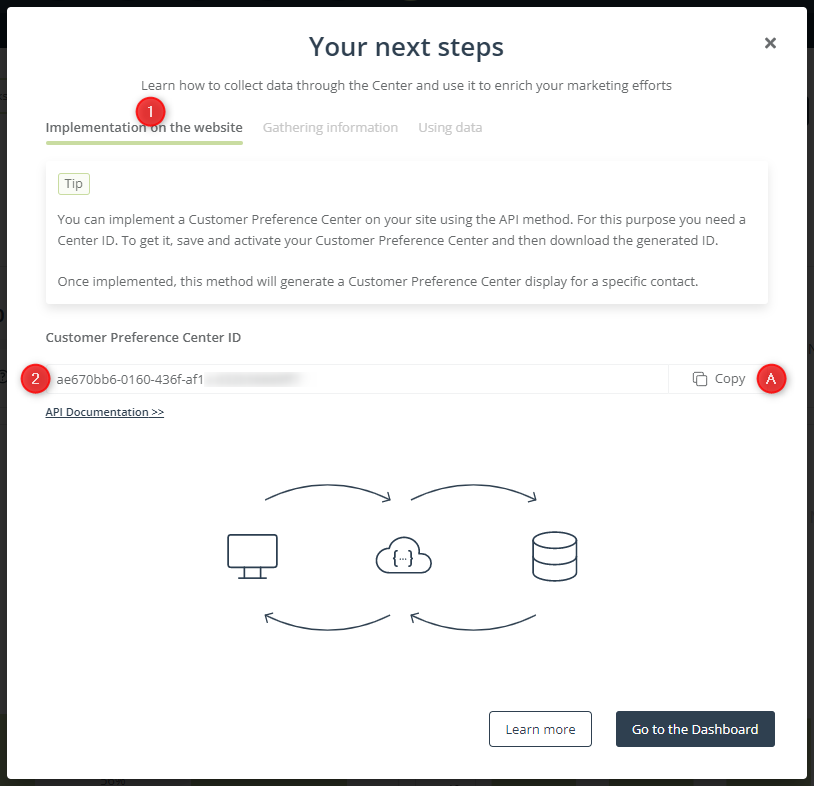
Under the Implementation on the website [1] tab, you will find your Preference Center’s unique ID [2].
To implement the Preference Center on your website, copy the ID (use button [A] for convenience) and apply the API method.
See the API method for the Customer Preference Center >>