Useful links
This article explains how to create and configure an email that can be used to confirm a Contact’s subscription to your newsletter, i.e., an email containing an opt-in link.
Email Marketing remains one of the more effective marketing channels that generates very high ROI. However, to send marketing content, you first need to obtain the intended recipient’s consent. When someone has expressed interest in receiving your newsletter, the best marketing practice is to use the double opt-in mechanism, i.e., to ask the Contact to confirm their subscription by email.
Note that the double opt-in mechanism is obligatory on the SALESmanago platform in the case of subscription via any Lead Generation tools (forms, pop-ups, and landing pages).
To create a subscription confirmation email, go to
Channels → Email Marketing → Email List → Subscription confirmation tab → + New subscription confirmation
Contents
- Getting started
- Create a subscription confirmation email
- Add an opt-in link
- Configure the double opt-in mechanism
1. Getting started
Email Marketing remains one of the more effective marketing channels that generates very high ROI. However, you can only send your newsletter to those Contacts who have given their consent to receive such marketing communications.
Marketing consent refers to any freely given, specific, informed, and unambiguous indication of the types of communications that a given person wishes to receive (by which they signify agreement to the processing of their personal data for this purpose). Any person may check and manage at any moment all their marketing consents given to a company.
You can obtain marketing consent through various channels, including pop-ups and Web Push notifications. When someone has expressed interest in receiving your newsletter (e.g., by filling out a form), the best marketing practice is to use the double opt-in mechanism, i.e., to ask the Contact to confirm their subscription by email.
IMPORTANT: The double opt-in mechanism is obligatory in the case of subscription via any Lead Generation tools (forms, pop-ups, and landing pages).
The double opt-in mechanism allows you to:
- minimize the number of incorrect email addresses in your database—which results in better deliverability; and
- make sure that the Contact actually intended to subscribe to your newsletter, i.e. that they will really be interested in your content—which results in higher open and conversion rates (OR and CTR).
For your convenience, the Email List (Menu → Channels → Email Marketing → Email List) has a separate tab for subscription confirmation emails:
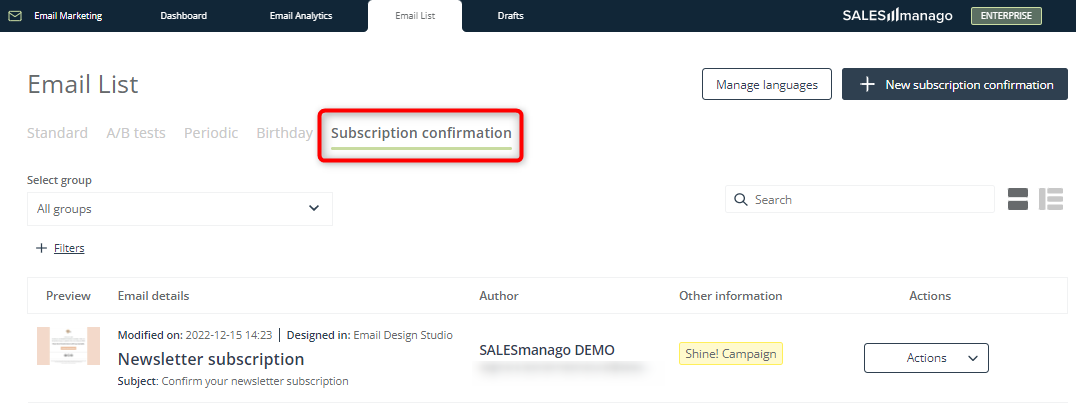
Here you can see all your existing subscription confirmation emails and check basic information about them. To create a new subscription confirmation email, click on the + New subscription confirmation button in the top right-hand corner of the screen.
2. Create a subscription confirmation email
After clicking + New subscription confirmation in the Subscription confirmation tab on the Email List, select the SALESmanago wizard in which you want to prepare your new subscription confirmation email.
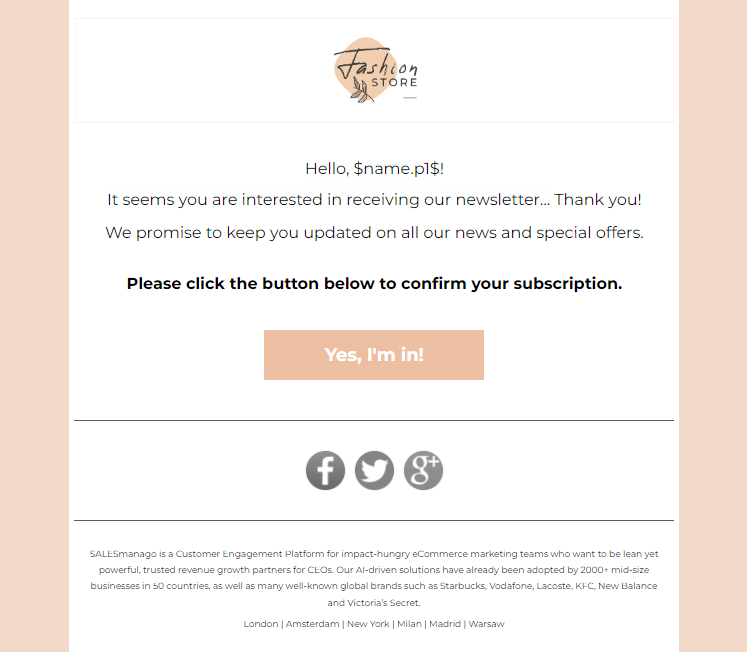
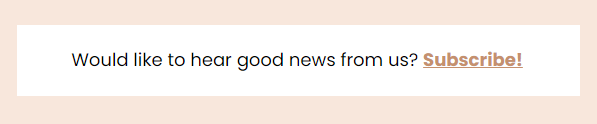
Design an attractive email that will encourage the recipient to confirm their subscription to your newsletter.
NOTE: When creating a subscription confirmation email, you can use any widgets you want, just as in the case of an ordinary email. The only exception is the opt-out link, which cannot be included in a subscription confirmation email.
The most important element of a subscription confirmation email is the opt-in link.
Read Section 3 below to learn how to insert it into your email.
3. Add an opt-in link
When creating a subscription confirmation email, make sure to include an opt-in link.
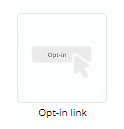
- In the Drag & Drop Email Designer, add the Opt-in link widget to your email (note that this widget is only available when creating a subscription confirmation email):
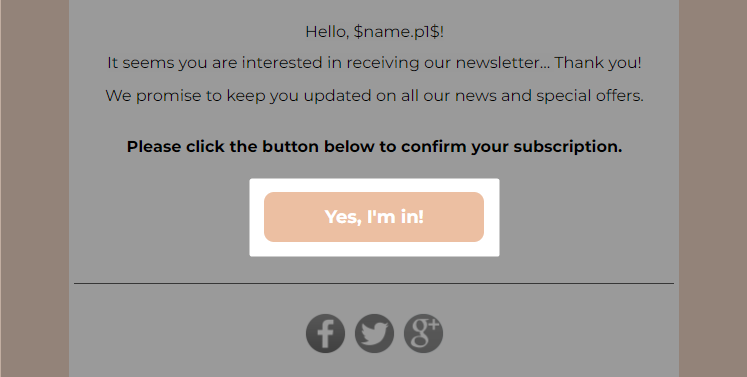
- Go to the widget settings and select if you want to include the opt-in link in the form of text [A] or a button [B].
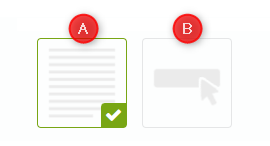
- Edit the default text or button as necessary so that it matches your brand identity.

- In the HTML, ZIP, URL, and FreeMarker wizards, add the opt-in placeholder to any selected element, such as text, a button, or an image. You can do it manually, by adding the $opt-in$ placeholder to the code, or you can mark the selected element, click on the personalization button [1], and select Opt-in URL from the list of placeholders [2]:
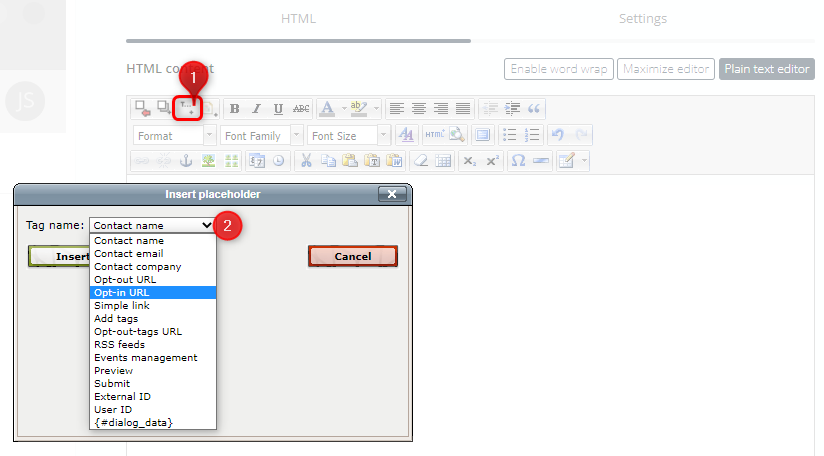
Learn more about personalization using placeholders >>
3.A Opt-in link—advanced options
The standard opt-in link (inserted in the form of the following placeholder: $opt-in$) will redirect the user to a standard SALESmanago screen confirming that they have subscribed to your mailing list. However, you can also use an opt-in link that will add a tag to the Contact; and that will redirect the Contact to a website of your choice.
To read more about these advanced options, see section 2.B of the article dedicated to personalization using placeholders >>
4. Configure the double opt-in mechanism
When your subscription confirmation email is ready, you can configure it to be sent to Contacts in response to their actions (such as filling out a pop-up form).
Learn how to configure subscription confirmation emails (the double opt-in mechanism) >>