With SALESmanago you can export your contact database to excel files with additional data. While exporting, you can select a range of data that you want to be exported. The less data you choose, the faster the export is processed. Exporting contacts does not remove them from the system. Exported contacts can be later re-imported into the system with additional information. If the contact exists in the database, during import new information will be added to the contact’s card).
To export contacts, go to
Audiences → Contacts → Contact Management → Exports.

Contents
- Select contacts
- Data range
- Access settings
- Select contacts
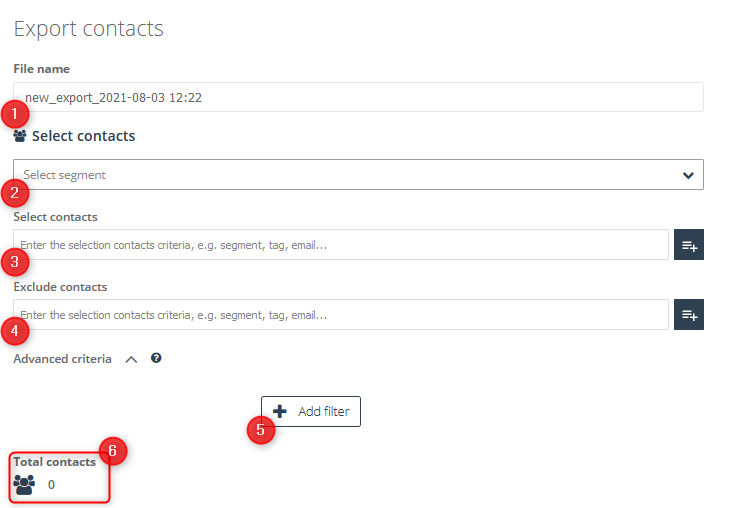
[1] File name – name the export for Its identification.
[2] Select segment – from the drop-down list of ready-made segments you can choose the one you are interested in by typing the name in the search box or by browsing the list. To select the right group of recipients click its name on the list. Choosing a particular segment will cause selectors defining this segment to appear in the Select Contacts and Exclude Contacts windows. Below you will also see a list of filters applied to the group. All items will be displayed in editable form.
[3] Select contacts – in this field you can specify the group of message recipients. Apart from the option of sending mass mailings after entering the name, email address or telephone number, you can also add contacts to the list of recipients using predefined segments.
For more information and a complete list of predefined segments, click here >>
If there are exceptions among the marked contacts to whom you do not want to send messages, you can use the option:
[4] Exclude contacts – you can do it the same way you select contacts for mailing, including additional selectors.
[5] Advanced criteria – use the advanced filtering option, which allows you to filter contacts by:
- age – indicate the age range;
- birth date – tick the has or has not option;
- date – specify the time period in which the contact was included in the system, when it was modified and performed its most recent activity;
- details –enter the name of the detail and its value using mathematical operators;
- number of emails – enter the numeric value of emails sent, opened and clicked;
- email address domain – enter the domain; you can enter several domains, separating them with commas;
- external events – enter the name of the external event details;
- name –select has or has not option;
- phone number – select has or has not option;
- scoring – specify from which (or to which) numerical value contacts will be filtered;
- tags – you can specify the time period in which the tag was created, specify all the names of tags by which the contact will be searched and specify any tag name from the previously entered;
- tag scoring – enter a tag name and specify its scoring using mathematical operators;
- dictionary detail – select a detail name from the dictionary and define its value using mathematical operators;
You can find more information on advanced filtering options here >>
[6] Total contacts – this indicator shows the total number of recipients to whom the message was addressed. The number of recipients is updated in real time if changes are made to the segment or filter selection.
- Data range
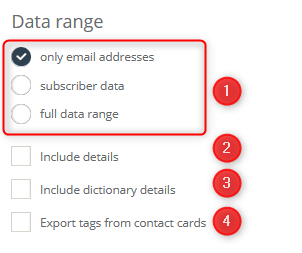
[1] Data range – choose the data you would like to export:
- only email addresses (contact email address and email address of the main owner),
- subscriber data (contact email address and email address of the main owner, contact scoring, information If contact is opted-in and contact ID),
- full data range (contact email address and email address of the main owner, company, name, phone number, fax, date of birth, street, post code, city, province, country, scoring, If contact is an opt-out, contact ID, tags, tags scoring, when contact was created, date of the last modification, last contact visit on the monitored website, information If the contact has set one message a week). To export details insert them in Add details.
[2] Include details – It is possible to export contacts with assigned details. Confirm each detail after it has been typed in. Then you can enter another detail.
[3] Include dictionary details – additionally you can export contacts with assigned dictionary details. Confirm each detail after it has been typed in. Then you can enter another detail.
[4] Export tags from contact cards – you can also export tags assigned to contacts.
- Access settings

[1] Select a folder – choose a folder your export is going to be saved in, in Repository.
[2] Set access – we can decide If we want our export to be visible for other users.

To export contacts click Export [1].
After clicking Export, the Recently exported contacts will display. There can be only one export active simultaneously. Every following export activates after 15 minutes.

After clicking Details you will see detailed information about the chosen export.
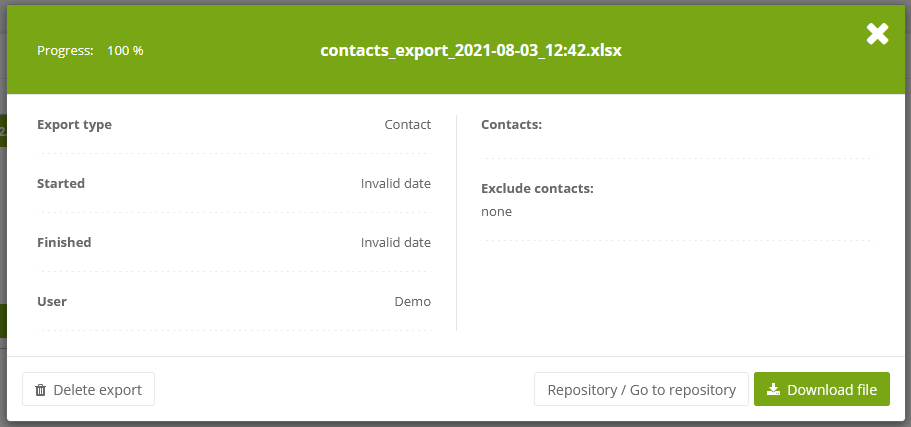
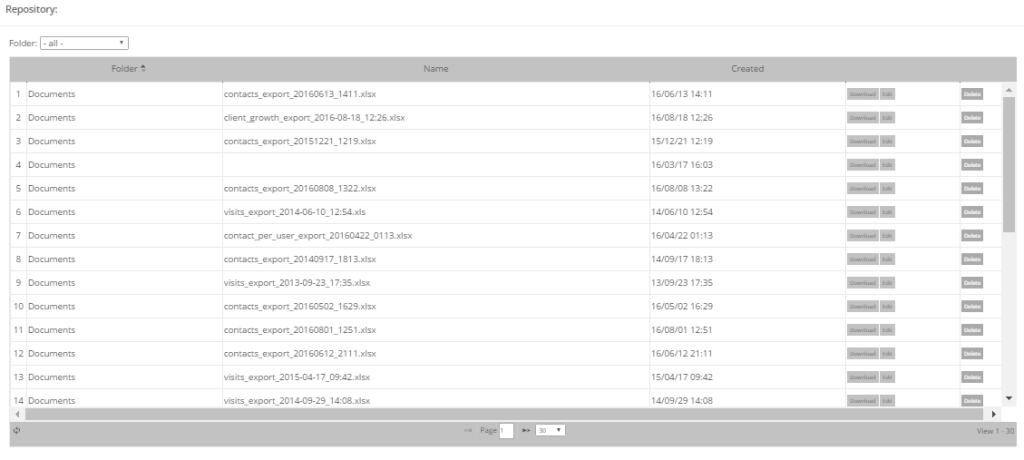
List of exports is available in Repository.
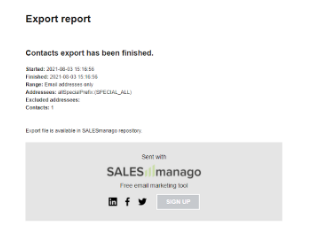
After exporting data we will receive an email with the report.
Here’s an exemplary file with exported data.
IMPORTANT: How to export external events you can find HERE>>.
Submit your review | |
