Adding Website Automation Rule in the Automation Rules supports the process of communication with the client by the possibility of customizing the message displayed on the website to the specific client. By adding an action Run the Website Automation rule, you can decide which action should be taken if the contact meets the automation rule.
Contents:
- Adding Website Automation Rule to Automation Rules
- Exemplary Rule
1. ADDING WEBSITE AUTOMATION RULE TO AUTOMATION RULES
To add Website Automation Rule, go to Automation Processes → Automation Rules
IMPORTANT: Before you begin the process of adding Website Automation Rule, as a rule, create a WAR according to its intended purpose (e.g. displaying LiveChat after contact’s visit to the given website).
Detailed information on how to create Website Automation rules and a description of individual elements, you will find here.
After creating the appropriate Website Automation rule, you can start adding it to Automation Rules.
IMPORTANT: It is not necessary to create a new Website Automation rule each time before adding it to Automation Rules. If you have previously created Website Automation rules – you can use one of those from the list.
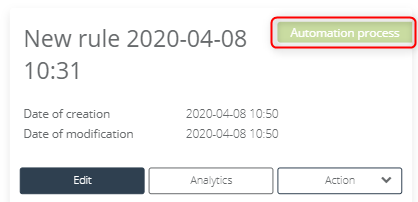
An image below shows the view of an exemplary Website Automation rule on the list. The rule marked this way is ready to be used in Automation Rules in the action Run Website Automation rule.
To add a Website Automation rule to Automation Rules, you need to start the process of creating an automation rule. Details on creating Automation Rules and a description of individual components you will find here.
After adding the selected event, the occurrence of which will condition the launch of the selected Website Automation rule, add the action: Run the Website Automation rule.
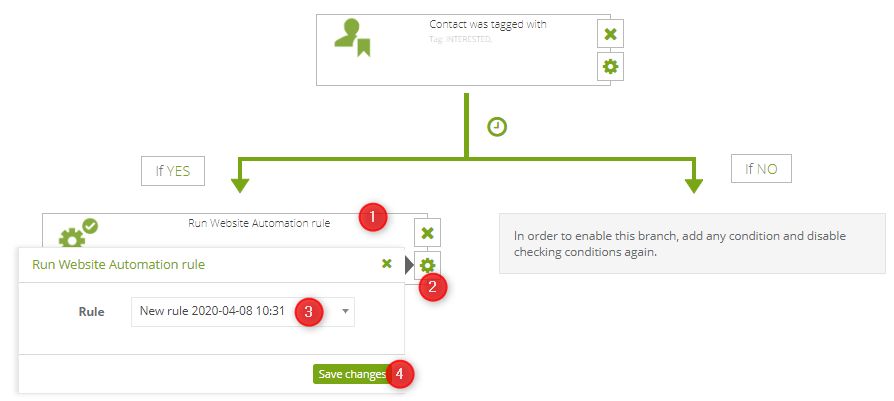
[1] Action: run the Website Automation rule – the chosen Website Automation rule will be run when the selected event occurs
[2] Settings – after selecting the settings icon, a field enabling the selection of a specific, previously created rule, will be displayed on the screen
[3] Rule – allows you to select a given rule from the list of previously created rules; Depending on the selected rule, the action will occur after the event occurrence.
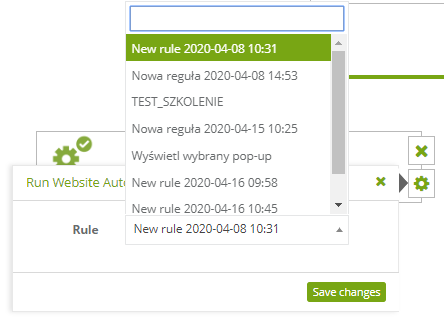
IMPORTANT: The list only contains the rules that have been marked as The automation process. In addition, they are only available for Website Automation rules.
[4] Save changes – after selecting this option, the selected rule will be added to the Automation Rule action.
After completing the Automation Rule creation process, select the option save.
2. EXEMPLARY RULE
An image below presents the exemplary Automation Rule containing the action Run Website Automation.
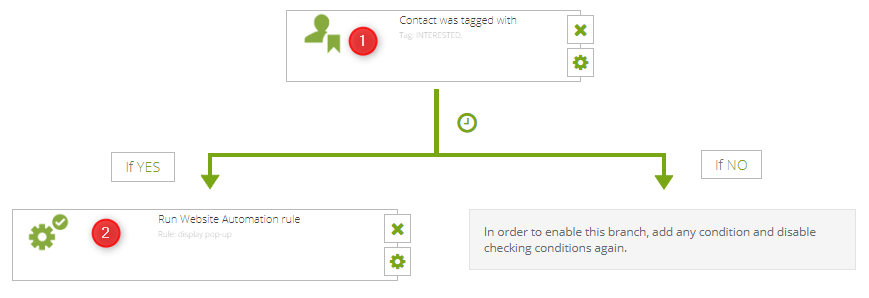
[1] Contact was tagged with – in this case, the event conditioning the launch of the Website Automation rule is the assignment of the selected tag to the contact. Practically, it means that the Website Automation rule will be run appropriately for the contact to whom the tag: interested, will be assigned.
[2] Run the Website Automation rule – after the occurrence of a given event – in this case, adding a specific tag to the contact, the Website Automation rule selected from the list will be launched – in this case, the rule that displays the pop-up after entering the given URL by the contact.