Useful links
SALESmanago is Marketing Automation application that assists people with marketing and sales activities inside the companies of various profiles. It serves as a tool that helps with collecting data and its automated processing. It enables sending offers by electronic means among all. With regard to these actions, SALESmanago lets you create consents that you can archive, so you can work in compliance with the state and European Union’s law.
IMPORTANT: SALESmanago serves as a tool that helps you work in compliance with the law and information included in the article is only a suggestion. You are the administrator of your customers’ data, so in order to confirm that you act according to the law, we strongly suggest taking expert advice.
Contents:
- What kind of information should I include in a consent?
- How can I acquire consents?
- How can I create a consent in SALESmanago?
- How can I add a consent to the form?
- To which forms can I add a consent?
- Where can I find consents in the system?
- Consents vs. tags
What kind of information should I include in consent?
Usually, the consent includes a formula about the purpose of using the personal data (e.g. profiling), about performing specific actions towards a user (e.g. sending emails with offers) or information about the possibility of opting out.
How can I acquire consents?
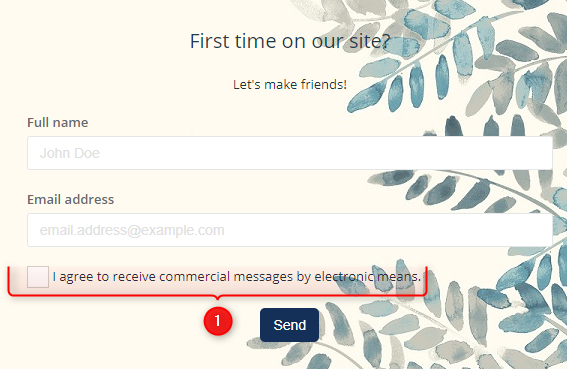
- Forms – you can acquire consents by means of the forms you include in pop-ups. In practice, it means adding a small checkbox with the consent formula. Below you can find the formula of adding the checkbox in the HTML forms:
<input type="hidden" value="true" name="$sm-consent.id.NAME$"> <input type="checkbox" name="$sm-consent.name.NAME$"> <label>$sm-consent.desc.NAME$ </label>
- Replace NAME with the consent name. The consent has to be created in the system beforehand (see section 3).
- API – by means of contact/upsert method you can add information about contacts and also about consents sent back from the users. You only need to add a formula.
IMPORTANT: The consent must be created in the system.
Exemplary formula:
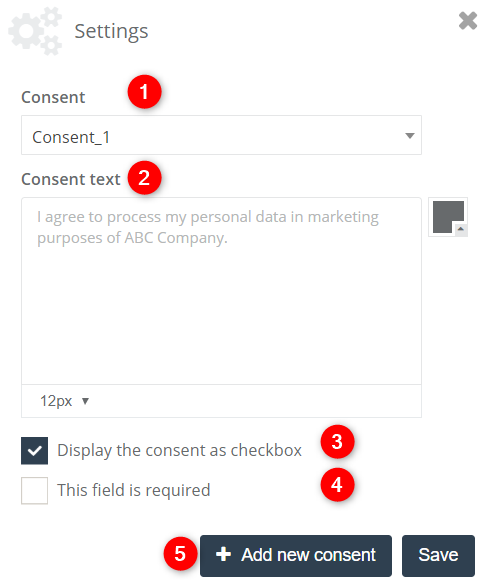
How can I create a consent in SALESmanago?
Adding a consent
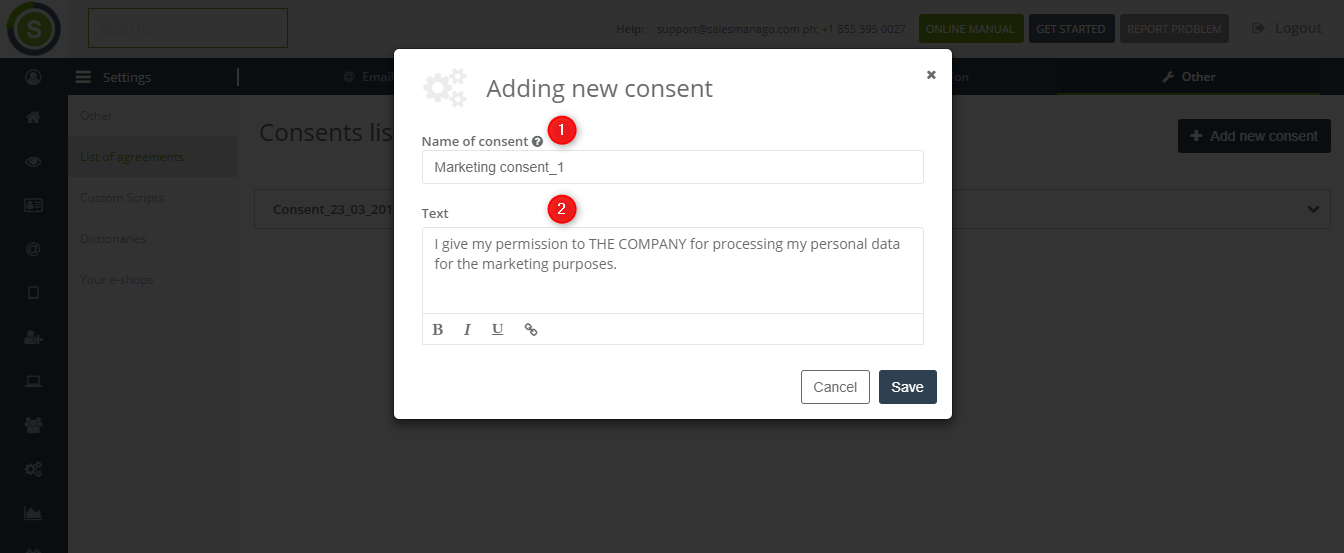
Click Save when you finish creating your consent.
How can I add a consent to the form?
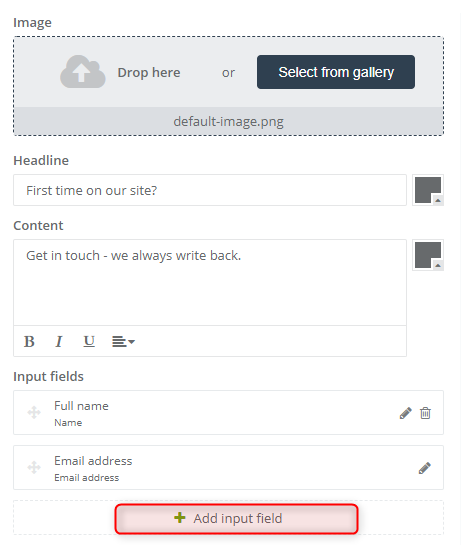
To which forms can I add a consent
- Pop-up (Express and Advanced),
- Form (Express and Advanced),
- Landing page,
- Sidebar,
- Live Chat,
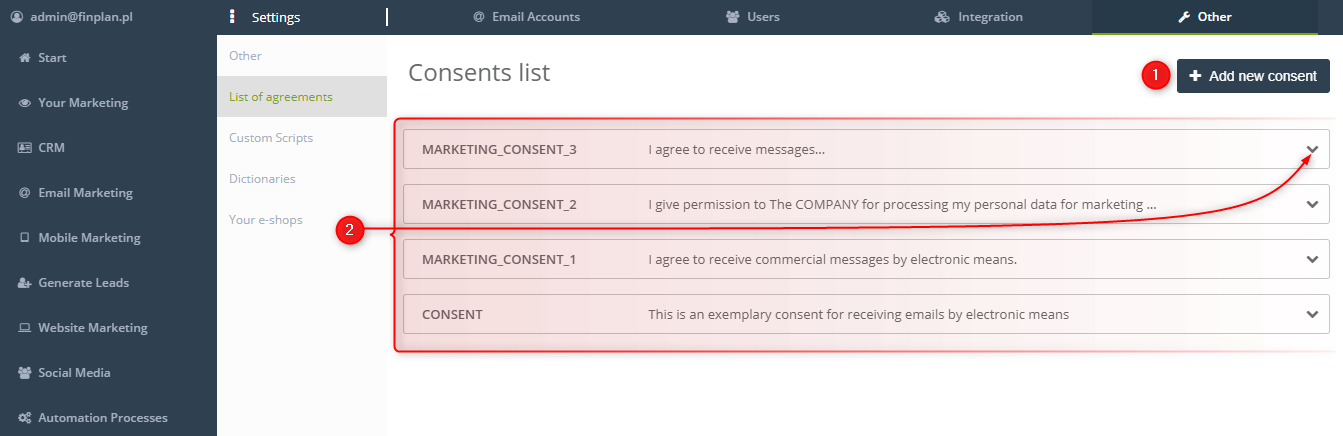
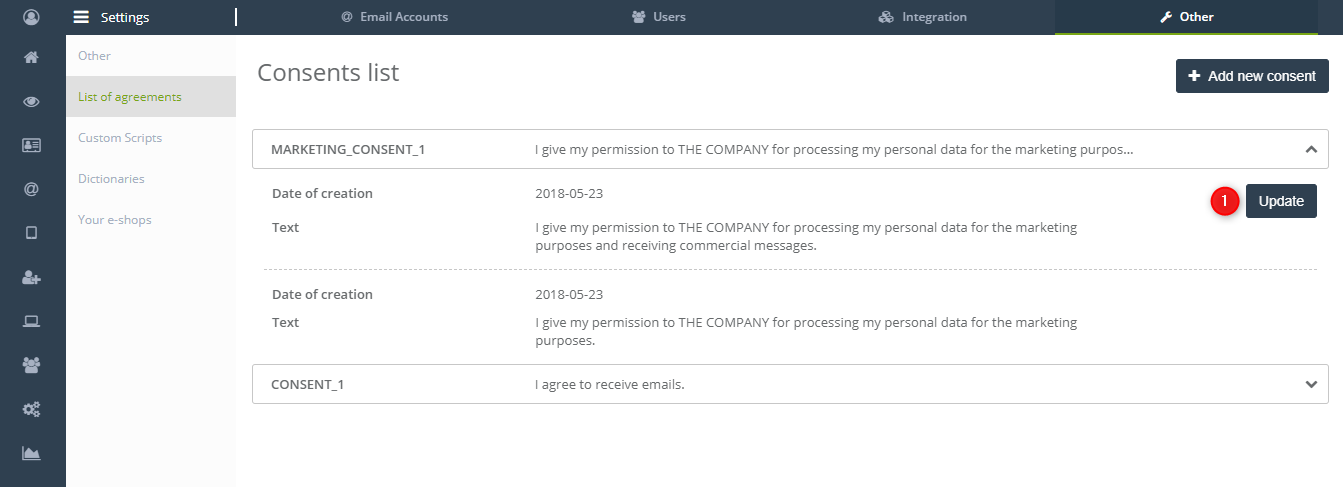
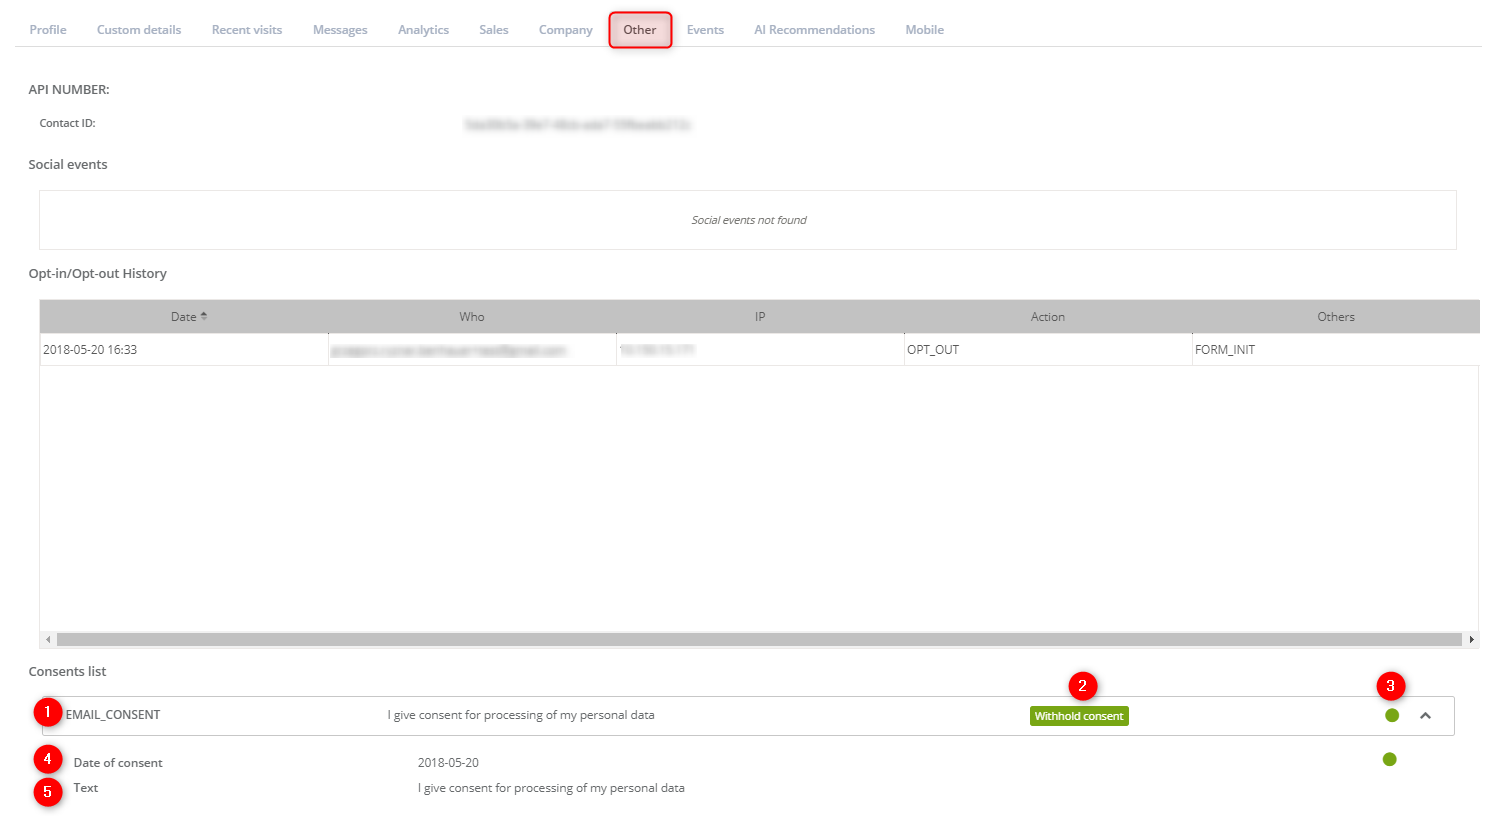
Where can I find consents in the system
- Contact card – information about the fact whether the contact has agreed or not is available on the contact card. It is displayed in the form of the list. It displays all consents sent to the contact. Such list can serve as a documentation that will prove that your actions are compliant with the law and the user is aware of the activities that are performed towards him or her.
- List of agreements – it contains all consents which were created in the system. Each of them can be updated with a new text. Each version of the consent text is archived.
