WooCommerce is an easily configurable and customizable eCommerce platform based on WordPress. By integrating WooCommerce with your SALESmanago account, you will enrich your CDP with Contact data and transactional data, which you can later use to automate your marketing activities.
The SALESmanago plugin also allows you to create or map a newsletter subscription field (whereas neither WooCommerce nor WordPress offer such a function).
To download the WordPress plugin, click here.
Related articles:
Contents
- Basic information
- Scope of integration
- Installation
- Configuration
- a. Navigation
- b. WooCommerce integration settings
- Technical description
- a. Webhooks
- b. Field names
- c. Store location
1. Basic information
The WooCommerce integration is part of the WordPress plugin created by SALESmanago. To find out how to install and configure the plugin, see the related articles listed above.
This article provides detailed information on the integration between the SALESmanago and WooCommerce platforms. The plugin is free for our customers and is constantly being improved.
Integrating WooCommerce with your SALESmanago account will allow you to transfer relevant contact and transaction data between the platforms. You can use this information to automate your marketing activities and thus boost your sales.
2. Scope of integration
After logging in to the plugin, synchronization and data transfer are performed automatically. The scope of the integration includes:
- Adding a monitoring parameter (smclient cookie) to Contacts who have provided an email address.
- Sending data provided by users when they register, make a purchase or edit their accounts (name, email address, phone number, address, company, date of birth, date of Contact creation).
- Assigning tags to Contacts after the following events: registration, login, newsletter subscription, purchase, and guest purchase.
- Adding or mapping a newsletter sign-up checkbox.
- Confirming newsletter subscriptions (double opt-in).
- Exporting Contacts and archival purchase data from WooCommerce to SALESmanago.
- Forwarding external PURCHASE and CART events for logged-in and non-logged-in Contacts that already have an smclient cookie.
Read more about the WordPress integration >>
3. Installation
The WooCommerce integration is part of the SALESmanago plugin for WordPress.
Learn how to install the plugin >>
4. Configuration
A. Navigation
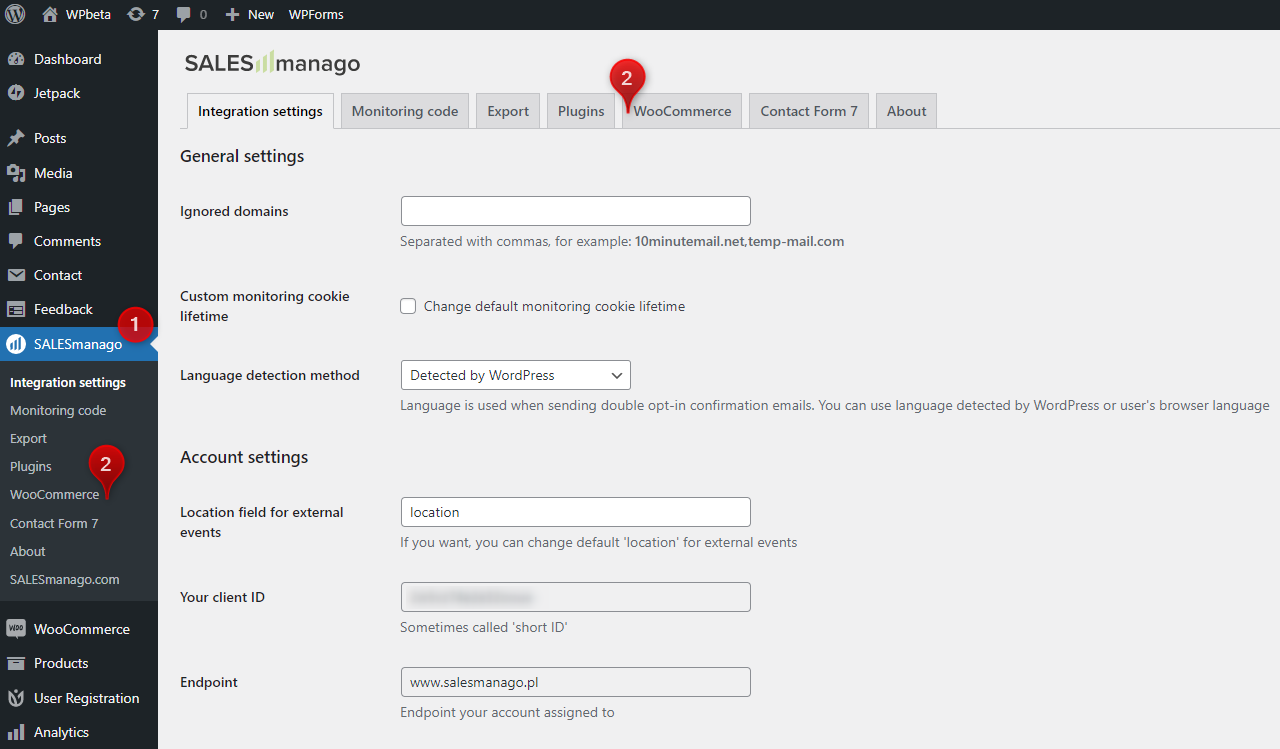
After logging in to the WordPress platform, go to the sidebar navigation menu and select SALESmanago [1]. (If you see a login screen, enter the details for your SALESmanago account). Then select WooCommerce [2] to manage the WooCommerce integration settings.
B. WooCommerce integration settings
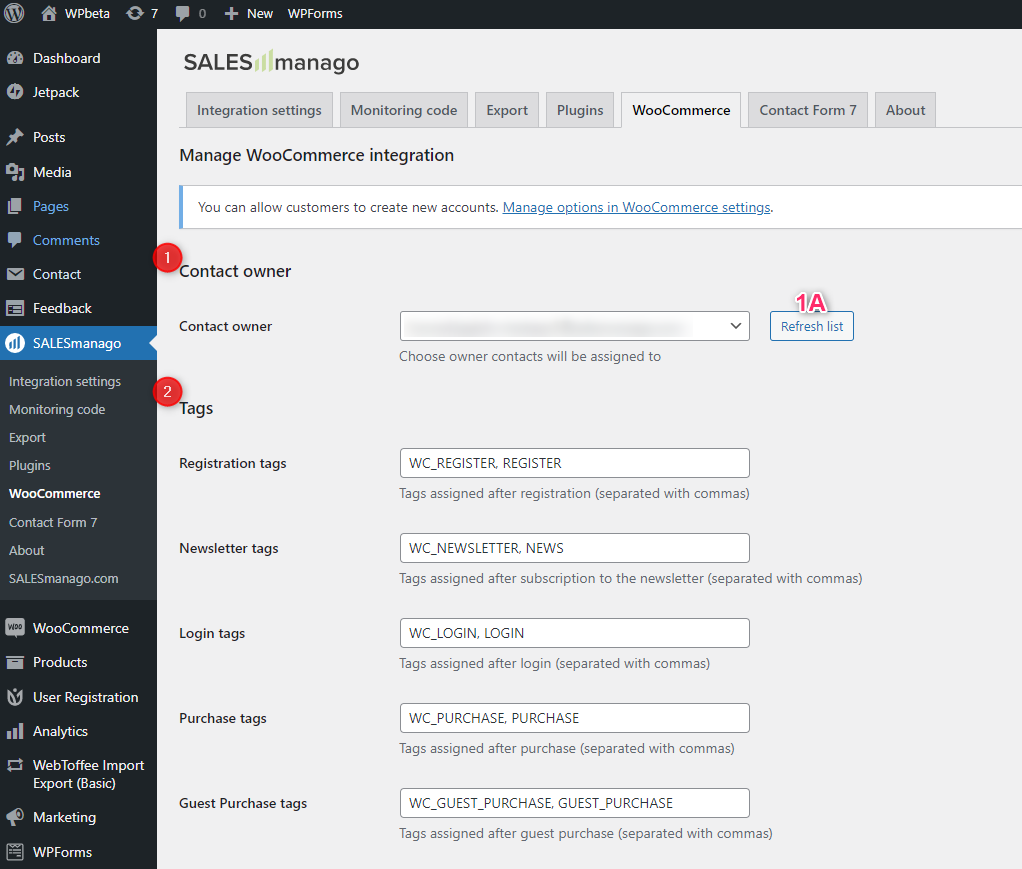
[1] Contact owner – select the contact owner to whom Contacts acquired through WooCommerce will be assigned.
NOTE: The owner list is received from SALESmanago when you log in to the SALESmanago plugin. If there have been any changes to the owner list since then, click on Refresh list [1A] to update it.
[2] Tags – specify what tags will be assigned to Contacts when they perform the following actions:
- registration,
- newsletter subscription,
- login,
- purchase,
- guest purchase.
You can add more than one tag, each separated with a comma. When the settings are saved, all tags will be processed: lower case will be converted to upper case and spaces will be converted to underscore (_).
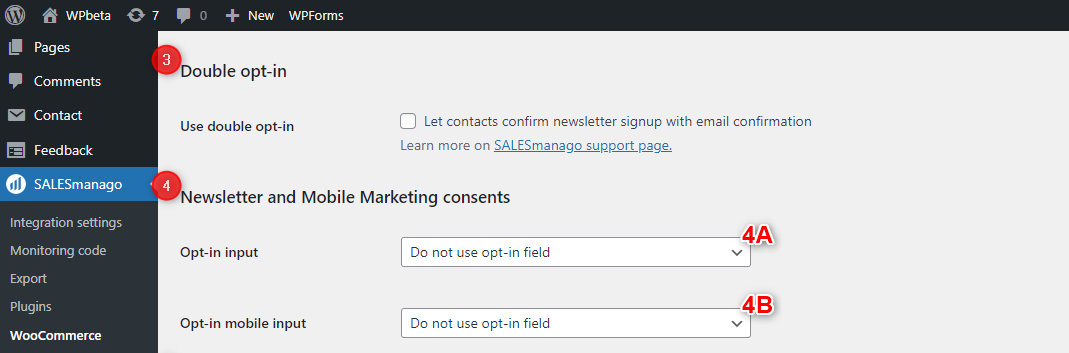
[3] Double opt-in – check this checkbox if you want to enable the double opt-in option (two-stage newsletter subscription confirmation).
Learn more about the double opt-in mechanism >>
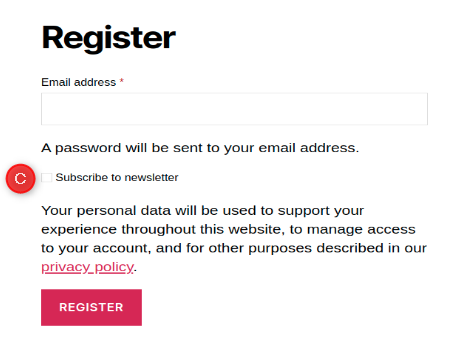
[4] Newsletter and Mobile Marketing consents – neither WordPress nor WooCommerce offer a newsletter feature. However, our plugin allows you to create or map a field (checkbox) for confirming a newsletter subscription.If you decide to use an opt-in field for newsletter subscription [4A] and/or mobile marketing [4B], choose from the following options:
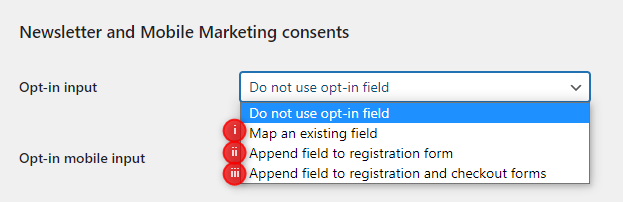
(i) Map an existing field – this option allows you to map the value of a field that has already been added to a registration or checkout form (e.g. by template modification or using a third-party plugin). The recommended field name is the default one (sm-optin), but you can also set your own name.
Advanced users can look up the name of an existing checkbox through the browser’s developer tools.
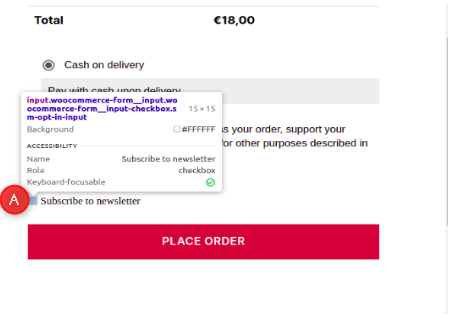
For example, in Google Chrome, open the Elements panel (Ctrl + Shift + C) and select the newsletter subscription checkbox [A].
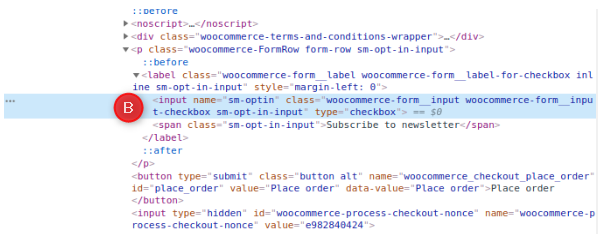
In the DevTools, the code responsible for the selected checkbox will be highlighted on the list of DOM elements. One of its attributes will be name [B], the value of which should match the SALESmanago plugin settings.
(ii) Append field to registration form – select this option to add a checkbox to a registration form.
TIP: You can adjust the appearance of this field using the sm-opt-in-input CSS class.
(iii) Append field to registration and checkout forms – select this option to add a checkbox to both a registration form and a checkout form.
TIP: You can adjust the appearance of this field using the sm-opt-in-input CSS class.
TIP for (ii) and (iii): If you have a website providing content in multiple languages, you can use a label translation option. To translate the checkbox label into other languages, use a plugin from an external provider. If you do not know which one is the best for you, start with Loco Translate.
Translating a label with the Loco Translate plugin:
After selecting option (ii) or (iii), you will see a “Label” field [A].

Specify the default label text to be displayed (in most cases, this will be in English).
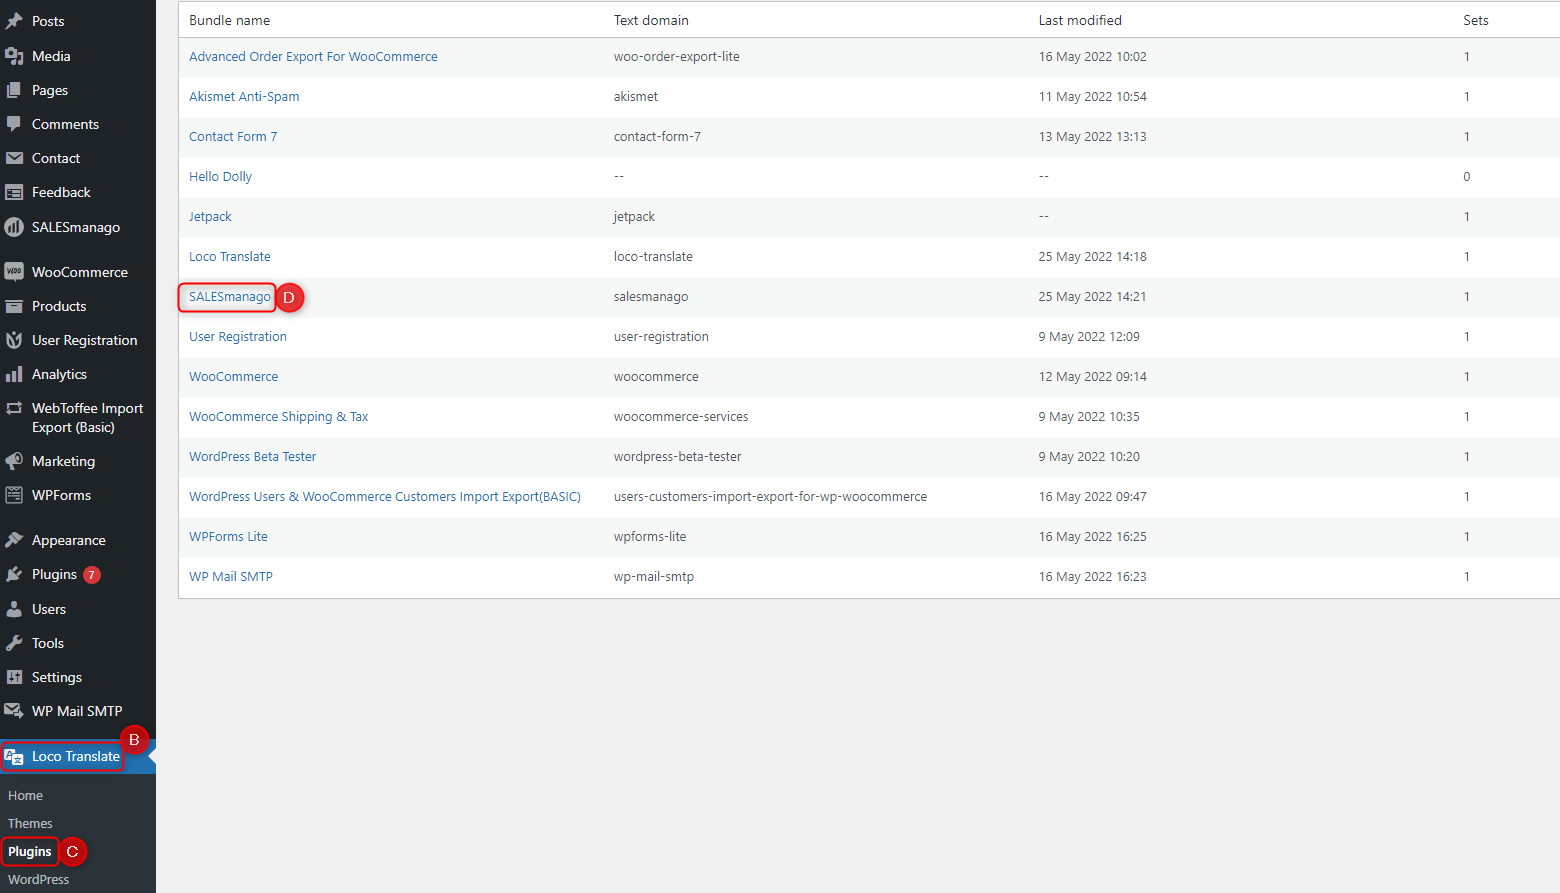
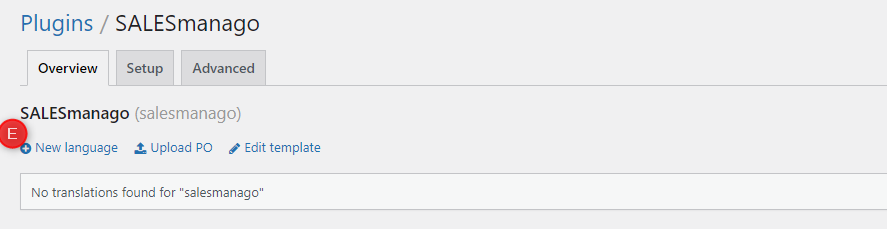
Install and activate the Loco Translate plugin. Go to the sidebar navigation menu and select Loco Translate [B] -> Plugins [C]. On the list of available plugins, select SALESmanago [D].
To add a new language, click on “New Language” [E].
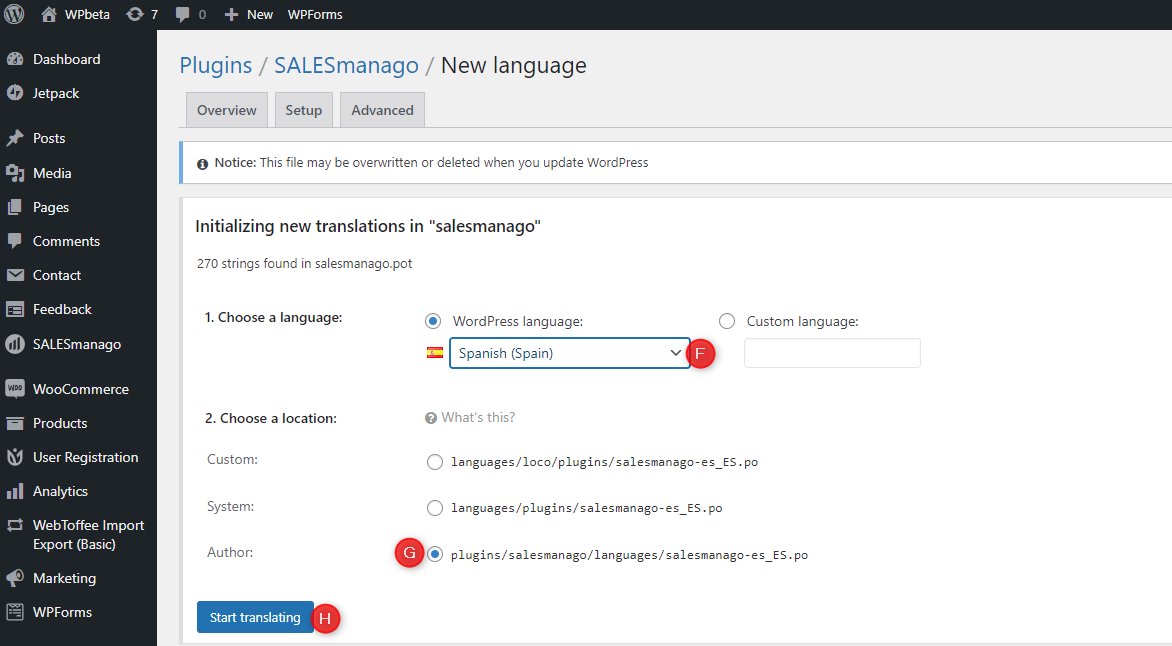
Select a language from the “WordPress language” drop-down list [F]. As for the “Choose a location” section, the recommended option is the last one [G]Then click on “Start translating” [H].
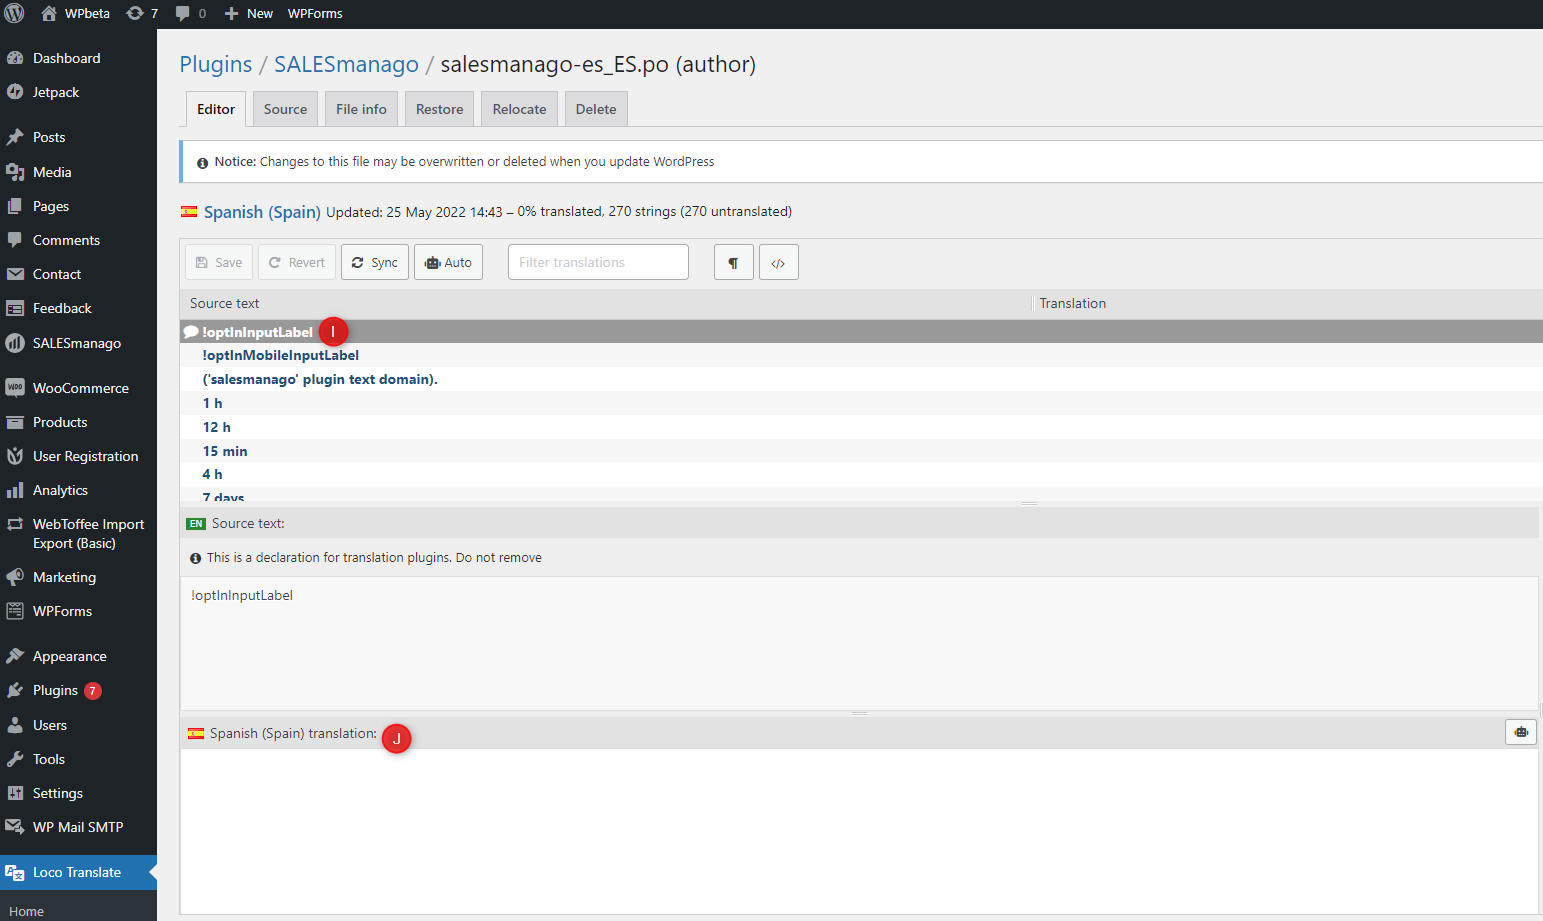
On the “Source text” list, select “!optInInputLabel” [I] (or “!optInMobileInputLabel”, as applicable). The translation should be entered in the bottom field [J].
TIP: All HTML tags are allowed.

[5] Events – here you can manage settings related to external events.
[5A] Hook activating purchase event – A hook is a WordPress mechanism (also used by many other eCommerce platforms) that triggers a certain action (for the SALESmanago plugin, this could be sending a contact to SALESmanago) at a defined moment. To ensure that this works correctly with different payment methods and order processing methods, our plugin allows you to select the hook that handles purchase events.
The default hook is woocommerce_order_status_changed as it works correctly in most cases. In some situations, however, it may be necessary to change the hook. The most common problems that can be solved by changing this setting include the double (multiple) transfer of purchase events to SALESmanago or lack of such transfers.
[5B] Product identifier transferred in external events – select what type of product ID will be sent to SALESmanago as part of external events such as CART or PURCHASE. You can choose from among:
- Product ID,
- SKU,
- Variant ID (default).
[5C] Prevent event duplication – if you check this option, a PURCHASE event will not be sent to SALESmanago for 30 seconds after a previous PURCHASE event has been sent for the same customer.
[5D] Cookie lifetime – specify how long SALESmanago cookies will be active, i.e. after what time they will expire. Choose an option from the drop-down list.
When you have defined all your settings, click on Save [6].
5. Technical description
Read a detailed technical description for the WordPress plugin >>
A. Webhooks
The SALESmanago plugin uses the following hooks from the WordPress platform:
- woocommerce_order_status_cancelled,
- woocommerce_order_status_refunded,
- woocommerce_checkout_update_user_meta,
- woocommerce_customer_save_address,
- profile_update,
- user_register,
- wp_login,
- woocommerce_add_to_cart,
- woocommerce_update_cart_action_cart_updated,
- woocommerce_remove_cart_item,
and one of the following purchase hooks:
- woocommerce_order_status_changed (default),
- woocommerce_checkout_order_processed,
- woocommerce_checkout_update_order_meta,
- woocommerce_pre_payment_complete,
- woocommerce_payment_complete.
Hooks used when creating a newsletter field:
- register_form,
- woocommerce_register_form,
- woocommerce_review_order_before_submit (option to include a checkbox on the checkout screen).
B. Field names
The following form field names are sent to SALESmanago during Contact transfer:
- billing_email,
- billing_first_name,
- billing_last_name,
- billing_city,
- billing_company,
- billing_phone,
- billing_postcode,
- billing_address_1,
- billing_address_2,
- billing_country.
C. Store location
- md5(get_permalink(wc_get_page_id(‘shop’))),
- md5(get_home_url()) (if the option above fails),
- md5($_SERVER[‘SERVER_NAME’]) (if the options above fail).