Useful links
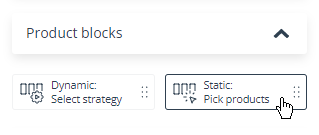
The Email Design Studio offers a wide range of widgets—elements that allow you to include different types of content in your email. This article explains how to configure the Product Block widgets:
- Dynamic: Select Strategy and
- Static: Pick Products.
Learn more about Email Design Studio widgets >>
Contents
1. Getting started
Including product recommendations in your email is a powerful way to increase engagement and drive sales. There are two types of Product Blocks available in the Email Design Studio: Dynamic and Static.
In the Dynamic Product Block, products are selected automatically by the system based on your selected strategy (specified scenario). This means that individual Contacts may see different product recommendations in the email they actually receive.
In the Static Product Block, you select the products manually, and all Contacts see the same recommendations.
2. Dynamic: Select Strategy
This widget allows you to insert a ready product block that consists of a number of columns containing identical sets of widgets. You can configure the widget to display product recommendations to your audience depending on your settings, i.e., based on your selected strategy. In some cases, this means that individual Contacts may see different product recommendations (e.g., based on their previous interactions with your website).
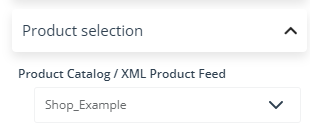
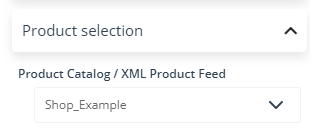
Start your work with the widget by selecting the Product Catalog / XML Product Feed that you want to use as the basis for your recommendations. Go to the widget settings and choose the e-shop in the Product selection section:
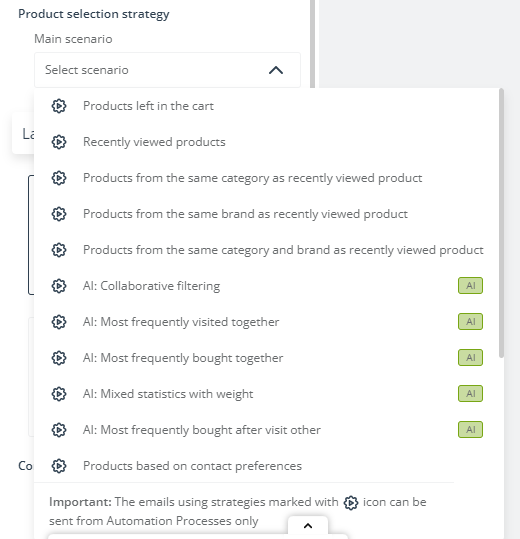
Next, specify the product selection strategy based on which the system will recommend products to individual email recipients:
IMPORTANT: An email containing a dynamic product block can’t be sent directly from the Email Design Studio (or any other SALESmanago email creator). To configure such an email to be sent, create an Automation Process including the Action: Send email to Contact, and select the email in the action settings.
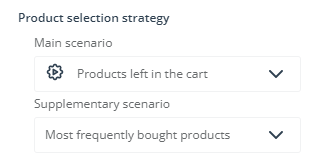
A good option is to also select a supplementary strategy, i.e., the strategy that will be used to fill any empty product spaces if the number of products recommended based on the main scenario is smaller than the number of products in the product block:
EXAMPLE: Your product block has four columns, meaning that there is space for four products. You selected the scenario: Products left in the cart. However, some Contacts only have one or two products in their abandoned carts. The remaining empty spaces can be filled based on a supplementary scenario, e.g., Most frequently bought products.
TIP: Select a supplementary product strategy that will ensure that all product spaces are filled. If there aren’t enough products to display, the layout of the Product Block will change according to your alignment settings.
Now you can proceed to configuring the appearance of your widget (see Section 4 below for instructions).
Read about common widget settings (including positioning, text editing, and display settings) >>
TIP: To see how the Dynamic Product Block will look for a specific Contact, click Preview → Preview options → Personalized preview and provide the Contact’s email address.
If no preview is displayed, this means that the email will not be sent to this specific Contact because the product selection strategy was not fulfilled for this Contact.
3. Static: Pick Products
This widget allows you to insert a ready product block that consists of a number of columns containing identical sets of widgets. The products to be displayed in this widget are selected manually (meaning that all email recipients will see the same recommendations).
Start your work with the widget by selecting the Product Catalog / XML Product Feed that contains the products you want to recommend. Go to the widget settings and choose the e-shop in the Product selection section:
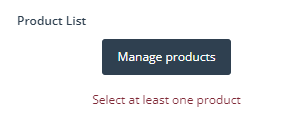
A new option will appear: Manage products. Click this button to select the desired number of products (from 1 to 16).
In the Product preview section, you can choose if you want to see the product data in the email preview as placeholders or as the actual values contained in your Product Catalog / XML Product Feed.
Now you can proceed to configuring the appearance of your widget (see Section 4 below for instructions).
4. Configuring Product Block appearance
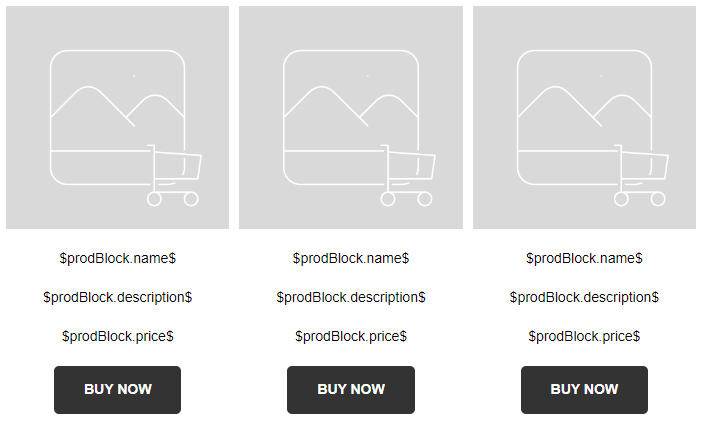
By default, a Product Block consists of three columns, each of which contains:
- an image,
- three product fields (product name, description, and price), and
- a button (reading: Buy now).
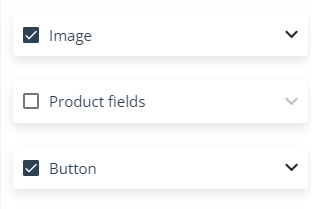
If you don’t want to include one of these three elements in your product block (for example, if you don’t want any product fields, only images and buttons), you can uncheck the appropriate box in the widget settings:
Go to the widget settings to:
- define the layout—choose the way in which the image is positioned in relation to the product fields and the button; specify the number of products (Dynamic) and the number of products per row; and define the product spacing.
- select the product background color, specify the corner rounding, and/or add a stroke (border);
- configure the appearance of individual elements comprising the product block: images and buttons.
NOTE: Links are automatically added to buttons based on the data from your Product Catalog / XML Product Feed.
NOTE: To edit the product fields, e.g., to change the font size or color, click on any product field directly within the email body. If you change the formatting for one product field, the formatting for the other product fields of the same type, contained in the other columns, will change automatically (meaning that all product fields of the same type will always look the same).
If you delete one product field, the other product fields of the same type will be deleted, too.
EXAMPLE:
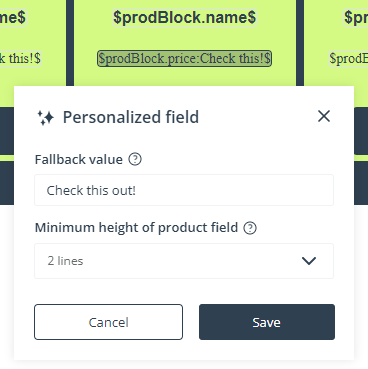
Note that if you click on any product field, you can also specify a fallback value that will be displayed if this particular value is missing from your Product Catalog / XML Product Feed for a recommended product.
- define the widget’s positioning (padding) and display settings.

