This article describes how to configure a periodic email on the SALESmanago platform.
SALESmanago allows you to set up a mailing that will be sent regularly to a defined group of Contacts (e.g., a selected Contact segment). This can be particularly useful if, for example, you want to:
- send satisfaction surveys;
- remind your customers about periodic sales;
- remind a customer that they are running out of your products;
- inform your Contacts about new products or special offers.
To configure a periodic email, go to
Channels → Email Marketing → Email List → Periodic → + New periodic email
Contents
1. Getting started
SALESmanago allows you to set up a mailing that will be sent regularly to a defined group of Contacts, e.g., based on Contact segmentation. You can adjust the content of your periodic email as required, while the sending settings will remain the same. The periodic email will be sent at regular intervals for as long as it remains active.
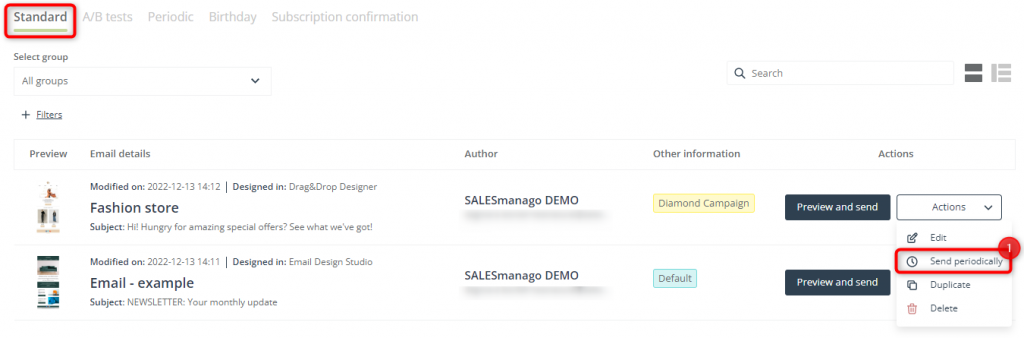
To configure a periodic mailing, start by creating an email that you want to send regularly. Then go to Menu → Channels → Email Marketing → Email List and select the Standard tab. Find the email on the list, open the Actions menu and select Send periodically [1]:
You will be redirected to the periodic email configuration screen, which is divided into two parts.
The left side of the screen is where you can configure your periodic email by defining all the necessary settings (described in section 2 below).
On the right side, there is a preview of your periodic email, along with some basic information:
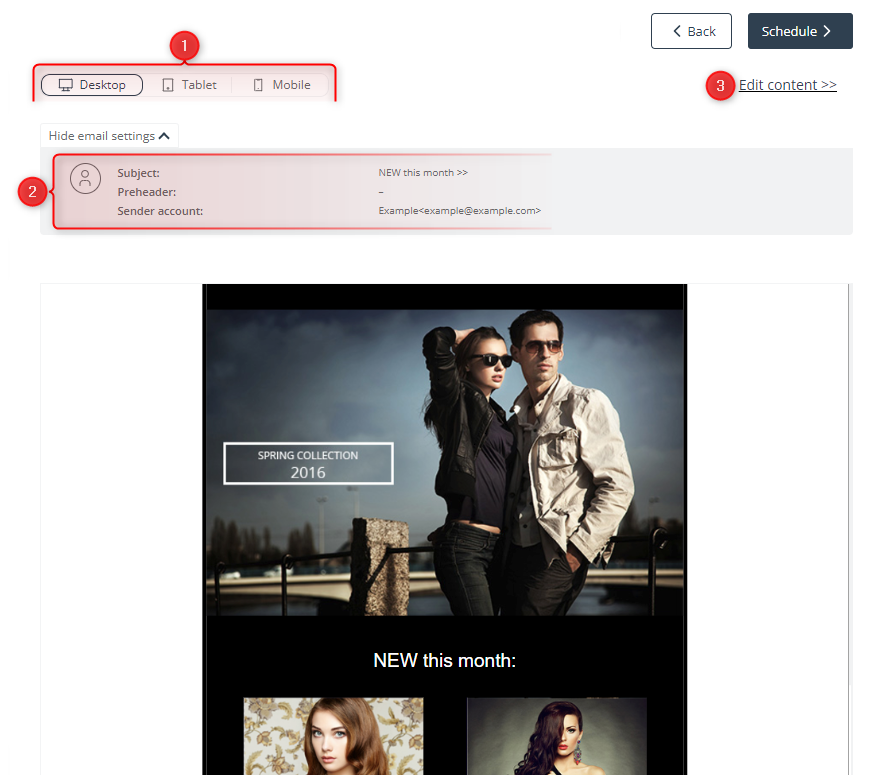
[1] Devices—switch between these device icons at any time to see how the appearance of your periodic email will change depending on the device on which it is displayed.
[2] Email settings—check the basic settings of the periodic email: subject, preheader, and sender account (as defined in the wizard used to create the email).
[3] Edit content—click here to modify the email’s content or edit its settings (subject, preheader, and/or sender account). You will be redirected to the wizard in which the email was created, where you can introduce the necessary changes.
IMPORTANT:If you click Edit content and confirm your choice, all changes introduced on the periodic email configuration screen will be lost.
2. Configure a periodic email

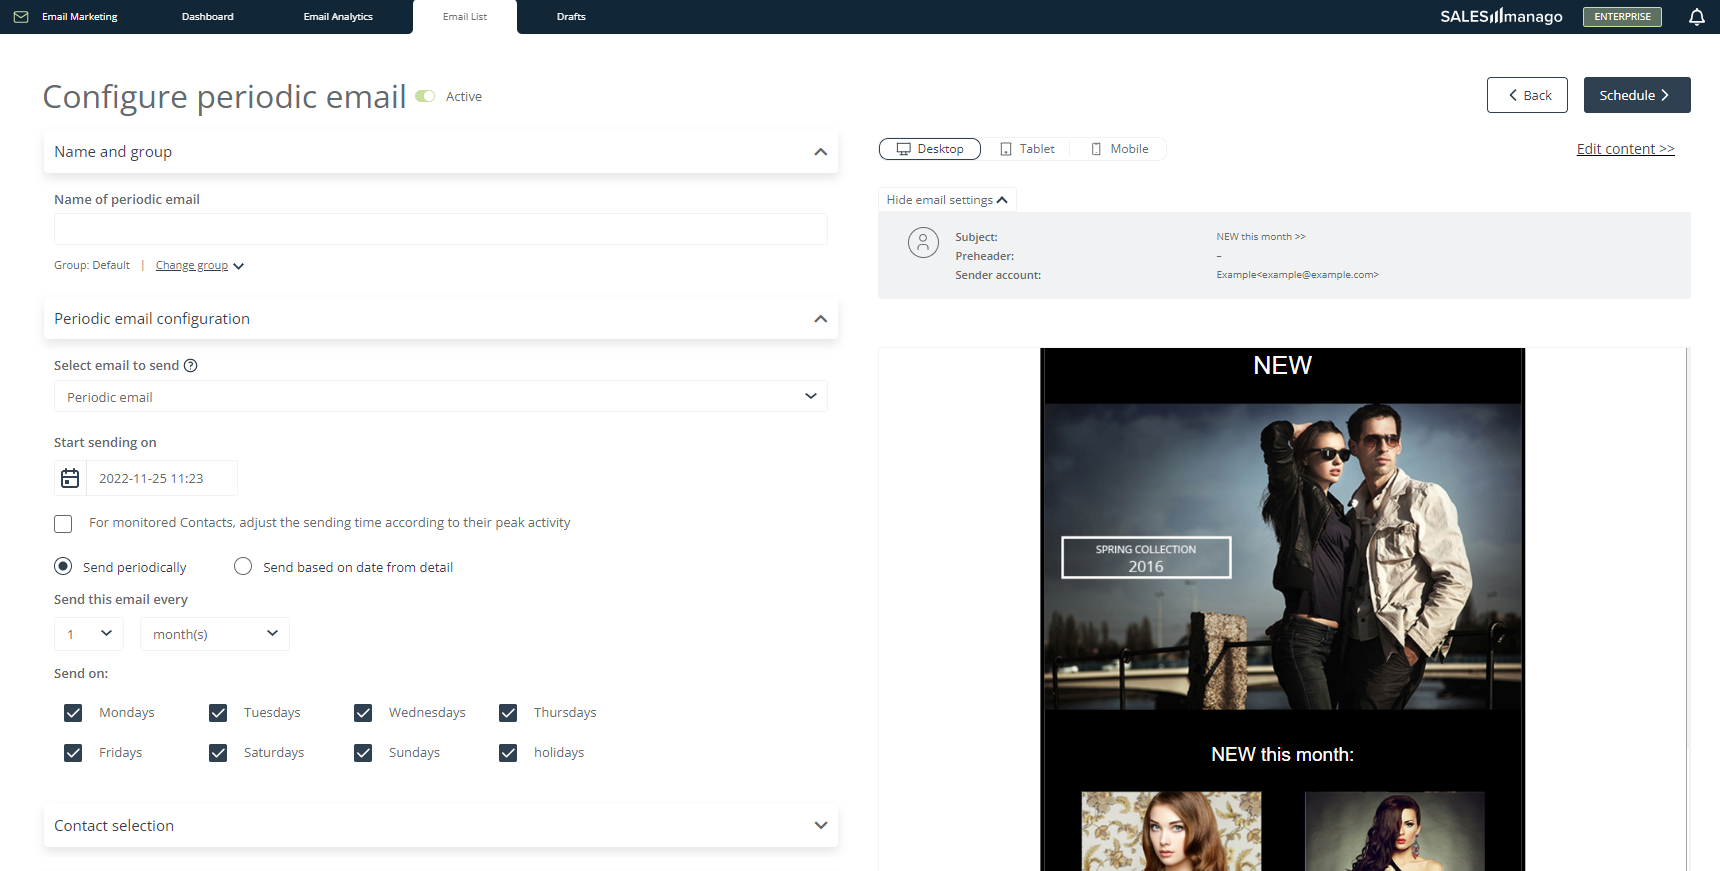
[1] Active/Inactive—use the toggle switch to specify whether the periodic email is to be active or inactive after you click Schedule. The default setting is active.
[2] Name of periodic email—enter a name that will allow you to identify the new periodic email in the system.
[3] Change group—open the list of periodic email groups to assign the new email to an existing group or to create a new one. Groups allow you to organize your emails based on your own criteria.

[1] Select email to send—use the drop-down list to select a completed email that you would like to send periodically. If you chose an email on the Email List, it will already be selected at this stage.
You can see a preview of the selected email on the right side of the screen.
[2] Start sending on—select the date and time at which the periodic email will be sent for the first time.
[3] For monitored Contacts, adjust the sending time according to their peak activity—click here if you want the SALESmanago system to determine the optimum sending time based on the behavioral patterns of individual Contacts. Each Contact on the list of recipients will receive your email when they are most likely to check their inboxes.
[4] Sending schedule—select the rule for sending a periodic email. You have two options:
- Send periodically—choose this option if you want the email to be sent at regular intervals, e.g., every week or month. If you check this box, new options will appear:
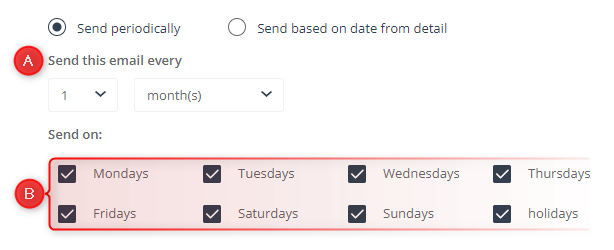
- [A] Send this email every—define the interval at which your periodic email will be sent.
- [B] Send on—specify on which days of the week the email can be sent and decide if you want it to be sent on holidays. If the sending date falls on a day that you have excluded, the email will be sent on the next non-excluded day.
- Send based on date from detail—choose this option if you want the email to be sent depending on a date included in a detail. If you update the detail with new dates, further emails will be sent based on those updated dates. If you check this box, new fields will appear:

- [A] Number of days—specify how many days after or before a detail date the email should be sent.
- [B] After/before—use the drop-down list to select if you want the email to be sent before or after the date provided in the detail.
- [C] Detail—enter the name of the detail based on which the email will be sent. Note that detail names are case sensitive.
- EXAMPLE 1: You collect your Contacts’ wedding anniversary dates in the form of details. You can send wishes accompanied by gift recommendations to individual Contacts three weeks before their anniversary dates:

- EXAMPLE 2: You are a publisher who offers quarterly and yearly subscriptions to your journals and magazines. You can store subscription expiration dates in the form of Contact details and send a Net Promoter Score (NPS) survey to individual Contacts after their subscription expires.

- If a Customer takes out another subscription and the detail is updated, the email will be sent again.
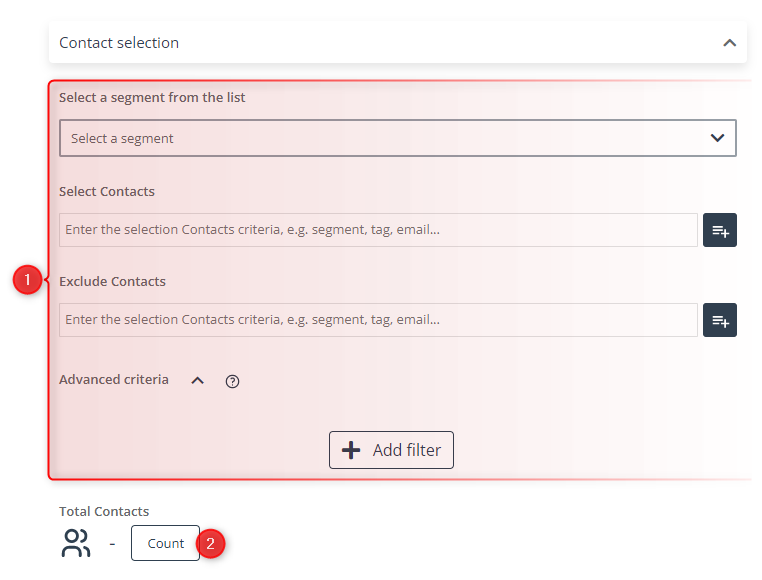
[1] Select Contacts—define the group of recipients for the periodic email. Select a pre-defined segment or use selectors to include or exclude groups of Contacts. If necessary, apply appropriate filters.
Learn more about selecting Contacts when sending emails >>
Read about predefined Contact segments and selectors >>
Read about Contact filtering >>
[2] Count—click to see how many Contacts will be included in the list of recipients based on the selections you made above.

[1] Email settings—check the settings of your periodic email: name, subject, sender account, and group.
[2] Edit settings—click here to be redirected to the wizard in which the email was created, to edit the settings or content of your periodic email.
IMPORTANT: If you click Edit settings and confirm your choice, all changes introduced on this configuration screen will be lost.
3. Schedule a periodic email
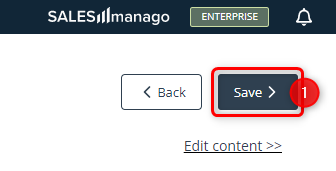
When you have defined all the necessary settings for your new periodic email, click Schedule [1] in the top right-hand corner of the screen:
Following your confirmation, the scheduled (and active) periodic email will be sent to the recipients specified in the Contact selection section, according to the date and time settings defined in the Periodic email configuration section.
You can adjust the content of your periodic email as necessary while the sending settings will remain the same.
The email will be sent until you delete or deactivate it. You can do this by going to Menu → Channels → Email Marketing → Email List → Periodic tab and clicking the Actions button.
Read more about the Email List >>
4. Periodic email analytics
To see the analytics of a periodic email, go to Menu → Channels → Email Marketing → Email Analytics → Sent tab and locate the periodic email of interest on the list. You can use the search box or apply a filter to find the email more quickly.
NOTE: The periodic email analytics show data for all emails sent as part of a periodic mailing on a given day.
The basic information is readily available on the list:
- subject,
- sending date,
- number of recipients (Sent),
- number of opens (Opened),
- number of clicks (Clicked),
- sender,
- open rate (OR),
- click-through rate (CTR).
Click the arrow icon to unfold an item on the list and see additional details:

Here you can see:
- sender’s email,
- message type,
- message name,
- user’s email address,
- scheduling date (when the email was scheduled by the sender or the SALESmanago system),
- a miniature preview of the email.
If you move your cursor over a periodic email and go to the last column, you will see the Analytics button [1].

Click it to go to the detailed analytics of the selected periodic email.
Read more about Email Analytics >>
Submit your review | |