This article describes how to create an email in the SALESmanago ZIP Wizard.
SALESmanago makes Email Marketing fast and easy with email wizards designed to streamline the entire process, from drafting to sending. The ZIP Wizard allows you to upload a ZIP file containing a finished or almost finished email template, including any images. You can later correct or add to your custom code and observe the changes in the preview.
Design compelling emails that will engage your audience and encourage them to interact with your brand.
Contents
1. Getting started
SALESmanago offers a number of ways to create a perfect email that will catch people’s attention and encourage them to visit your website and make a purchase.
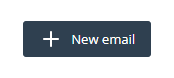
To create an email in the SALESmanago ZIP Wizard, go to Menu → Channels → Email Marketing. In the top right-hand corner of the screen, you will see the option to create a new email:
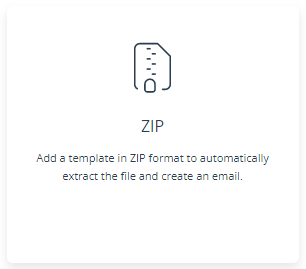
After clicking this button, you will be redirected to a screen where you can select one of the SALESmanago email wizards. This article explains how to use the ZIP Wizard.
2. Prepare your ZIP file
Start your work with the ZIP Wizard by importing a ZIP file with an email template, including any graphics.
How should you prepare the ZIP file for uploading?
STEP 1. Create an index.html file containing the code for your email.
STEP 2. Attach any images included in the email template. You can do this in two ways:
- Save all images in separate files and include them in the ZIP file. In this case, the code should look as follows:

- Upload all images to your gallery and copy the files’ URLs:
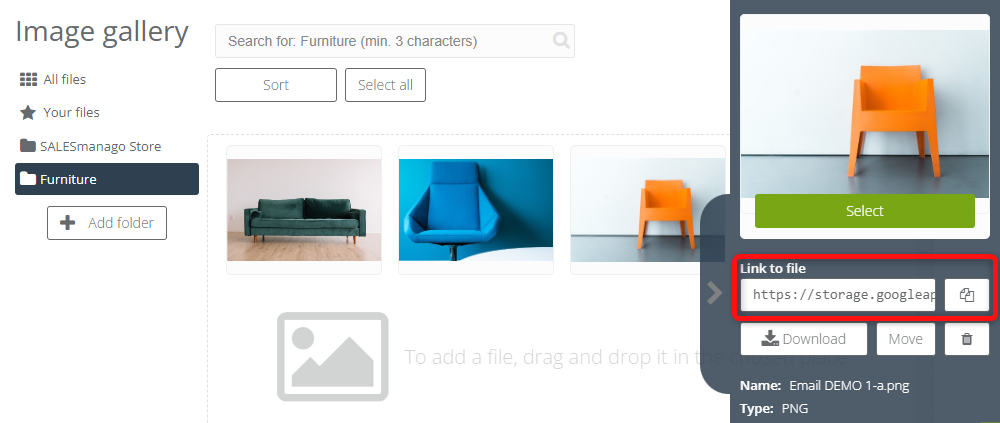
Use the URLs as the image sources in the index.html file. In this case, the code should look as follows:

STEP 3. Add the index.html file (and, potentially, the images) to a single ZIP file. Note that the ZIP file must not contain any folders (the files must be included directly in the root directory).
IMPORTANT:
- Apply UTF-8 encoding.
- Any extensions in the code must be in lowercase, e.g.: .jpg, .png (NOT:
.JPG,.PNG).
When your ZIP file is ready, proceed to the next section.
3. Create an email
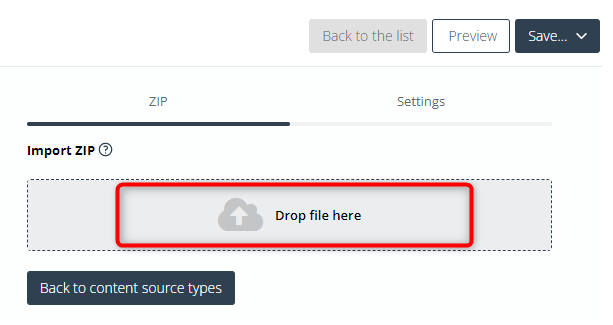
Start your work with the ZIP Wizard by preparing a ZIP file in accordance with the instructions provided in Section 2 above. When this is ready, navigate to the ZIP tab.
A. ZIP tab
Upload the prepared ZIP file by dragging it from a local folder and dropping it onto the indicated spot:
You will immediately see a preview of the email on the left side of the screen. The contents of the ZIP tab will change to include an HTML editor.
Now you can edit your email template as necessary (e.g., adjust the alignment or add graphics).
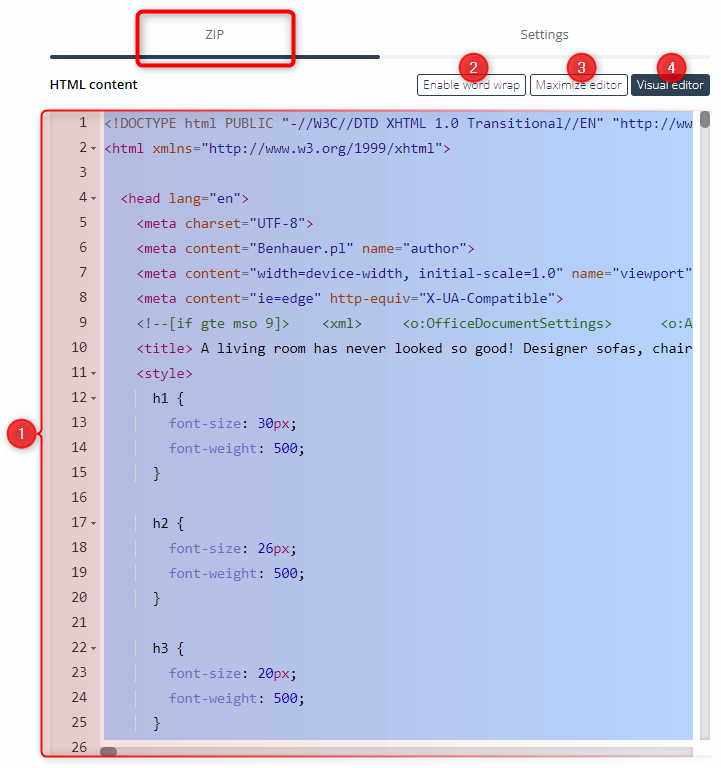
[1] Editor—the space where you can design the content of your email. You can switch between the plain text editor and the visual editor (see point [4] below).
The effects of your work will be shown in the preview on the left side of the screen.
[2] Enable word wrap—decide whether you want each line of your code to be displayed in a single line or whether you want to allow the editor to break the lines to adapt them to the window size.
[3] Maximize editor—click here to enlarge the editor to fill the entire wizard space. You can minimize the editor by clicking the same button.
[4] Plain text/Visual editor—click here to switch between the two editor types: plain text and visual.
- Choose the plain text editor if you want to work on HTML code.
- Choose the visual editor if you want to work in the WYSIWYG mode. Enter text or use the buttons at the top to add and modify content.
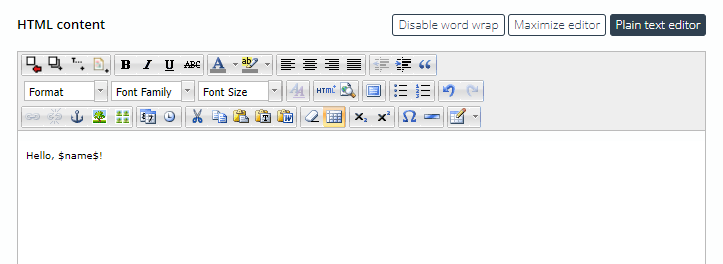
Hover your mouse over a button to see a description of its function, for example:

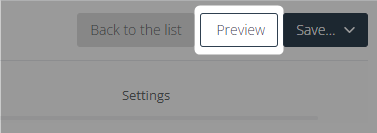
When you have finished your email, click Preview (in the top right-hand corner of the screen) to see what the email will look like on different devices.
B. Settings tab
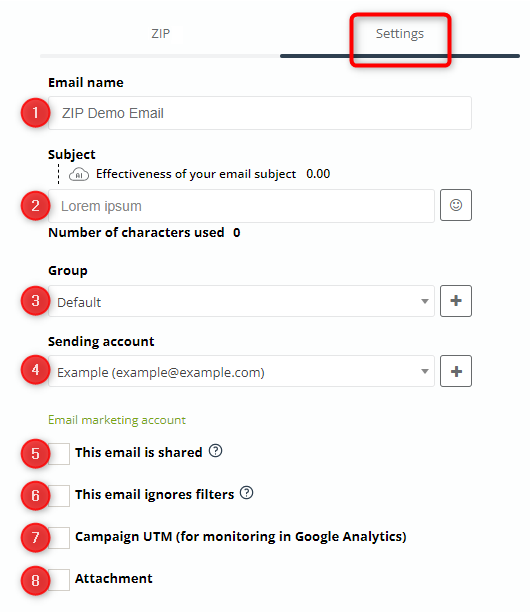
[1] Email name—this field is mandatory. Enter a name for your new email, which will allow you to identify it in the Email List. This name is for internal purposes only—your Contacts will not see it.
[2] Subject—this field is mandatory. Enter a subject line that will catch your Contacts’ attention and encourage them to open your email. Above the input field, the SALESmanago Subject AI Grader rates your subject line on a scale from 0 to 10. Below the input field, you can see the character count.
TIP: Over 50% of emails are opened on mobile devices. Most email clients, such as Gmail and Yahoo!, display only 33 to 43 characters of the subject line on mobile devices (AWeber). To optimize your subject line, do not exceed 65 characters and include the most important information in the first 30 characters.
[3] Group—here you can assign your new email to an email group of your choice. Open the list to select an existing group, or click the plus icon to add a new group.
[4] Sending account—this field is mandatory. Select the sending account from which the email will be sent. To add a new account, click the plus icon.
5] This email is shared—decide whether this email should be available for other users of your SALESmanago account.
[6] This email ignores filters—select this option if you want this email to reach all the recipients selected at the sending stage, irrespective of any advanced email filters applied in Menu → Channels → Email Marketing → Settings → Sending settings.
Read more about sending emails from SALESmanago >>
Read more about advanced email filters and settings >>
[7] Campaign UTM (for monitoring in Google Analytics)—check this box to specify the utm_campaign parameter for all links included in your email. This applies only to links leading to a website URL (and not, e.g., mailto: or tel:).
[8] Attachment—check this box if you want to add an attachment to your email. Select the file to be attached from your Repository, or drag it from a local folder and drop it onto the indicated spot.
IMPORTANT: Every email with an attachment larger than 1 MB is subject to moderation.
Read more about account moderation rules >>
If the attachment is larger than 1 MB, we suggest that you upload the file to your own server and provide a link at which the file can be downloaded. Sending large attachments to large groups of Contacts can result in the message ending up in the spam folder.
4. Saving options
When you have finished your work, you can save it as a draft or a finished email. The two options are available in the top right-hand corner of the screen:

Emails saved as drafts, including autosaved versions, are available in the Draft List (Menu → Channels → Email Marketing → Drafts).
Completed emails are available in the Email List (Menu → Channels → Email Marketing → Email List).
Read more about the Email List >>