Useful links
The Email Design Studio offers a wide range of widgets—elements that allow you to include different types of content in your email. This article explains how to configure the Personalized Banner widget.

Learn more about Email Design Studio widgets >>
Personalized Banner
This widget allows you to insert a Personalized Banner created on the SALESmanago platform into your email.
To create a Personalized Banner, go to Menu → Web Tools → Website Personalization → Personalized Banners. Click Add new personalized banners to be redirected to the dedicated wizard.
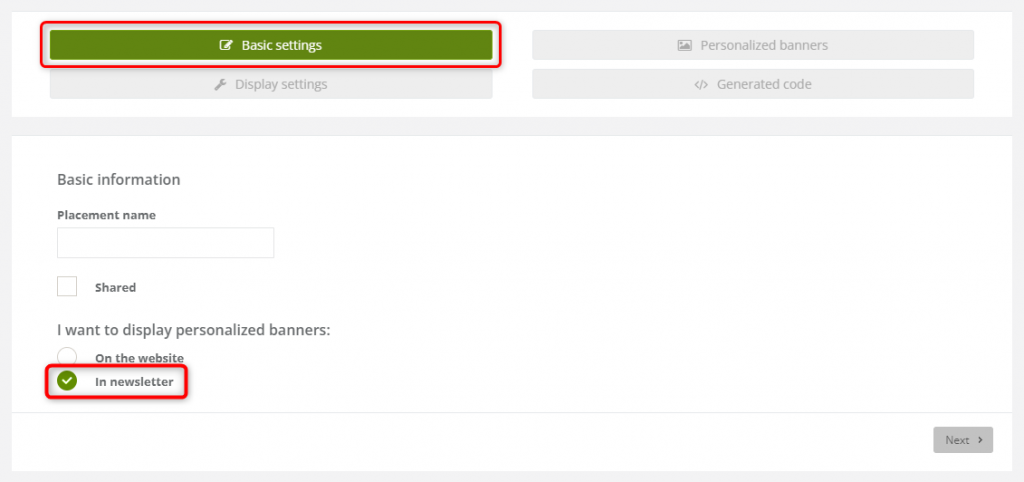
In Step 1: Basic settings, make sure to select the option In newsletter.
Then add a number of banners (or banner versions) and define their display settings.
Read how to configure a personalized banner >>
Save your work by clicking End on the final screen.
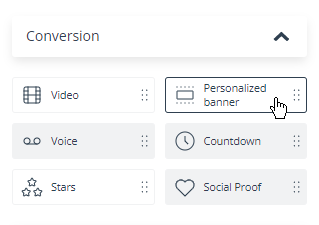
When your Personalized Banner is ready, go to the Email Design Studio, drag the Personalized Banner widget into the email body, and click it to see the widget settings. Select the banner from the drop-down list—and that’s it!
Different recipients of your email will see different versions of the banner depending on your settings defined in the Personalized Banner wizard.
