Web Push notifications are an important tool for enhancing customer engagement and driving sales. These short messages, typically consisting of an icon and brief text, allow you to reach both Contacts and anonymous visitors directly on their devices. With SALESmanago, you can effortlessly create captivating Web Push notifications tailored to your needs.
SALESmanago offers two Web Push notification wizards: static and dynamic. This article explains how to create a static Web Push notification. Static notifications cannot include dynamic product recommendations and always look the same to all recipients (although you can personalize them with placeholders).
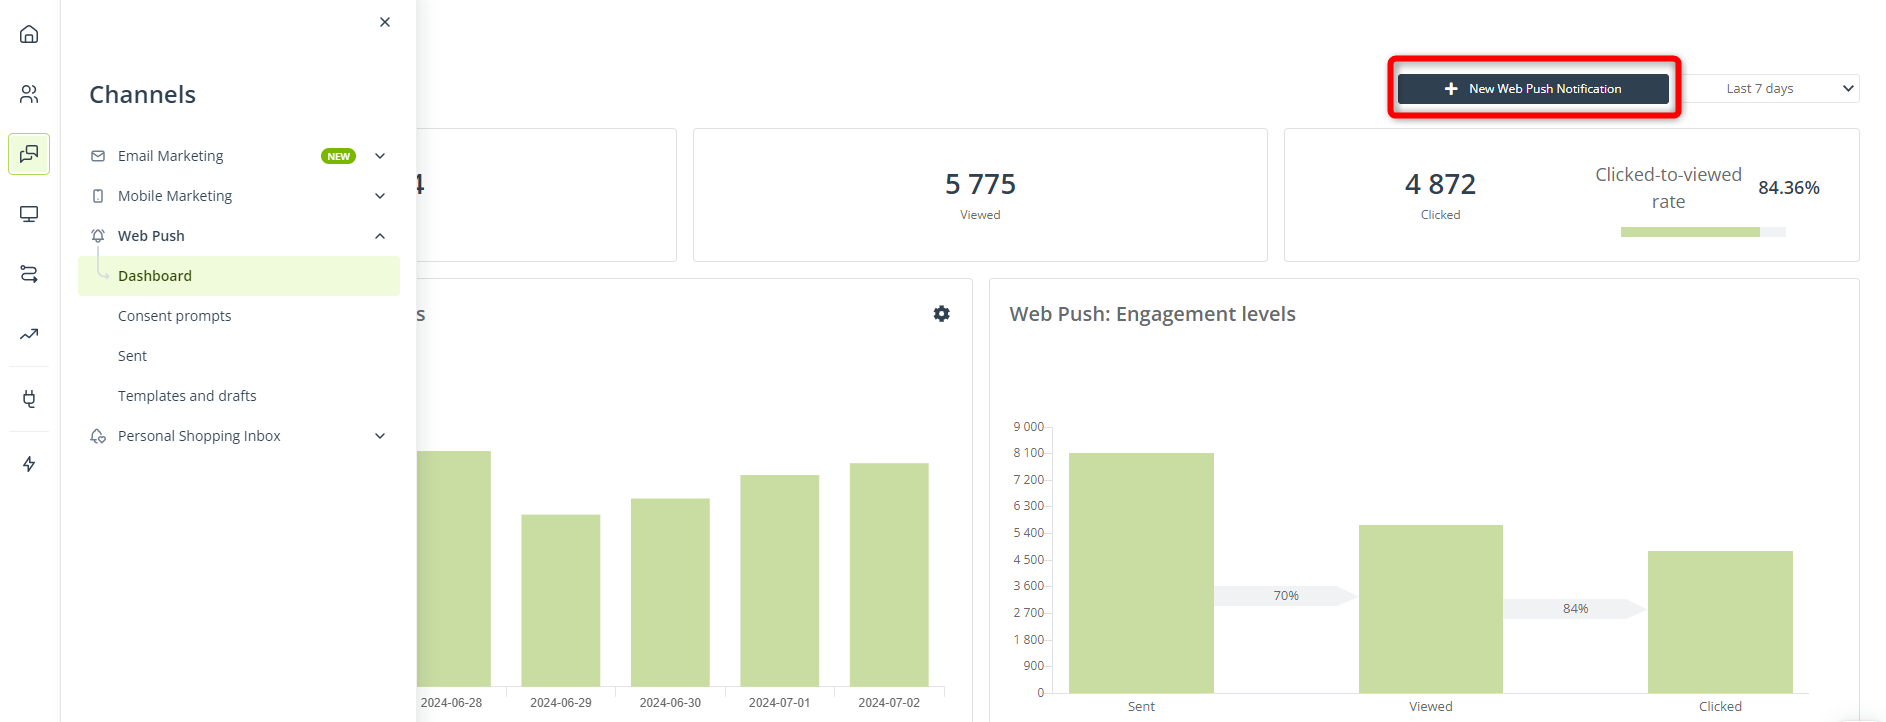
To create a static Web Push notification, go to
Channels → Web Push → Dashboard or Sent or Templates and drafts → + New Web Push Notification → Static Web Push
Contents
1. Getting started
Web Push is an important marketing channel and a great way to reach a broad audience, for the following reasons:
- Web Push notifications can be sent free of charge.
- Web Push notifications appear directly on the recipient’s screen, even if they don’t visit your website.
- Web Push notifications can be displayed not only to Contacts, but also anonymous visitors.
Remember that you can send Web Push notifications only to people who have consented to receive them. Before you can create a Web Push notification, you need to create or configure a Web Push consent prompt.
Read more about Web Push consent prompts >>
SALESmanago’s Web Push notification wizards are intuitive yet powerful tools that allow you to create effective and visually appealing communications in a step-by-step manner. You can choose between two wizards:
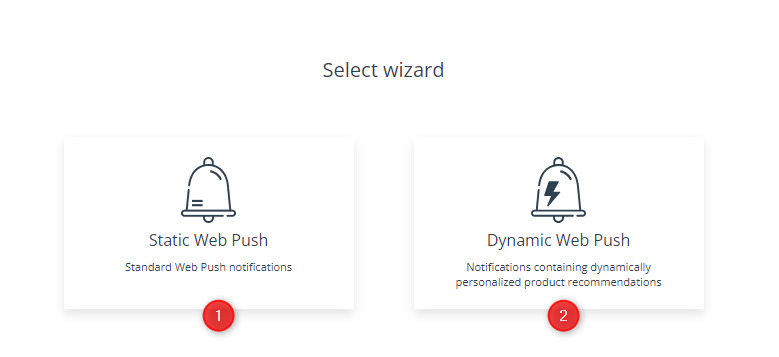
[1] Static Web Push—Create a notification with fixed content (the same content for all recipients). Static notifications cannot include dynamic product recommendations, however, both the title and the content can be personalized with placeholders.
[2] Dynamic Web Push—Create a notification that features personalized recommendations tailored to individual recipients based on their behaviors.
A standard notification, either static or dynamic, consists of an icon accompanied by text and one or two buttons. However, in both these wizards, you can also create a Rich Web Push notification, which additionally contains an image. Note, however, that Rich Web Push notifications are not supported by all devices and browsers.
This article concerns the static Web Push wizard. To learn more about the dynamic Web Push wizard, read this article >>
2. Create a static Web Push Notification
IMPORTANT: Before you can create a Web Push notification, you need to create or configure a Web Push consent prompt. Read more about the consent prompt wizard >>
To create a static Web Push notification, go to Menu → Channels →Web Push → Dashboard → + New Web Push Notification.
There, select the static Web Push wizard.
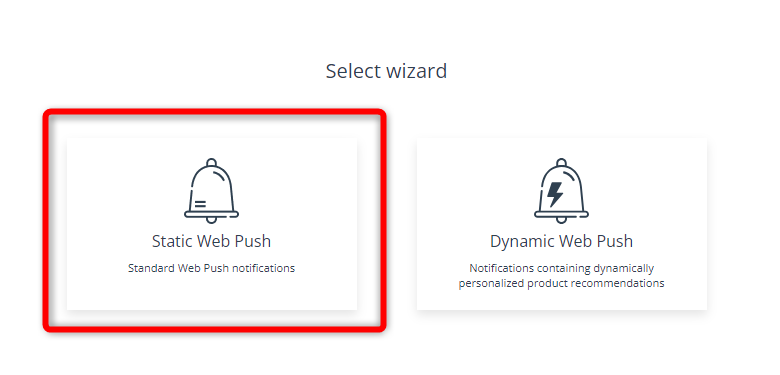
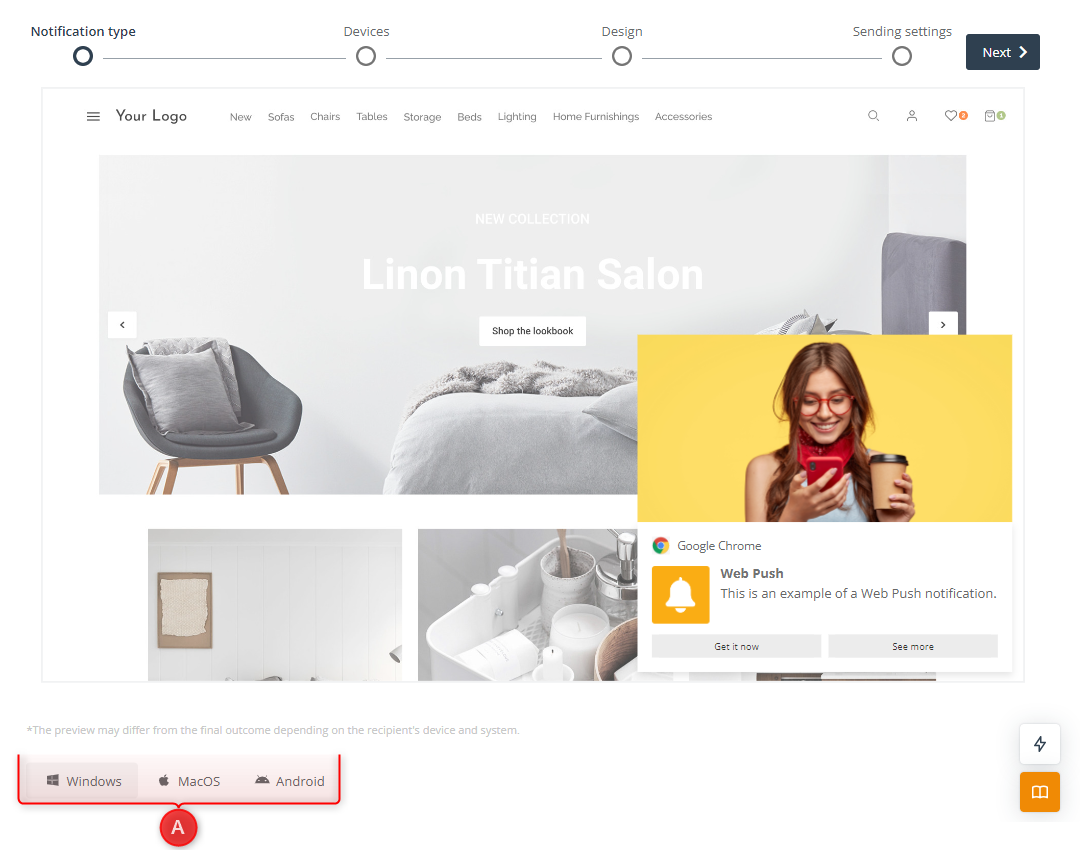
The static Web Push wizard consists of four steps, which are described in detail below.

As you work on your new notification, you can see its preview and all your changes on the right side of the screen. Note that you can switch between previews for different systems [A].
A. Notification type
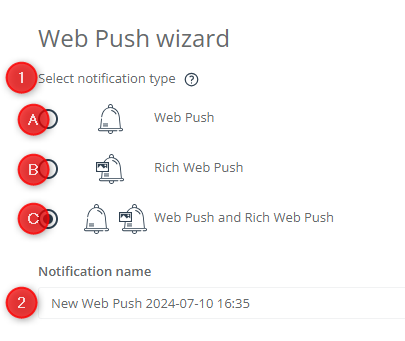
[1] Web Push type—Here, you can define the type(s) of notification you want to create.
You can create a simple Web Push notification [A], consisting of an icon, text, and one or two buttons, or a Rich Web Push notification [B], which includes an additional image. You can also choose to create both these notification types at once [C]. The last option allows you to ensure the correct display of your notification to all recipients—certain devices and systems support only Web Push, but not Rich Web Push. If you select option [C], in cases where displaying the Rich Web Push notification is not possible, the simple notification will be displayed instead.
[2] Notification name—Provide a name for your notification that will allow you to easily identify it in the system.
B. Devices
In this step, you can select the device types on which your notification will be displayed.

You can select Desktop [1] to display the notification on desktops and laptops, Mobile [2] for tablets and smartphones, or both device types [3].
By creating separate notifications for desktop and mobile devices, you can adjust your communications to different screen sizes and better target your recipients.
Note that on the right side of the screen, you can switch between previews for different systems.

C. Design
In Step 3, you can create the content of your notification.
If you selected Web Push and Rich Web Push in Step 1, here, in Step 3, you will be able to switch between the two and design them separately.
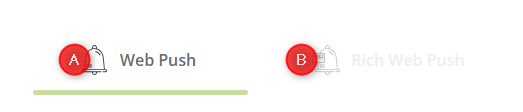
IMPORTANT: Any changes made under the Web Push tab [A] will be applied to the Rich Web Push tab [B]. For example, the title entered in tab [A] will be copied to tab [B]; if you remove a button in tab [A], it will be removed from tab [B], too. However, any changes made in tab [B] will have no effect on tab [A] and will be applied to Rich Web Push only.
- Data
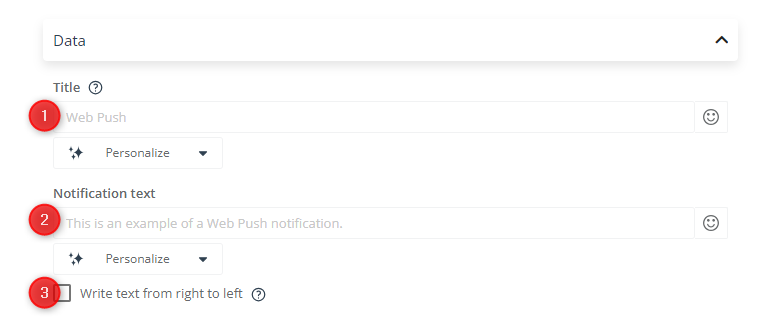
[1] Title—Provide a title for your notification. The title will be visible to your recipients. The character limit is 48 (this is the maximum number supported by browsers). You can add emoticons or click Personalize to insert placeholders.
Read more about personalization using placeholders >>
NOTE: Before sending a Web Push notification with emoticons or placeholders, send a test notification to yourself to see if everything is displayed correctly.
[2] Notification text—Provide the main content of your notification. The character limit is 100. You can add emoticons or personalize the text with placeholders.
[3] Write text from right to left—Enable this option if you want the text to be written from right to left. Note that the actual way in which the text will be displayed depends largely on the language settings of the recipient’s device.
- Icon
In this step, you can replace the default SALESmanago icon with your own image. Select a previously uploaded file from your gallery or drag an image stored on your disk and drop it directly here.
The accepted image formats include: JPG, PNG, and WebP. Note that GIF format is not supported by browsers. The suggested icon size is 150×150 px.
TIP: Use WebP format for both photos and images with a transparent background to speed up the loading time while preserving high quality.
- Image (Rich Web Push only)
In this section, you can add an image for your Rich Web Push notification. Note that this section is only visible if you are creating a Rich Web Push notification or both Web Push and Rich Web Push.
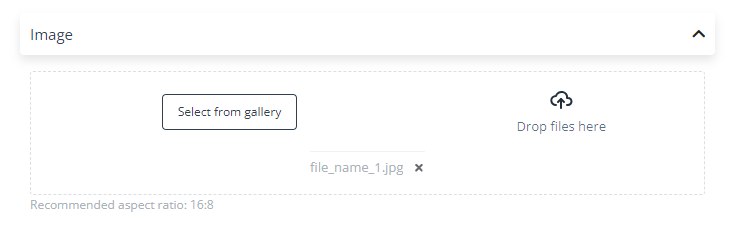
Select a previously uploaded file from your gallery or drag an image stored on your disk and drop it directly here.
The accepted image formats include: JPG, PNG, and WebP. Note that GIF format is not supported by browsers. The suggested aspect ratio of the notification image is 16:8 (horizontal), for example: 2000×1000 px or 1000×500 px.
NOTE: The appearance of Web Push and Rich Web Push notifications is strongly dependent on the recipient’s browser and operating system. For example, MacOS does not support Rich Web Push notifications.
- URL address

[1] URL address—Specify the redirection URL for the entire clickable area of the notification. If the recipient clicks anywhere on the notification (except for buttons), they will be redirected to this URL address. The character limit is 255.
- Buttons
In this section, you can add one or two buttons to your notification. Buttons are optional. Some browsers do not support buttons at all.
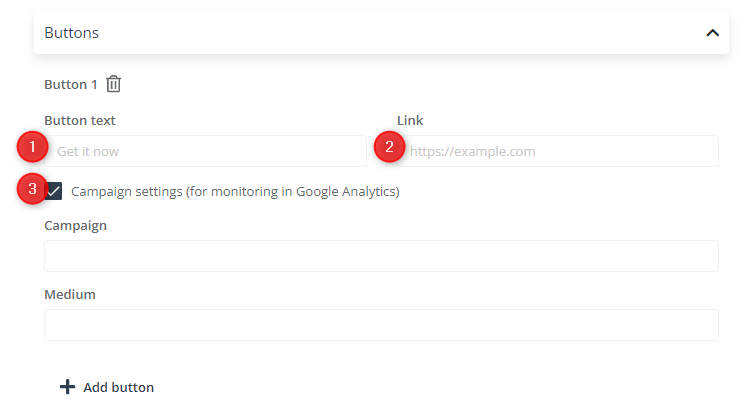
[1] Button text—Enter the text (preferably, a call to action) that will be displayed on the button. The character limit is 48.
[2] Link—Specify the URL address to which the recipient will be redirected if they click the button. The character limit is 255.
[3] Campaign settings (for monitoring in Google Analytics)—Check this box if you want to add parameters that will allow you to monitor your marketing results in Google Analytics.
If you check this box, two new fields will appear. Specify the value of the utm_campaign and/or utm_medium parameters.
The parameters specified here refer to notification buttons. If the recipient’s browser does not support buttons on notifications, then these parameters will not be used.
IMPORTANT: Adding buttons is optional. Not all browsers support actionable buttons. Here is a description of the capabilities of the most popular browsers in this regard:
- Chrome: Chrome supports up to two action buttons per notification.
- Firefox: While Firefox supports Web Push notifications, it does not support buttons within these notifications. Any buttons will be replaced with a “close” button in the language of the browser, so consider including a clear CTA in the content of the notification.
- Safari: Safari supports Web Push notifications on macOS, but does not support buttons within these notifications. Consider including a clear CTA in the content of the notification.
- Opera: This browser supports up to two action buttons per notification.
Note that SALESmanago does not support Web Push notifications for Edge.
- Google Analytics
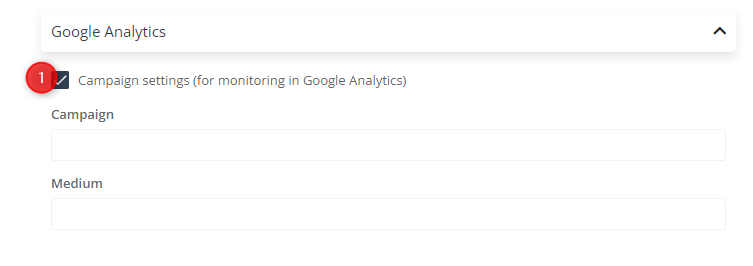
[1] Campaign settings (for monitoring in Google Analytics)—Check this box if you want to add parameters for monitoring your marketing results in Google Analytics. The parameters specified here refer to the entire clickable area of the notification (except for buttons).
When you check this box, two new fields will appear. Specify the value of the utm_campaign and/or utm_medium parameters.
- Select language
Once you have finished creating your notification in the default language, you can add other languages and create different language versions of your message.
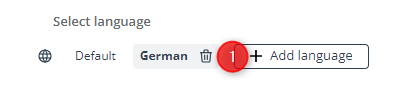
To add different languages, click + Add language [1] and select a language from the list. The language in which the notification will be displayed to each individual recipient will be determined based on the language of their browser.
EXAMPLE: You create a notification in three languages: default (which in your case is English), Spanish, and German. You send the notification, either as a mass message or via a Workflow process. The recipients who have their browser language set to Spanish will see the Spanish version of the notification; those who use their browsers in German will see the German version; everyone else will see the default version, in this case, in English.
If you have more than one language, you can switch between them by clicking their names. Note that the preview on the right side of the screen will change accordingly.
To remove a language, click the trash bin icon. Note that this action will also remove all content created in this language.
D. Sending settings
In the last step, you can select the consent prompt that will be associated with this notification, define the recipient, specify the sending time, and determine the lifespan (TTL) of the notification.
- Consent prompt

[1] Consent prompt—Web Push notifications can only be sent to people (Contacts and/or anonymous visitors) who have consented to receive them. Web Push consent is collected through dedicated consent prompts. Here, you can select one or more consent prompts based on which this specific Web Push notification will be sent.
The Web Push notification will be displayed only to those people who have given consent through the consent prompt(s) selected in this section.
Note that selecting the appropriate consent prompt(s) can also be a form of targeting a specific audience.
Read more about Web Push consent prompts >>
- Recipients
These settings allow you to define your audience by specifying the conditions that must be met for a person to receive your notification.
The contents of this section depend on whether you have a Spotlight plan activated for your account. Spotlight is a feature that allows you to target anonymous visitors based on behavioral data.
Read more about the Spotlight feature >>
If you have no Spotlight plan, you will see the following options:
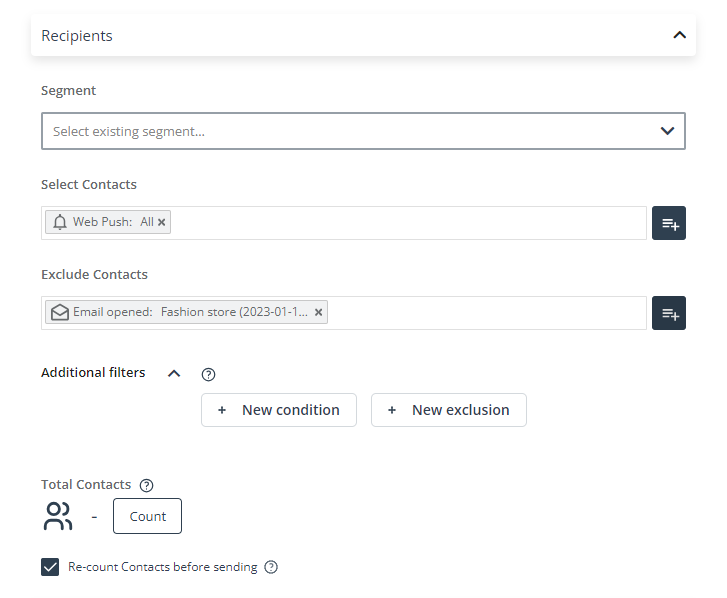
Use the standard SALESmanago selectors and filters to specify the Contacts to whom the notification should be sent.
You can also send the notification to anonymous visitors who have consented to this form of marketing communication—however, without Spotlight, you cannot target them based on their visits and interactions. To include anonymous visitors in your audience, use the Contact selector: Web Push, selecting either All or Anonymous.
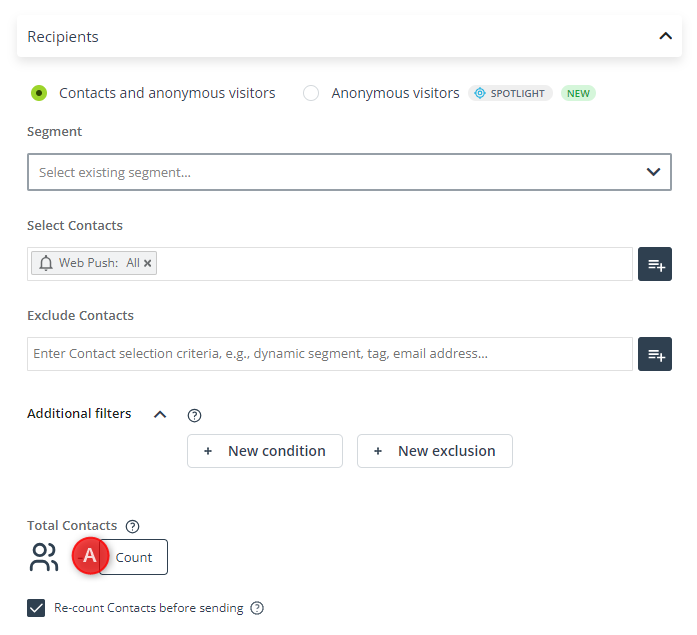
If you have a Spotlight plan, you can decide whether you want to target Contacts and anonymous visitors [1] or anonymous visitors only [2].

With option [1], the notification will be sent to the Contacts selected using SALESmanago’s selectors and filters and to all anonymous visitors.
With option [2], the notification will be sent only to the specified anonymous visitors. This allows you to precisely target anonymous visitors based on their behaviors. You can select the monitored website and filter anonymous visitors by visits to specific URLs and by interactions with your Web Push notifications.
EXAMPLE: With the following configuration:
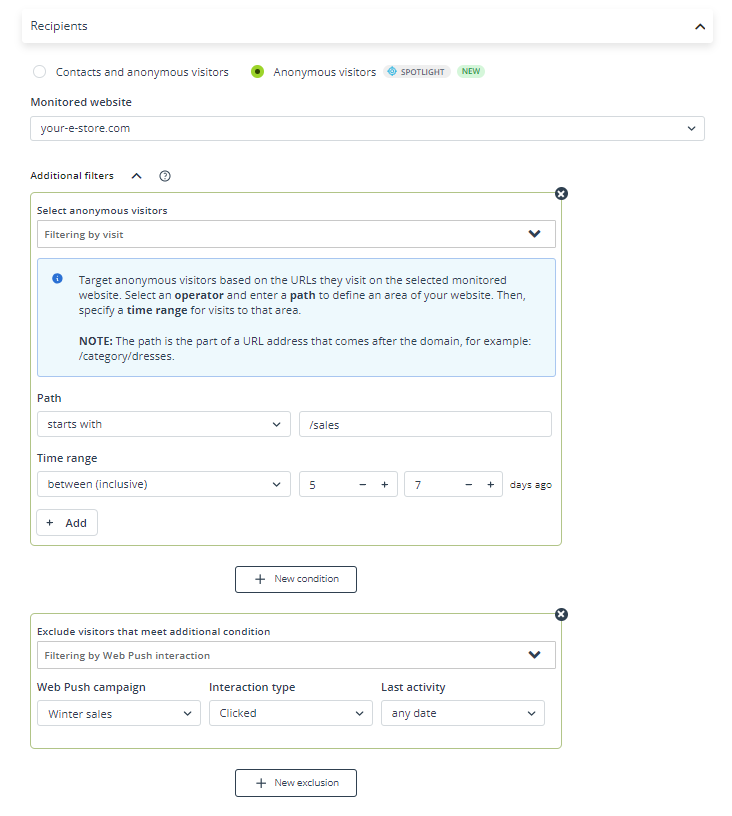
The Web Push notification will be sent only to anonymous visitors who visited a page on www.your-e-store.com whose URL path starts with “/sales” between 5 to 7 days ago, except for those visitors who clicked a link in the “Winter sales” notification.
Read more about the targeting of anonymous visitors with Spotlight >>
After defining your audience, you can click Count [A] to see the approximate number of recipients to whom the Web Push notification will be sent.
The number displayed after clicking this button is the total number of opt-ins obtained through the selected consent prompt(s), both for monitored Contacts and anonymous visitors. This does not necessarily reflect the actual number of recipients. For example, if a single Contact has granted consent twice, once in Chrome and once in Firefox, this will be counted as 2. If you select two consent prompts in the Consent prompt section and a single Contact has granted consent through both these prompts, this will also be counted as 2.
- Sending settings
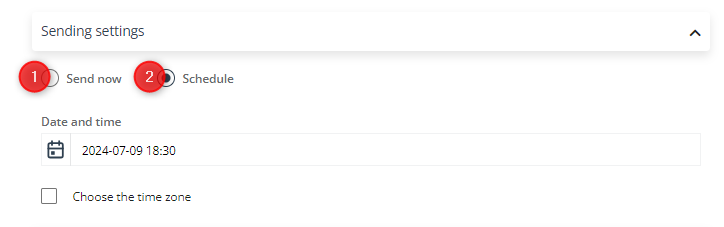
Choose whether you want to send the notification immediately [1] or schedule it for later [2].
If you choose that you want to schedule your Web Push notification for later, you can specify a date and time and select the time zone.
The settings configured in this section will be applied when you click the Save button and select Save and send.
- Time to Live (TTL)
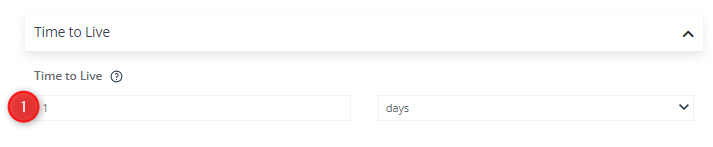
Specify the period for which the notification will remain valid after being sent [1]. This is the time limit within which the notification can actually be displayed to the recipient. If the specified time elapses before a given recipient has seen the notification, the notification will expire and will not be displayed to this recipient at all.
The maximum TTL is four weeks, however, long TTLs are not recommended. If an intended recipient doesn’t use their device for a week or two, when they eventually turn it on, they are likely to receive a whole bunch of notifications, which they are likely to ignore. Such situations may also cause them to withdraw their Web Push consent.
IMPORTANT: The TTL is measured from the sending time. For example, if you schedule the notification to be sent at 10:30 with a validity period of five minutes, the intended recipients will be able to see it between 10:30 and 10:35. For example, if somebody turns on their device at 10:37, they won’t receive the notification.
3. Save a Static Web Push notification
After clicking the Save button, you will see that you have a few options:
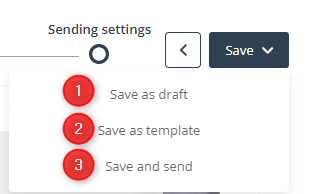
You can save your notification as a draft [1] and edit it later to finish your work.
If you save it as a template [2], it will be added to the list of templates and you can send or schedule it later. You can also use it in Workflows and Automation Rules (Action: Send Web Push notification).
You can also save the notification as a finished template and immediately send or schedule it [3]. When this option is clicked, the settings configured in the Sending settings section of Step 4 are applied.
IMPORTANT: Before sending a mass Web Push notification, it is recommended to send a test message to ensure the notification looks as expected. Note that the actual appearance of Web Push notifications may depend on the recipient’s operating system and browser.
You can also send Web Push notifications through a Workflow process, by using the Action: Send Web Push notification.
Read more about the Workflow Action: Send Web Push notification >>
You can find all your drafts and finished templates by going to Menu → Channels → Web Push → Templates and drafts.
Read more about the list of Web Push templates and drafts >>
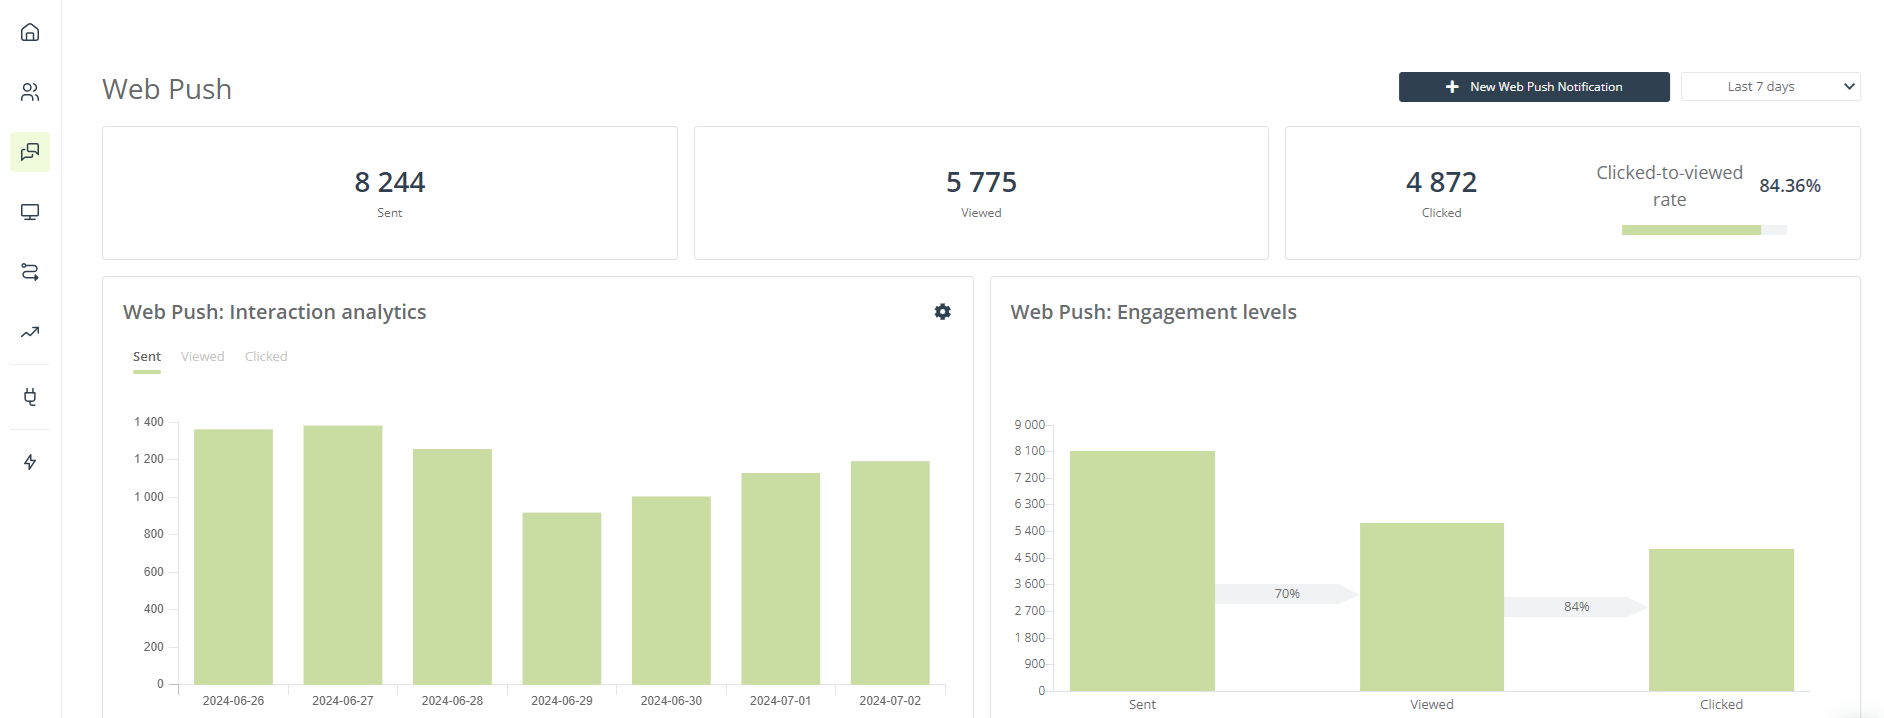
To see all your sent and scheduled notifications, including their analytics, go to Menu → Channels → Web Push → Sent.
Read more about Web Push notification analytics >>