Web Push notifications are a vital part of many marketing strategies. Messages consisting of an icon and short text are a quick and effective way to communicate with your contacts. With SALESmanago’s intuitive wizard, you can easily prepare your own notifications. You can also create your own library of templates, leveraging quick access to saved templates in multilevel automation processes.
To create a Web Push notification, go to
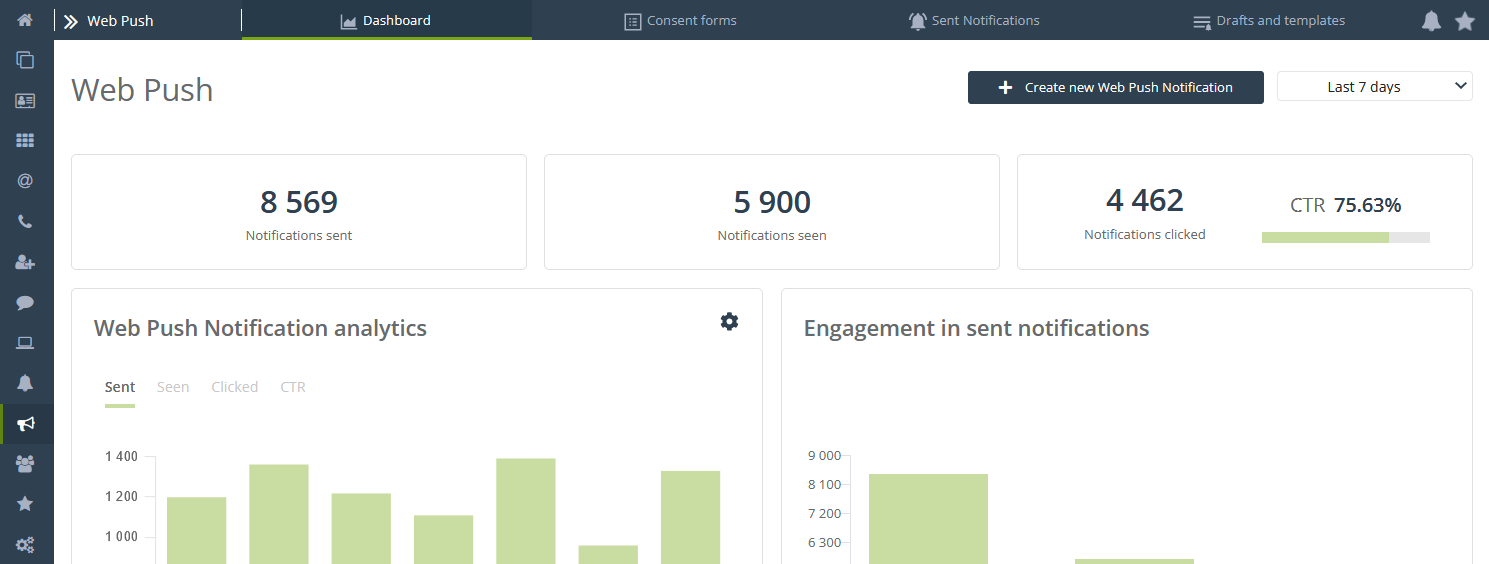
Channels → Web Push → Dashboard → + New Web Push Notification
or
Channels → Web Push → Sent → + New Web Push Notification
or
Channels → Web Push → Templates and drafts → + New Web Push Notification
Contents
- Basic information
- Create a New Web Push Notification
- Notification type
- Devices
- Data
- Send
- Save and send
1. Basic information
The Web Push Notification Wizard is a simple, intuitive tool that allows you to create effective and attractive Web Push and Rich Web Push notifications in a step-by-step manner. For your convenience, it breaks down the creation of the notification into several stages. Each step is a separate phase addressing a specific aspect of the notification preparation process. What’s more, in this new wizard, you can save your notifications as templates or drafts so that you can quickly come back to them later when they are needed.

First, select the correct wizard. For static notifications, select the Web Push Wizard [1]. If you want to create a dynamic notification, go to the Dynamic Web Push Wizard [2].
Learn how to create a Dynamic Web Push notification >>
2. Create a New Web Push Notification
Sending Web Push notifications requires them to be paired with consent forms. The sequence of actions when creating a new notification looks like the following:
- Create a consent form – Go to Menu → Channels → Web Push → Consent forms → + New Form. If you already have a form you want to use for this notification, skip this step.

Learn how to create a consent form >>
2. Create new notification – Go to Menu → Channels → Web Push → Dashboard → + New Web Push Notification.

TIP: Remember that to receive Web Push notifications, the user must give consent via the consent form. For Web Push and Rich Web Push notifications, use the same consent form. To see how to create a consent form, Read more about the consent form wizard >>

After navigating to a new page and selecting the wizard you are interested in, you will see a Web Push Notification Wizard consisting of four steps, as follows:
- Notification type.
- Devices.
- Data.
- Send.
Additionally, you will find a Next [E] button that allows you to move between steps.
IMPORTANT: Before sending a mass Web Push notification, we recommend sending a test message to make sure the notification looks as expected. Remember that the appearance of Web Push notifications depends on your operating system and browser type.
A. Notification type
The first step in creating a notification is to choose its type. You can opt for a Web Push notification (icon + title + text + buttons) or Rich Web Push (icon + title + text + large graphic + buttons). You can also create a notification in both versions. It’s important because some devices and systems can display Web Push notifications but not Rich Web Push notifications. Choosing a notification type gives you more control over the visibility of your campaign. Depending on which option you select, you can be sure that if a Rich Web Push notification cannot be displayed, your browser will either display it as a Web Push or not at all.
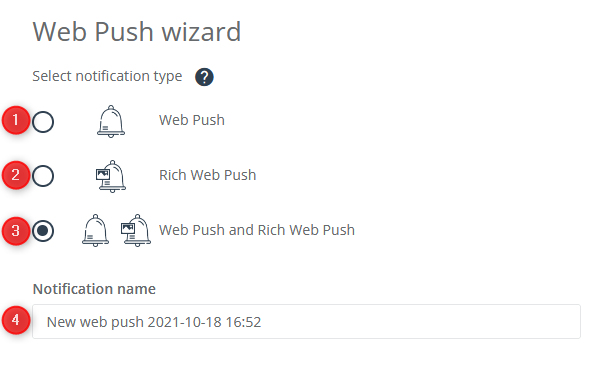
[1] Web Push – Select this to create a simple Web Push notification.
[2] Rich Web Push – Select this to create a striking Rich Web Push notification.
[3] Web Push and Rich Web Push – Select this to create a notification with both formats.
[4] Notification name – Enter the name of the notification used for identifying it in the system.
The right part of the screen is the area where you will see a visualization of the notification you are currently working on.
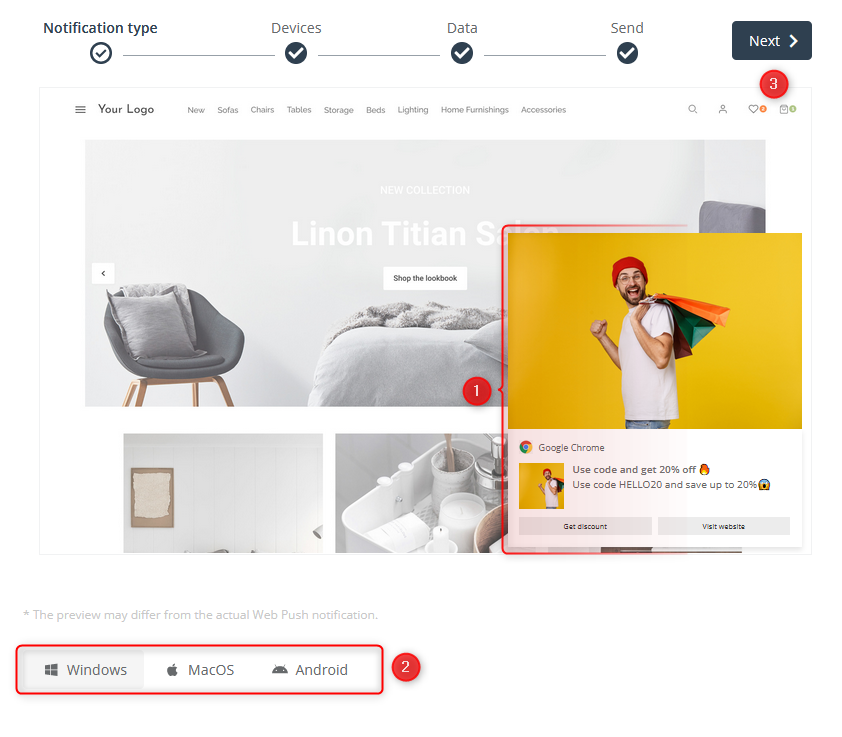
[1] Notification preview – a real-time preview of how your changes affect the appearance of the notification.
[2] Select operating system and browser – at any time, you can check how the appearance of the notification will change depending on your operating system and browser.
Once you have entered the basic settings, click [3] Next.
B. Devices
The next step is to choose the device you want to display the notification on. In this way, you can better target your campaign message, for example, only to people using smartphones or those using desktops and laptops.
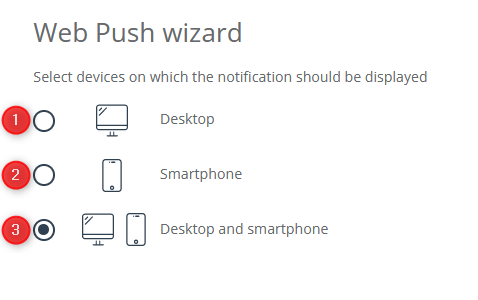
[1] Desktop – Notifications will be displayed on computers and laptops only.
[2] Smartphone – Notifications will be displayed on phones only.
[3] Desktop and smartphone – Notifications will be displayed on all types of devices.
When you have made the basic settings, click Next.
C. Data
On the third screen, you can proceed to enter data. Here, you specify the title, content, design, and links of the notification.

If you want the notification to appear in both versions—Web Push and Rich Web Push—you will see an option to switch the view and input fields at the top left part of this page. The process for creating both types of notifications is similar and involves completing a sequence of steps.
Data
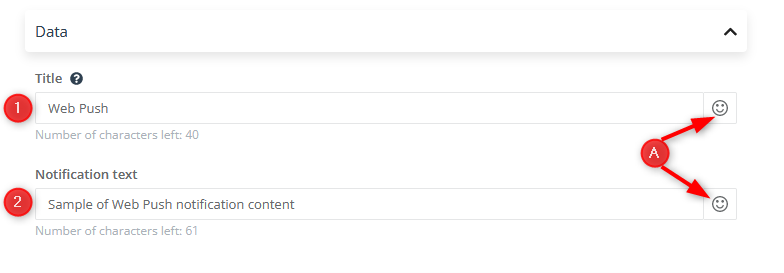
[1] Title – Enter the title of the notification that your subscribers will see. You have a 48 character limit.
[2] Notification text – Enter the content of the notification. You have a 100 character limit.
[A] Additional emoticons – You can add emoticons to both the title and body of the notification to make it more eye-catching. You can also use them to replace some words and convey more information in the notification. However, make sure that this encrypted message is still understandable.
Notification icon
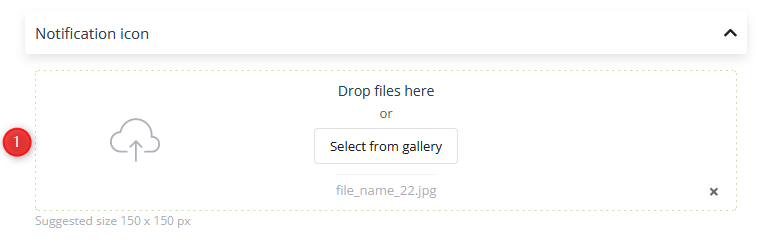
[1] Drop file / Select from gallery – Add a graphic to the notification. You can either drag an image stored on your disk or select a file previously uploaded in the gallery. You can use files including JPG, PNG, WebP, ICO/CUR, and BMP as icons. The GIF format of the notification icon is not supported by browsers. The suggested icon size is 150×150 px.
Notification image
If you are creating a Rich Web Push notification, the next step is to select an image. This step will not appear if you are creating a regular Web Push notification.
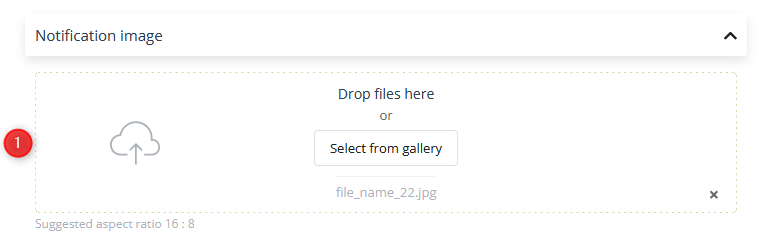
[1] Drop file / Select from gallery – Add a graphic to the notification. You can either drag an image stored on your disk or select a file previously uploaded in the gallery. You can use files including JPG, PNG, WebP, ICO/CUR, and BMP as icons. The GIF format of the notification image is not supported by browsers. The suggested aspect ratio of the notification image is 16:8.
URL address

[1] URL address – Add a full link to the notification. The person who clicks on the notification will be redirected to the specified address. You have a 255 character limit.
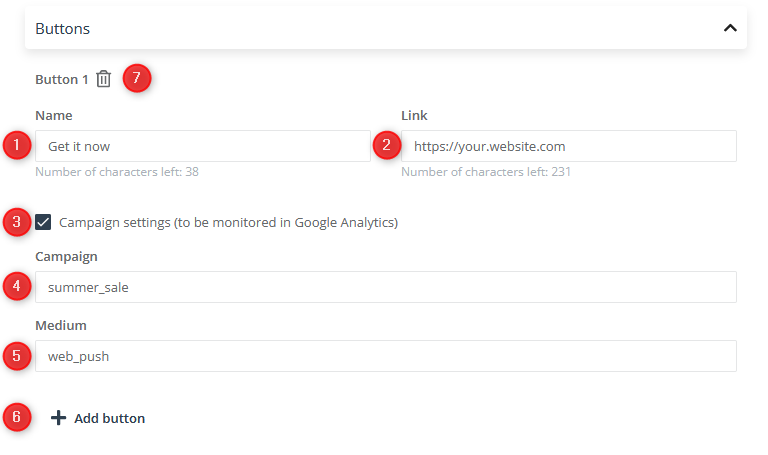
ATTENTION: Adding buttons is optional. The buttons are only fully supported by the Chrome browser. The Firefox browser also supports displaying buttons but does not support clicking them.
[1] Name – Enter the name of the button (call to action) that subscribers will see. You have a 48 character limit.
[2] Link – Add a full link to the page you want the button to direct to. The person who clicks on the button will be redirected to the specified address. You have a 255 character limit.
[3] Campaign Settings (to be monitored in Google Analytics) – Optionally, you can add parameters to monitor marketing effects in Google Analytics. The parameters specified here will refer to the buttons on the notification. If the browser does not support buttons on notifications, then these parameters will not be used.
[4] Campaign – Specify the value of utm_campaigne parameter.
[5] Medium – Specify the value of utm_medium parameter.
[6] +Add button – Add another button to the Web Push notification.
[7] Remove button – Remove the button that you do not want to add to the notification.
Browsers such as Chrome 44, Edge, Firefox, Chrome for Android 48, Firefox for Android 44, and Samsung Internet 5.0 allow buttons to be displayed.
Clicking a button is supported by browsers such as Edge 18, Opera 39, Chrome for Android 53, Opera for Android 41, Samsung Internet 6.0, and Chrome 53.
ATTENTION: The appearance of Web Push and Rich Web Push notifications is strongly dependent on the browser and operating system.
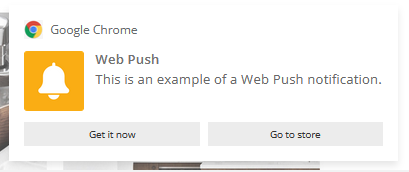
The appearances of various sample Web Push notifications are shown below.
- Android
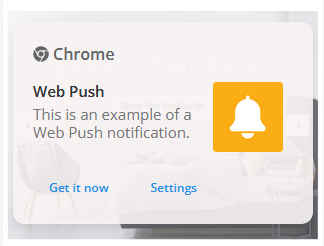
- Windows
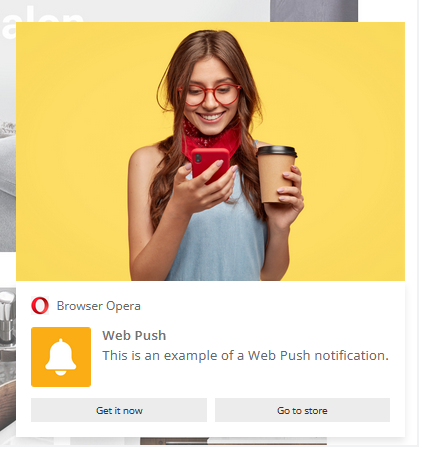
The appearances of sample Rich Web Push notifications are shown below.
- Android

- Windows
- Google Analytics

[1] Campaign Settings (to be monitored in Google Analytics) – Optionally, you can add parameters to monitor marketing effects in Google Analytics. The parameters provided here will apply to the entire notification.
[2] Campaign – Specify the value of utm_campaigne parameter.
[3] Medium – Specify the value of utm_medium parameter.
Select language

To add different languages to a Web Push or Rich Web Push notification, click +Add language. The notification language will be matched to the browser language of the person who receives the notification.
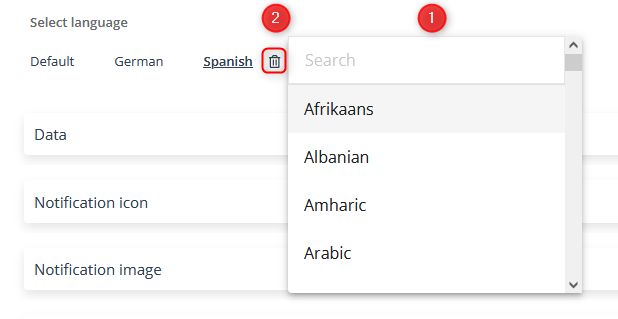
Then, select the languages you are interested in from the drop-down menu [1]. You can also use the search engine and type in your desired language. If you want to stop using a particular language, simply remove it from the list by clicking on the trashcan icon [2] next to its name.
When you are done making changes, click Next.
D. Send
On the last screen, you can specify the sending parameters, including the recipient group or notification lifespan.
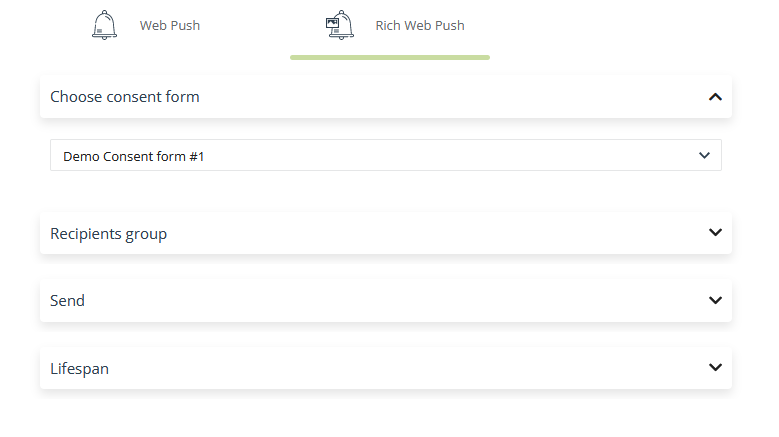
Choose consent form

[1] Choose consent form – By choosing a consent form, you select the group of subscribers who will receive this Web Push notification. You can select multiple consent forms from many different pages to target the largest possible audience across different URLs.
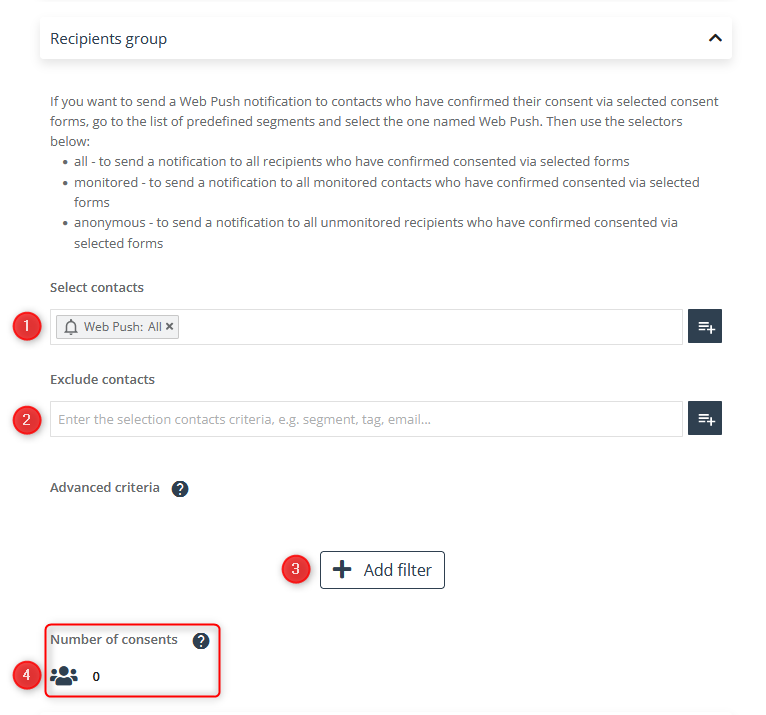
[1] Recipients group – Specify the group of message recipients here.
If you want to send a Web Push notification to contacts who have confirmed their consent via selected consent forms, go to the list of predefined segments and select the one named “Web Push.” Then, use the following selectors:
- All – To send a notification to all recipients who have confirmed their consent via the selected forms
- Monitored – To send a notification to all monitored contacts who have confirmed their consent via the selected forms
- Anonymous – To send a notification to all unmonitored recipients who have confirmed their consent via the selected forms
If necessary, you can exclude the contacts who should not be in the segment, even though they fulfill the conditions set out in the previous step.
[2] Exclude contacts – You can do this in the same way as selecting contacts for mailing, including additional selectors. After entering a name, email address, or phone number, you can also add contacts to the recipients list using predefined segments
For more information and a complete list of predefined segments, click here >>
[3] Advanced criteria – Use the advanced filtering option, which allows you to filter contacts by the following:
- Age – Indicate the age range.
- Birth date – Tick the Has or Has Not option.
- Date – Specify the time period in which the contact was included in the system and when it was modified and performed its most recent activity.
- Details – Enter the name of the detail and its value using mathematical operators.
- Number of emails – Enter the numeric value of emails sent, opened, and clicked.
- Email address domain – Enter the domain; here, you can enter several domains, separating them with commas.
- External events – Enter the name of the external event details.
- Name – Select Has or Has Not option.
- Phone number – Select Has or Has Not option.
- Scoring – Specify from which (or to which) numerical value contacts will be filtered.
- Tags – You can specify the time period in which the tag was created, specify all the names of tags by which the contact will be searched, and specify any tag name from those previously entered.
- Tag scoring – Enter a tag name and specify its scoring using mathematical operators.
- Dictionary detail – Select a detail name from the dictionary and define its value using mathematical operators.
You can find more information on advanced filtering options here >>
[4] Total contacts – This indicator shows the total number of recipients to whom the message was addressed. The number of recipients is updated in real time if changes are made to the segment or filter selection.
IMPORTANT: The number displayed reflects the total count of consents for which a notification will be sent. It does not always reflect the number of recipients, as one contact may submit several consents on different devices and browsers.
Send
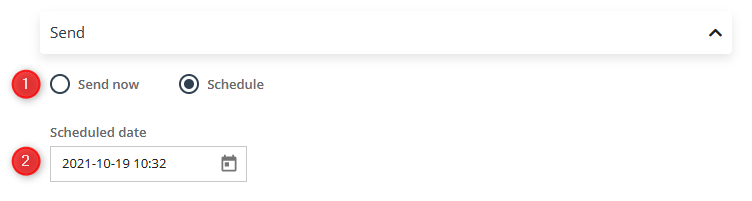
[1] Select sending time – Select whether you want to send the notification right away or schedule it for later.
[2] Scheduled date – If you schedule sending, set a particular day and time for the Web Push notification to appear.
Lifespan
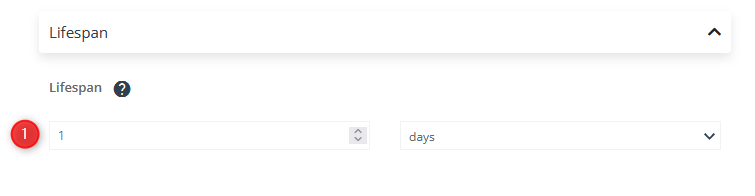
[1] Lifespan – Set for how long after the notification is sent it can be displayed on the recipient’s device. After this time, the notification will expire and will not be displayed anymore. The maximum lifespan is four weeks.
IMPORTANT: This parameter is counted from the send date. After the push time validity set by you, the Web Push notification won’t appear on the user’s device while their browser is not open. For example, if we plan the Web Push notification sending hour as 10:30 and the validity date as five minutes, this means that between 10:30 and 10:35, the user will receive your notification. If the user opens the browser after 10:35, the notification will not be shown. The maximum possible time of expiration is four weeks. You need to remember that the Web Push notification you send will only be shown in the language in which they were created.
Save and send
Once you’re done entering the notification data, you have several options for saving the results of your work.
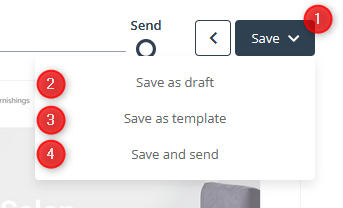
[1] Save – By clicking on the Save button, you will access a drop-down menu.
[2] Save as draft – Saves the created notification as a draft.
[3] Save as template – Saves the created notification as a template.
[4] Save and send – Saves the notification and triggers sending according to the set parameters.
ATTENTION: After sending it out, the notification is displayed once for each recipient, as soon as possible (for example, when the recipient turns on the computer and opens the browser). In this way, everyone will read the message within its lifespan.
To queue the notification on the server, click Save and Send. The notification will be sent to everyone who has met the conditions at the time the message was queued.
Saved notifications will appear in the Notifications List, as well as saved in templates and drafts.
Read more about Web Push notifications list and notification analytics >>
Read more about the Drafts and Templates list >>
TIP: You can also send Web Push notifications when creating your own automation rules in Menu → Automations → Automation Processes → Automation Rules → Action: Send Web Push notification.
Read more about action: Send Web Push notification >>